When you plan a renovation, a new door sounds simple. It is not. A solid wood door changes how your home feels when you walk in, how quiet your rooms are when they close, and how finished everything looks. In fact, solid wood doors are an investment that offers long-lasting beauty, security, and energy efficiency. If you want an upgrade you can see and touch every day, this one earns its spot near the top of your list.
What makes a solid wood door different

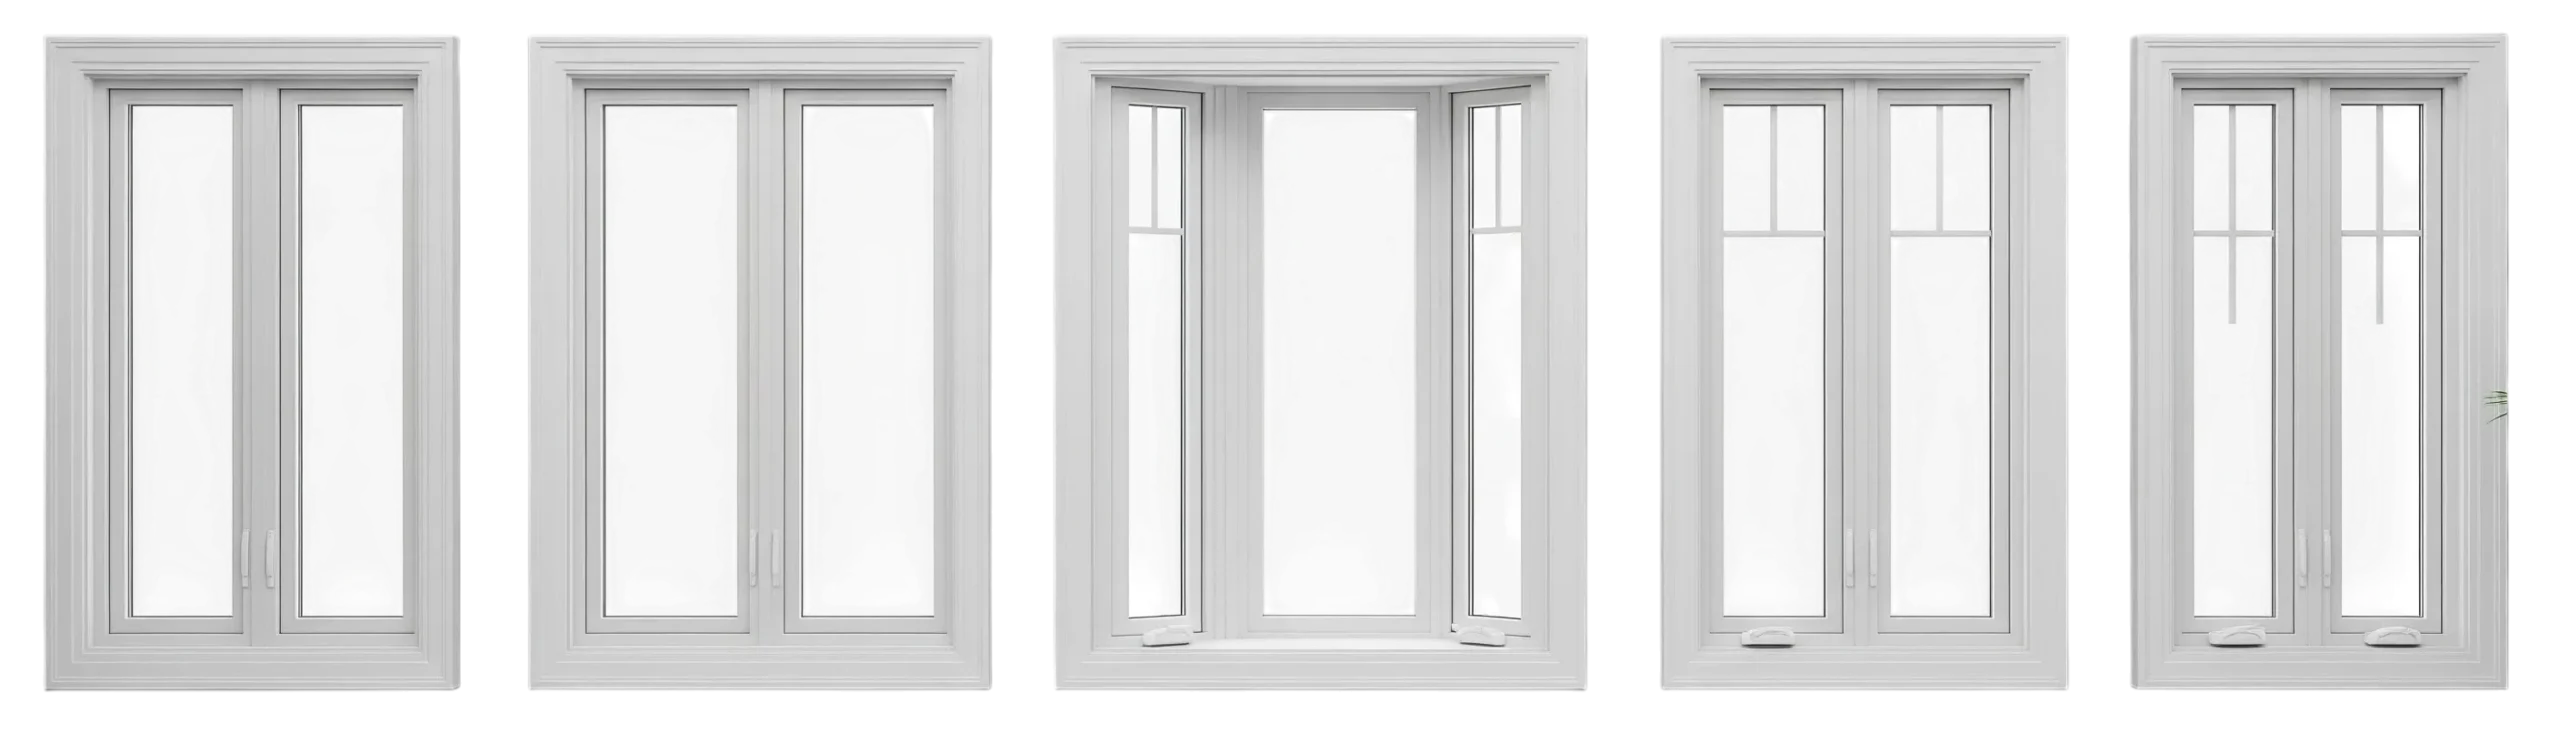
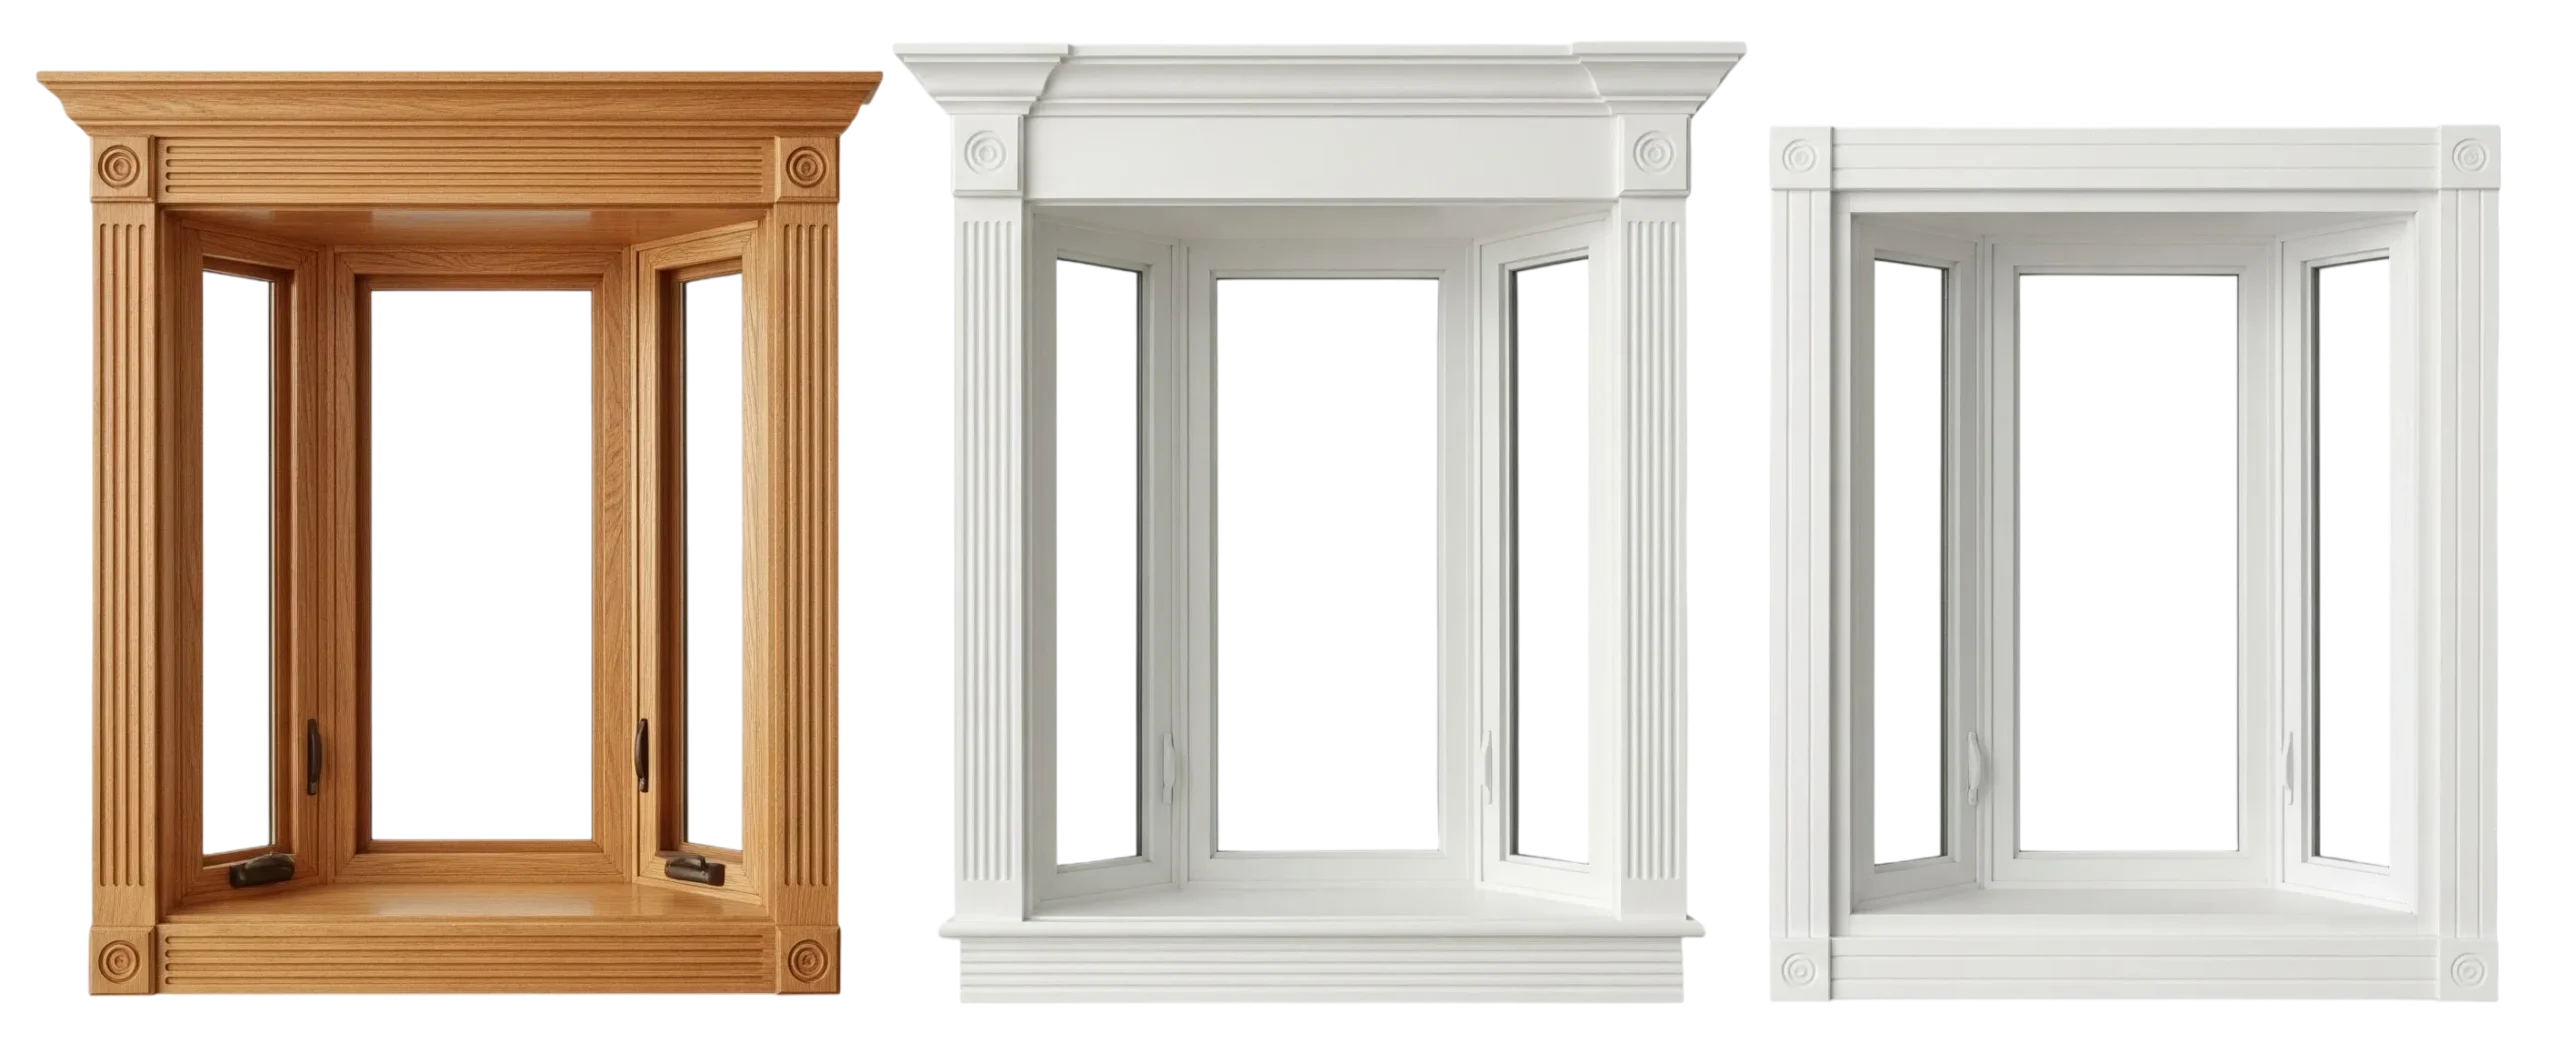
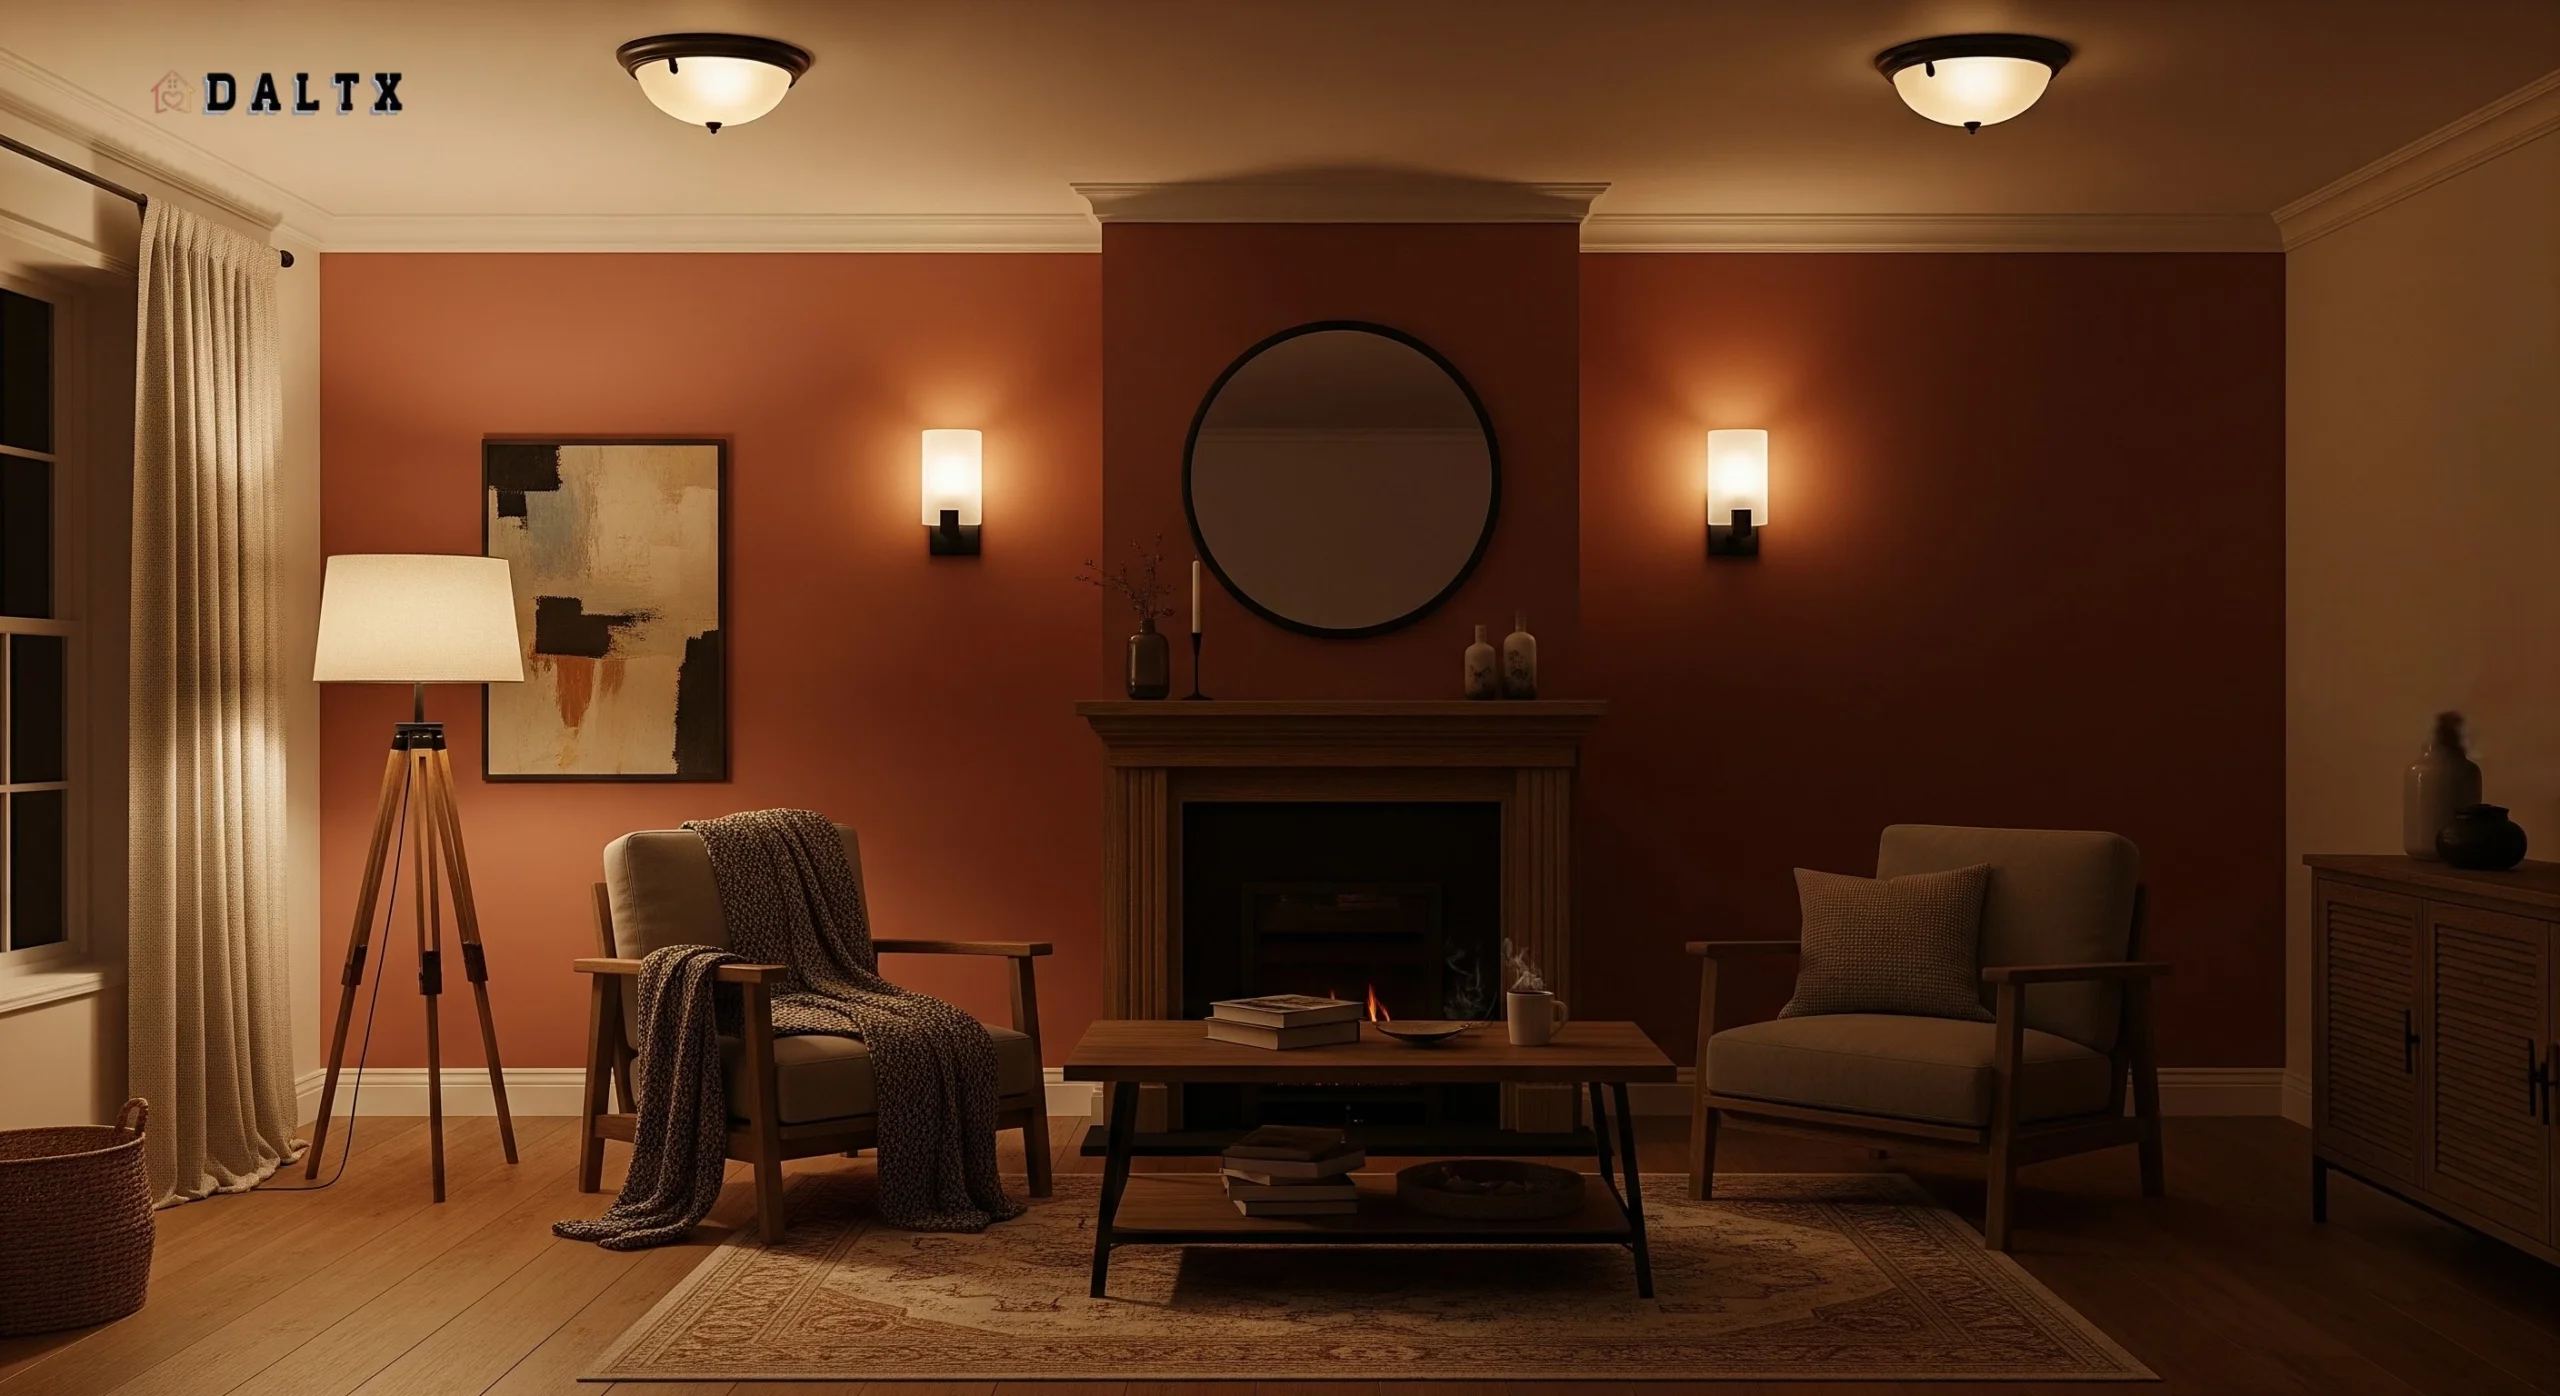
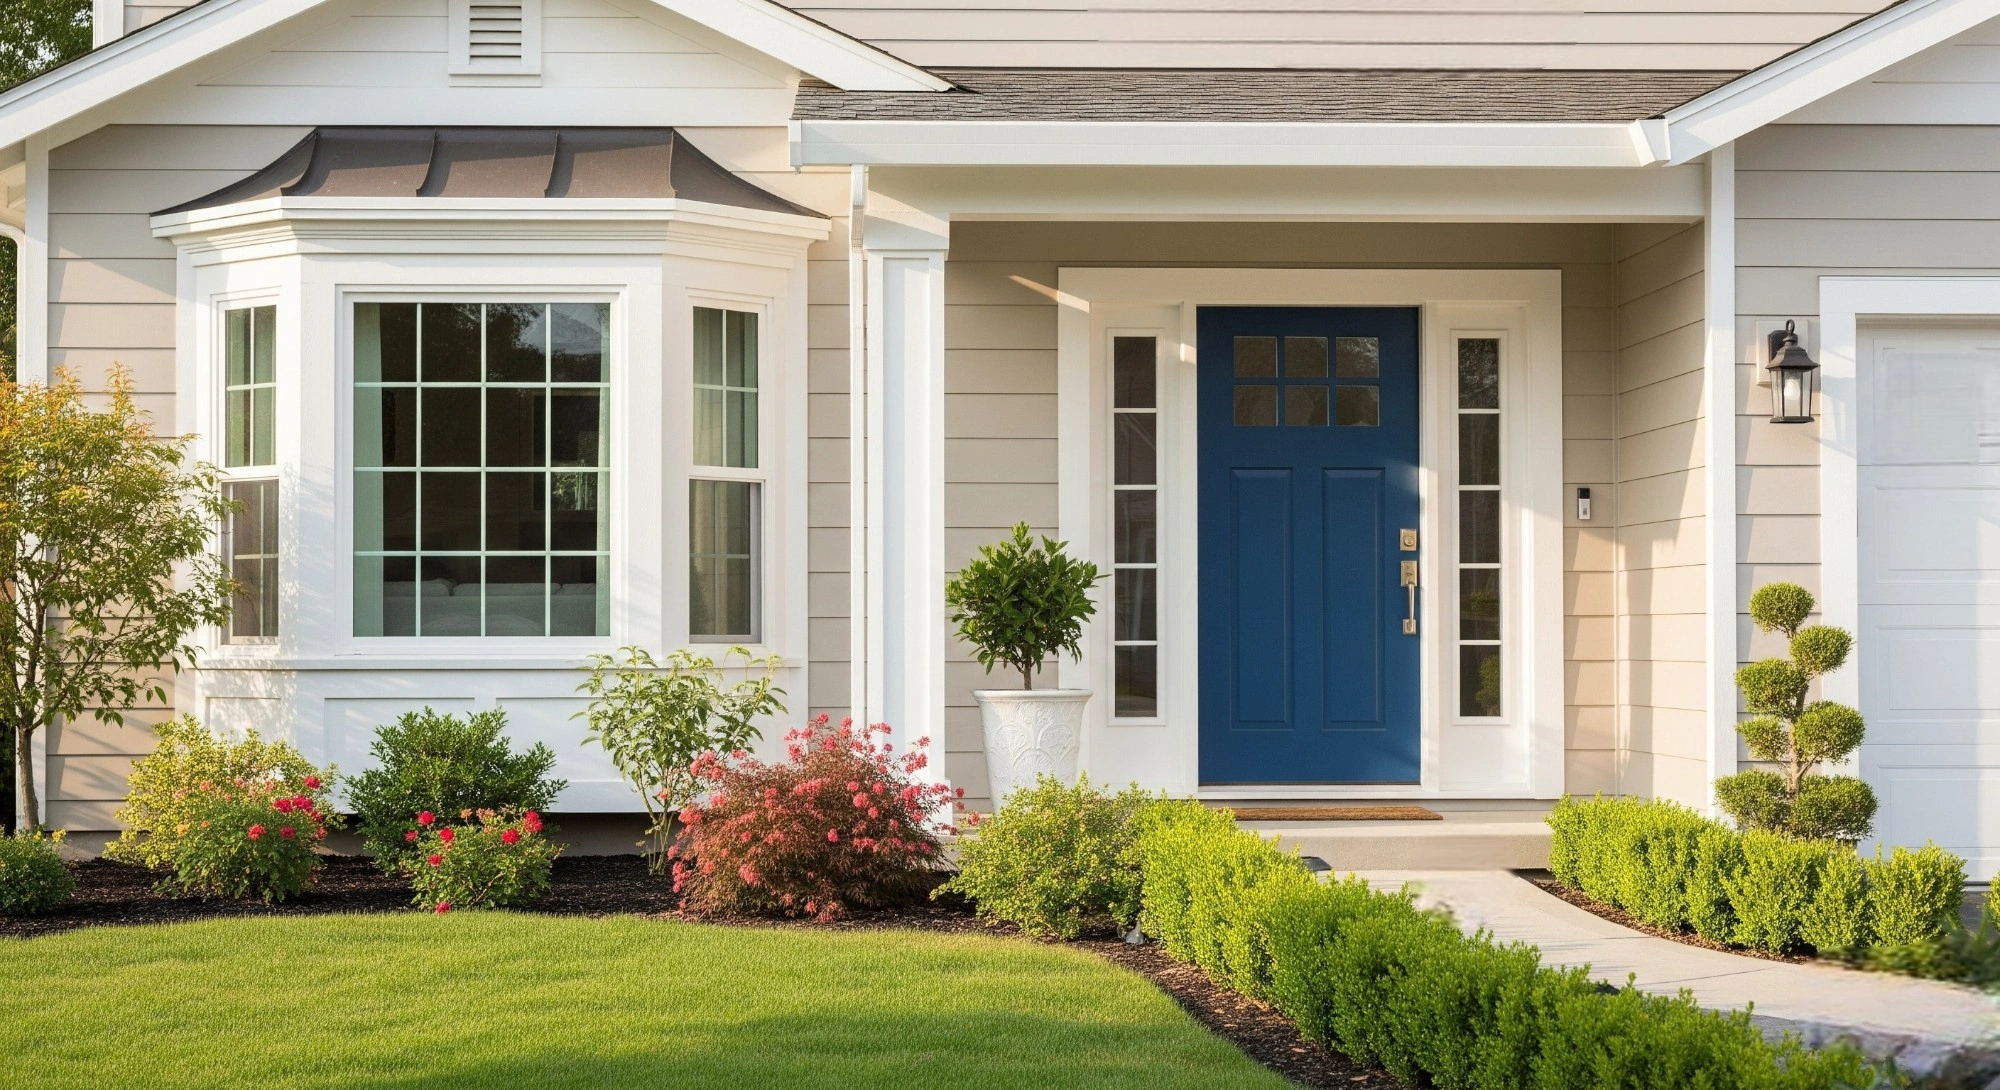
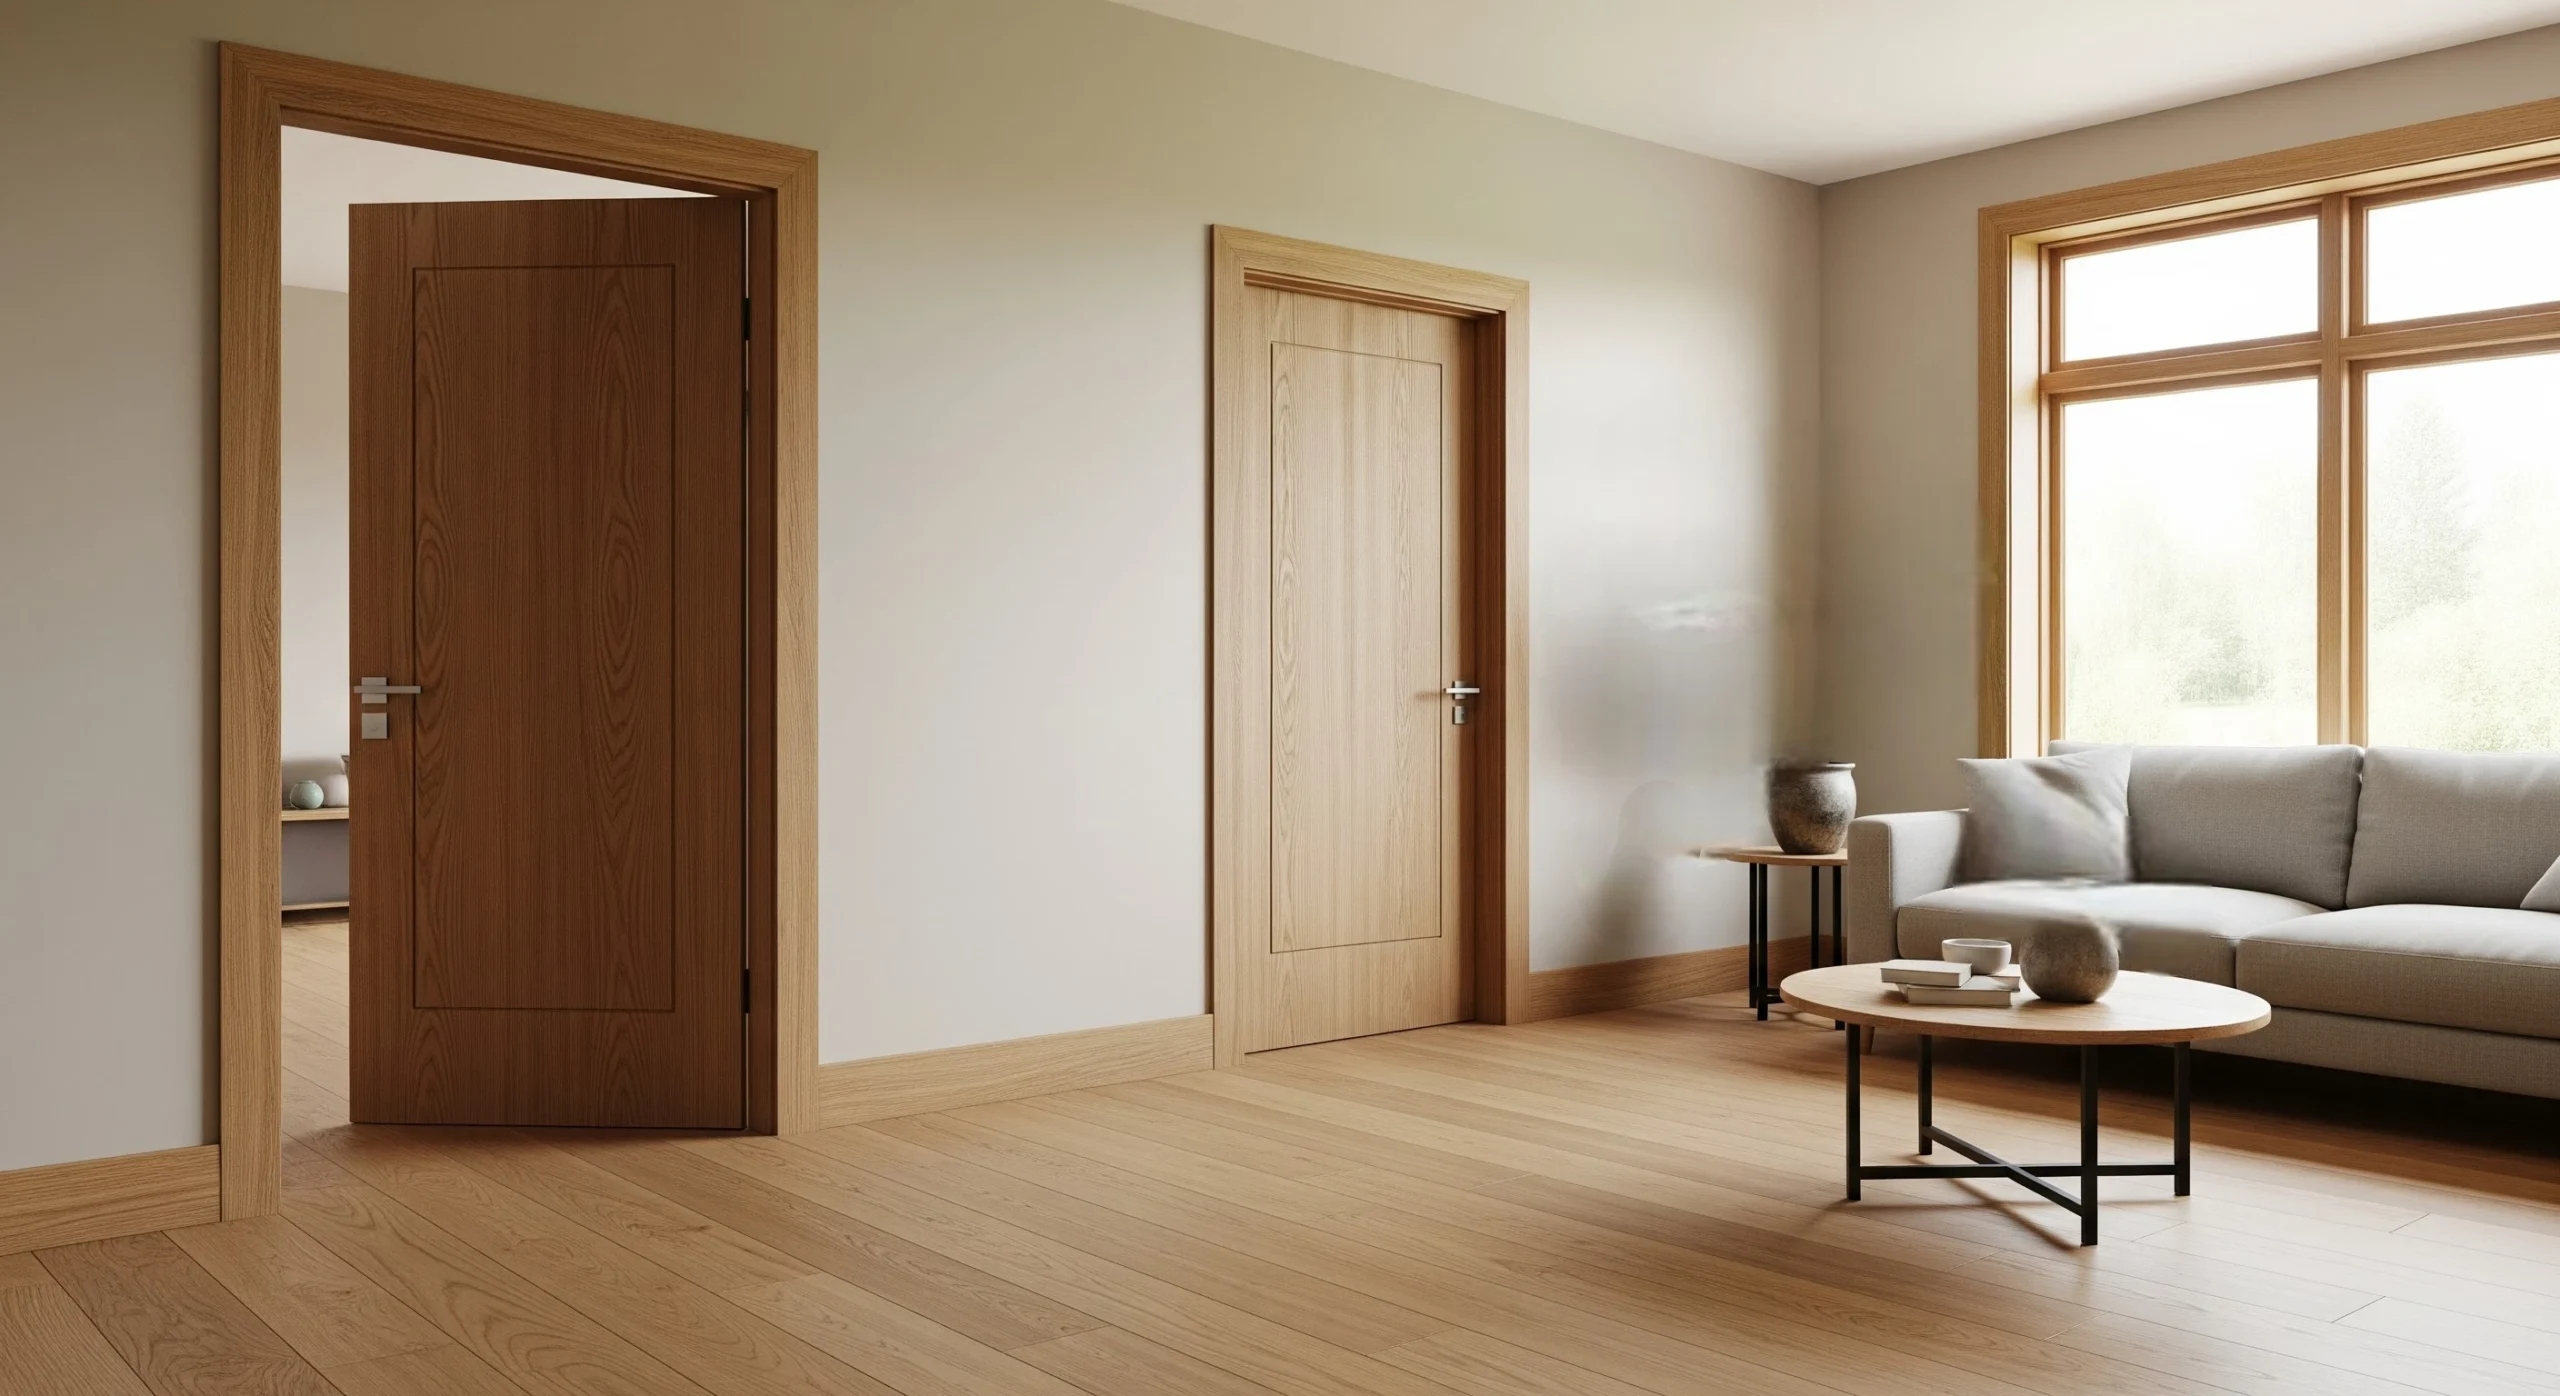
You are getting one piece of architecture, not just a barrier. The door has heft, real grain, and a profile that takes stain beautifully. Pick from familiar species like oak, cherry, mahogany, or walnut, then match the finish to your floors, trim, or cabinetry for a pulled-together look. If you like a clean, modern vibe, a flat panel reads sleek. If your place leans traditional, a classic 3-, 5-, or 6-panel design feels right at home.
Everyday Differences You’ll Feel
- Quieter rooms. The mass of solid wood helps dampen sound between bedrooms, offices, and the main living area. That extra weight is what gives you the satisfying “thunk” when the latch engages.
- Better comfort. A well-built wood slab with proper weatherstripping limits drafts at exterior openings and helps your HVAC hold temperature more evenly room to room. When you are weighing inspection punch-lists on a home purchase, this type of fit and finish is one of those small things that supports the bigger goal of a tight, well-maintained house.
- Repairable and refinishable. Nicks, kid gear, pet life. Solid wood can be sanded, spot-repaired, and re-stained. Over time, you refresh the door instead of replacing it outright.
- Security you can feel. Dense wood, strong hinges, and a solid jamb work together with quality locks. The door resists flexing and is harder to breach than a light, hollow-core panel.
Where They Add Real Value
If you are planning to live in the home for a long time, quality doors become part of your everyday comfort. If you may sell, they are part of the first impression. Buyers and inspectors look closely at fit, finish, operation, and maintenance, and doors are on that short list along with flooring, cabinetry, and windows. Clean operation, no rubs, no daylight where there should be weatherstripping, and a consistent stain or paint read as pride of ownership during walk-throughs and inspections.
If you are selecting finishes in a new build, put doors on the same decision tier as counters and flooring.
Style Moves That Work at Home
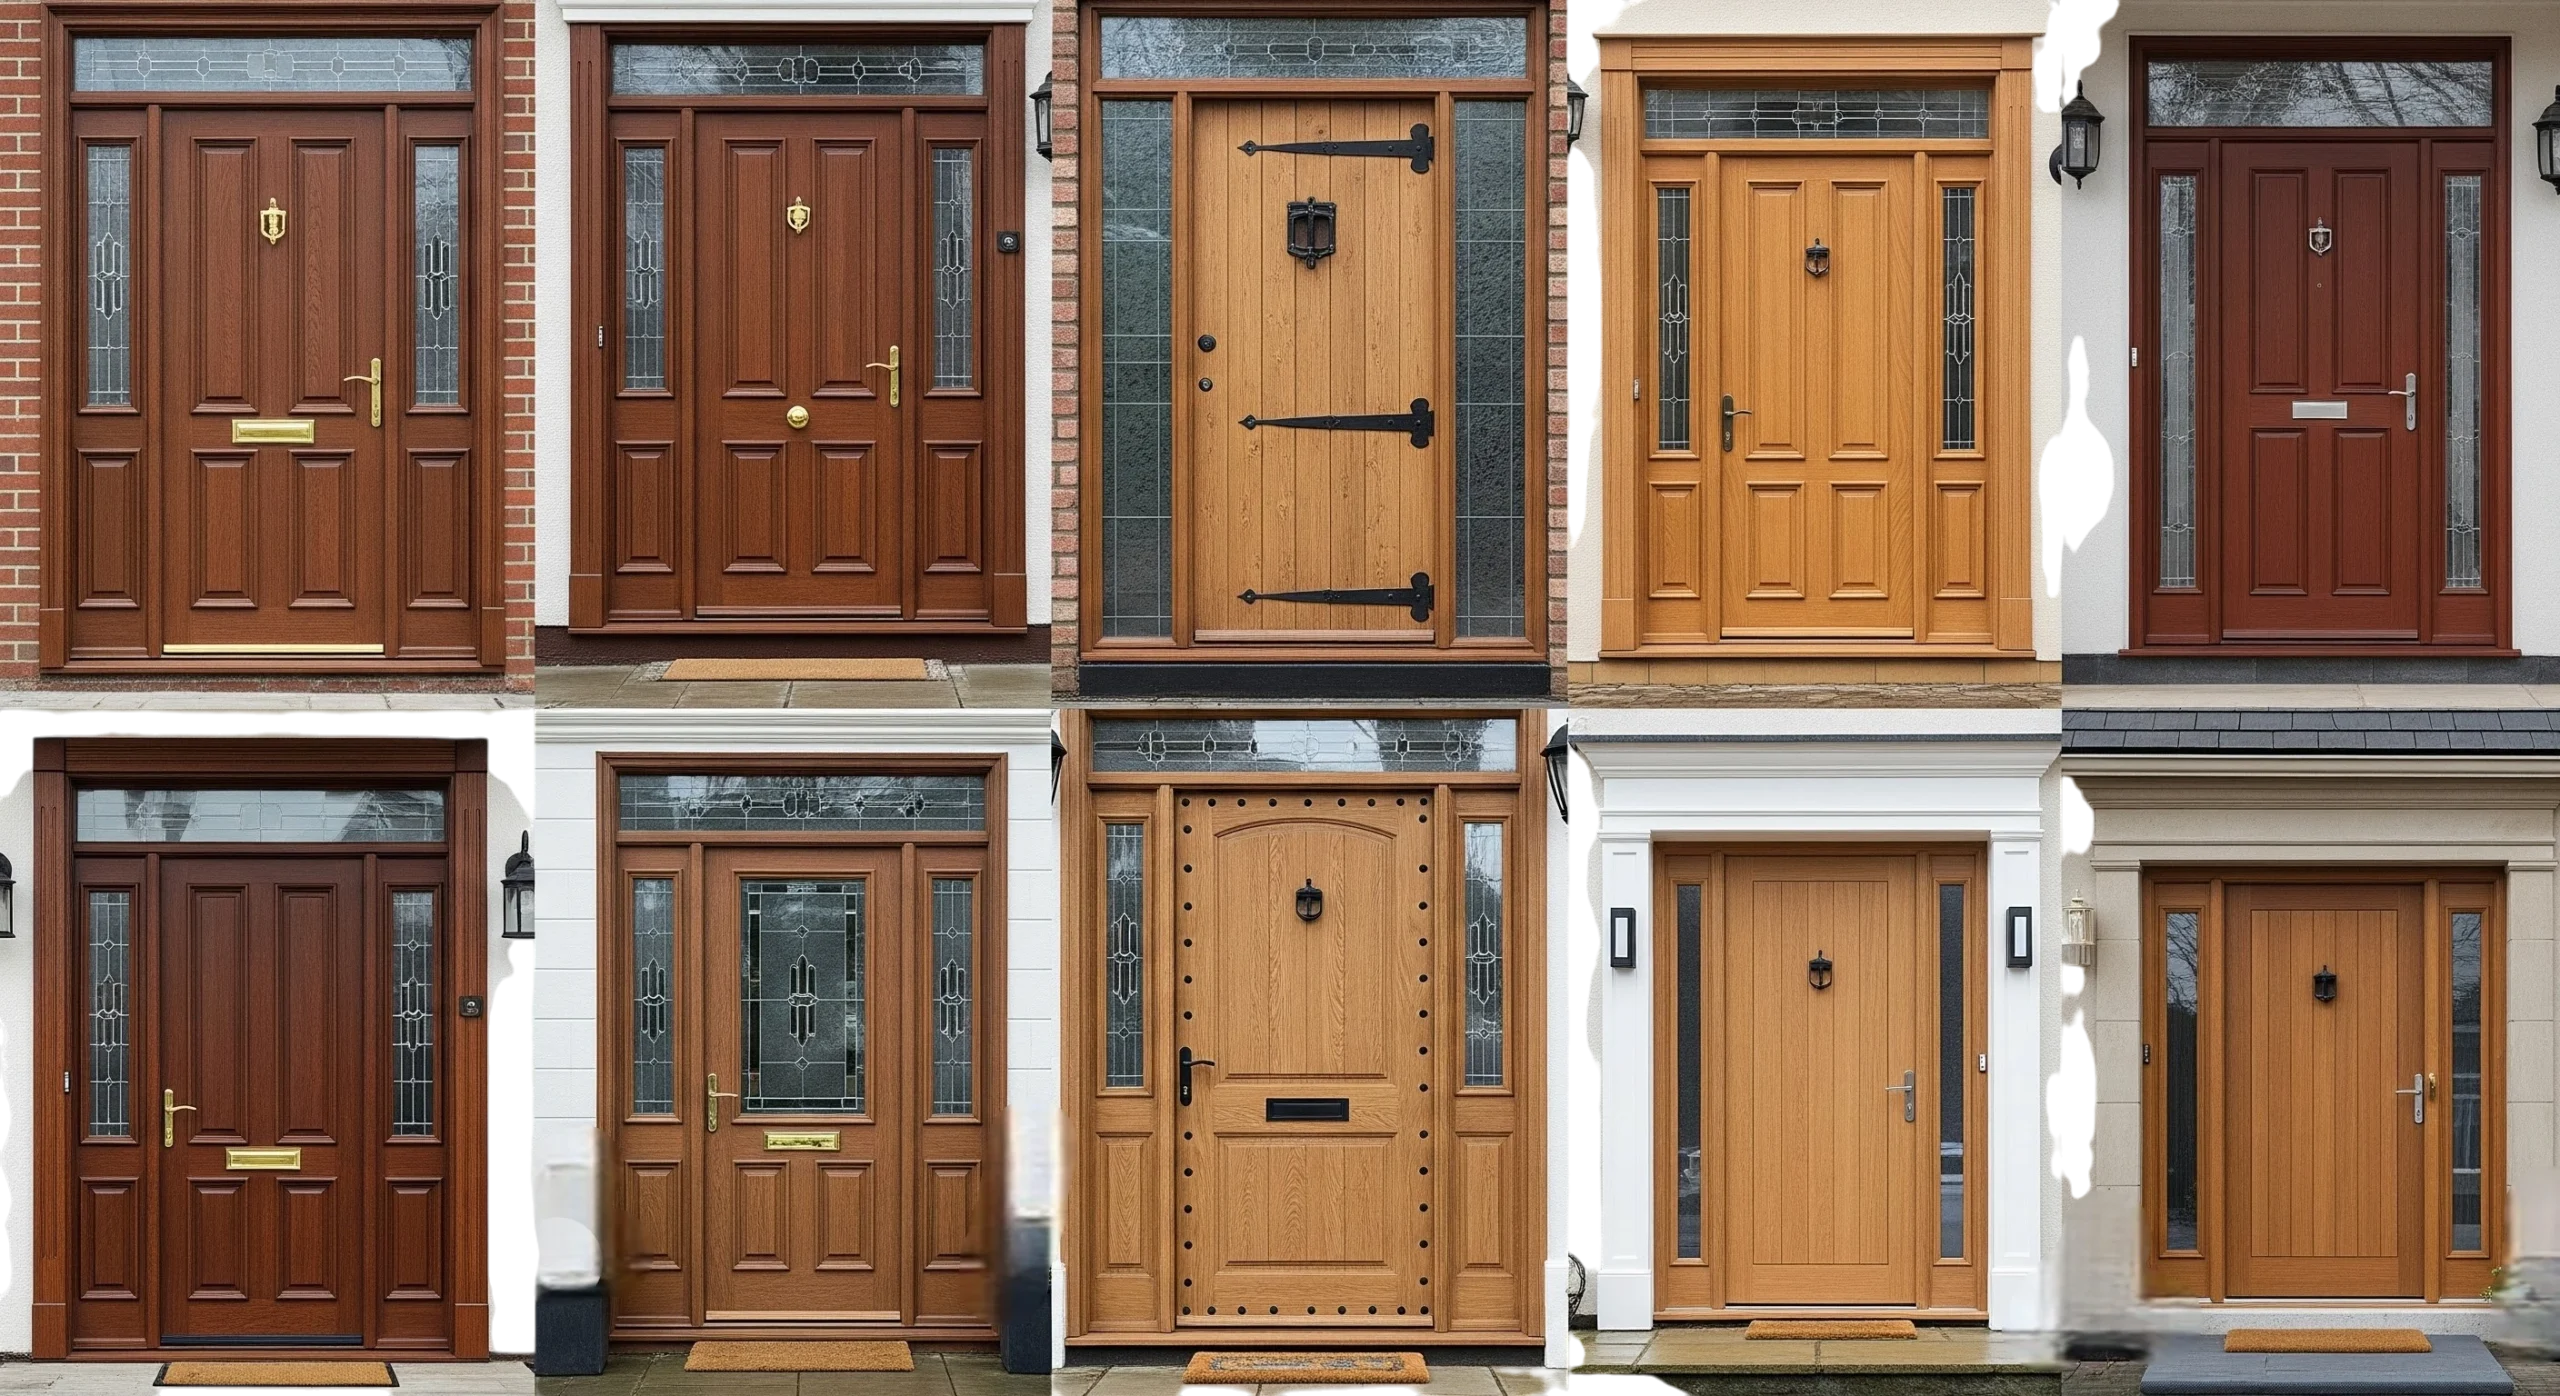
- Warm oak or white oak fits almost any style, from coastal to craftsman.
- Rich walnut adds depth in a study or media room where you want a quieter feel.
- Clear or seeded glass lites bring natural light down a hallway without giving up privacy.
- Oil-rubbed bronze or unlacquered brass hardware pairs nicely with wood grain and ages well.
You can mix interior and exterior looks while keeping a consistent profile and rail layout so your home feels cohesive.
Practical Notes That Keep the Project Smooth
- Sizing and swing. Confirm rough opening, slab size, and swing direction before you order. If you are replacing an exterior door, take a snug look at the threshold and sill condition so installation goes in cleanly.
- Finish. Seal all six sides, including the top and bottom edges, and follow with your stain or paint system. This is what keeps out moisture and helps the door stay true over time.
- Hardware. Heavier slabs deserve heavy-duty hinges and strike plates. If you want a keyless deadbolt at the entry, pick the model now so your bore prep matches.
- Inspection moments. If you are under contract on a home, your general inspector will test operation, look for rubbing, and note issues like daylight at the perimeter or missing weatherstripping. You can use that feedback to ask for repairs or a credit before you close.
- New construction timing. When you are making selections with a builder, plan door choices along with cabinetry and flooring. Upgrades are often easier to negotiate as part of the package rather than à la carte later.
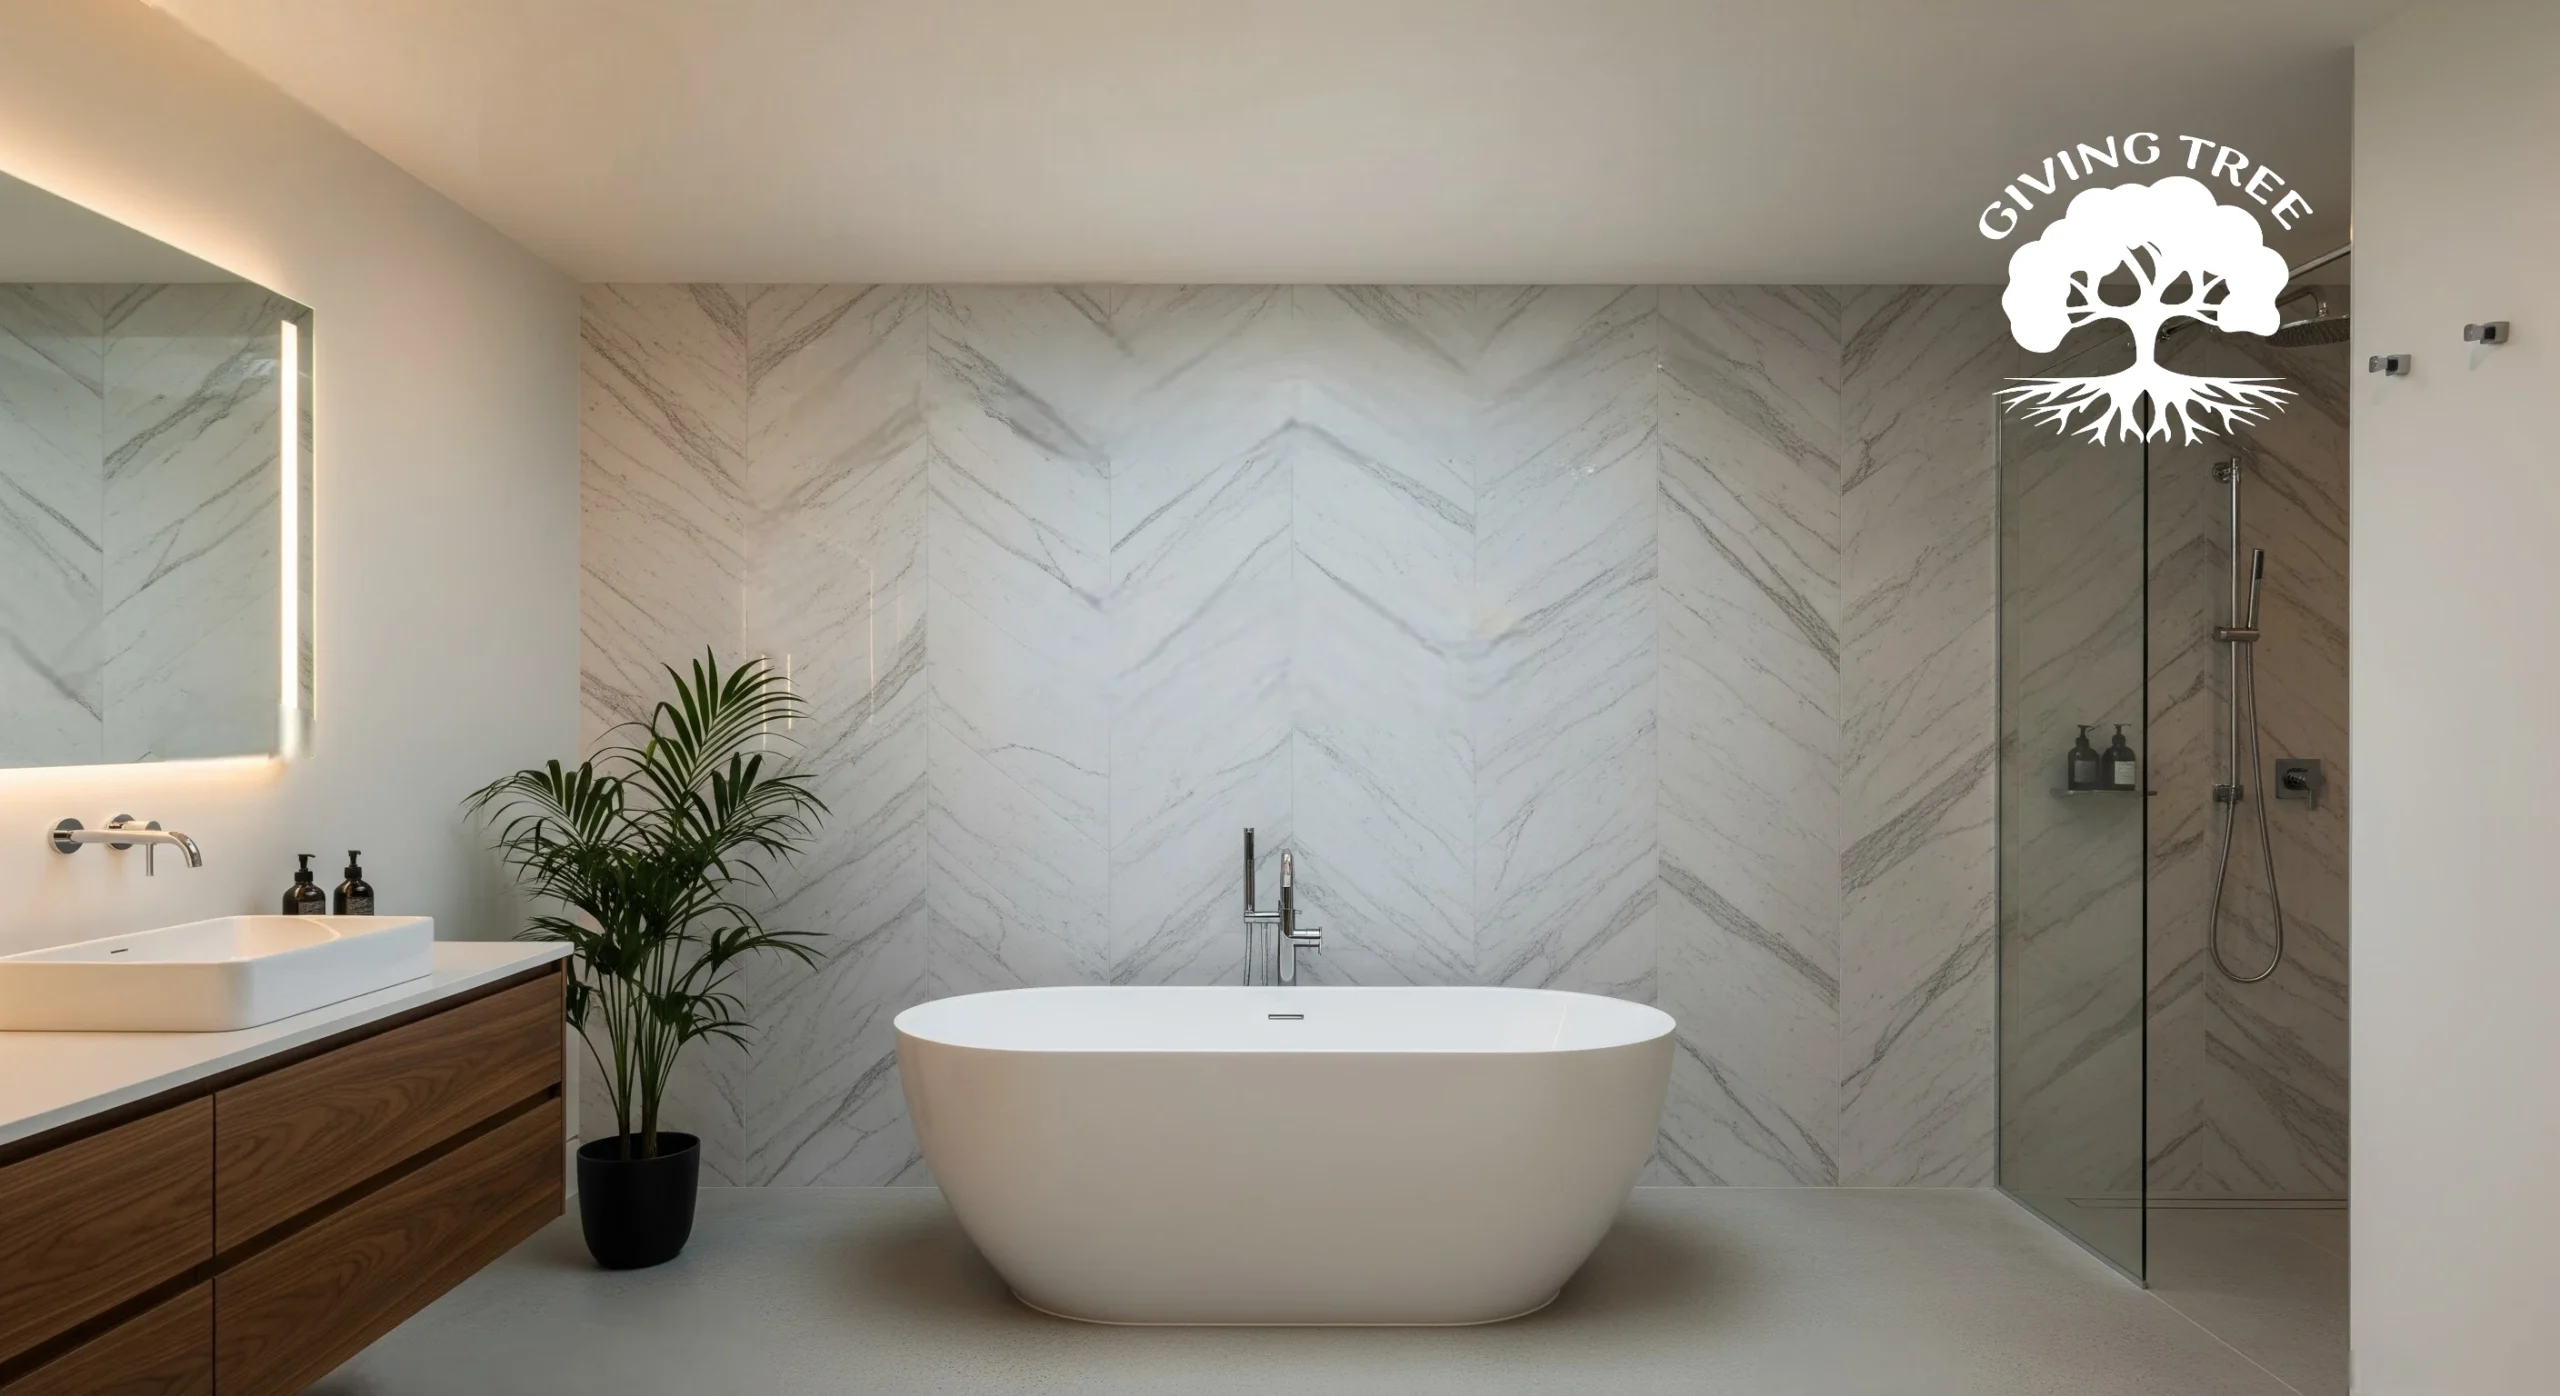
Sustainability and Sourcing
Wood is a renewable material when harvested responsibly. A solid wood door can be maintained and refinished for decades, which helps you keep materials out of the waste stream. At end of life, wood is easier to recycle or repurpose than many composites.
When Another Material Fits Better
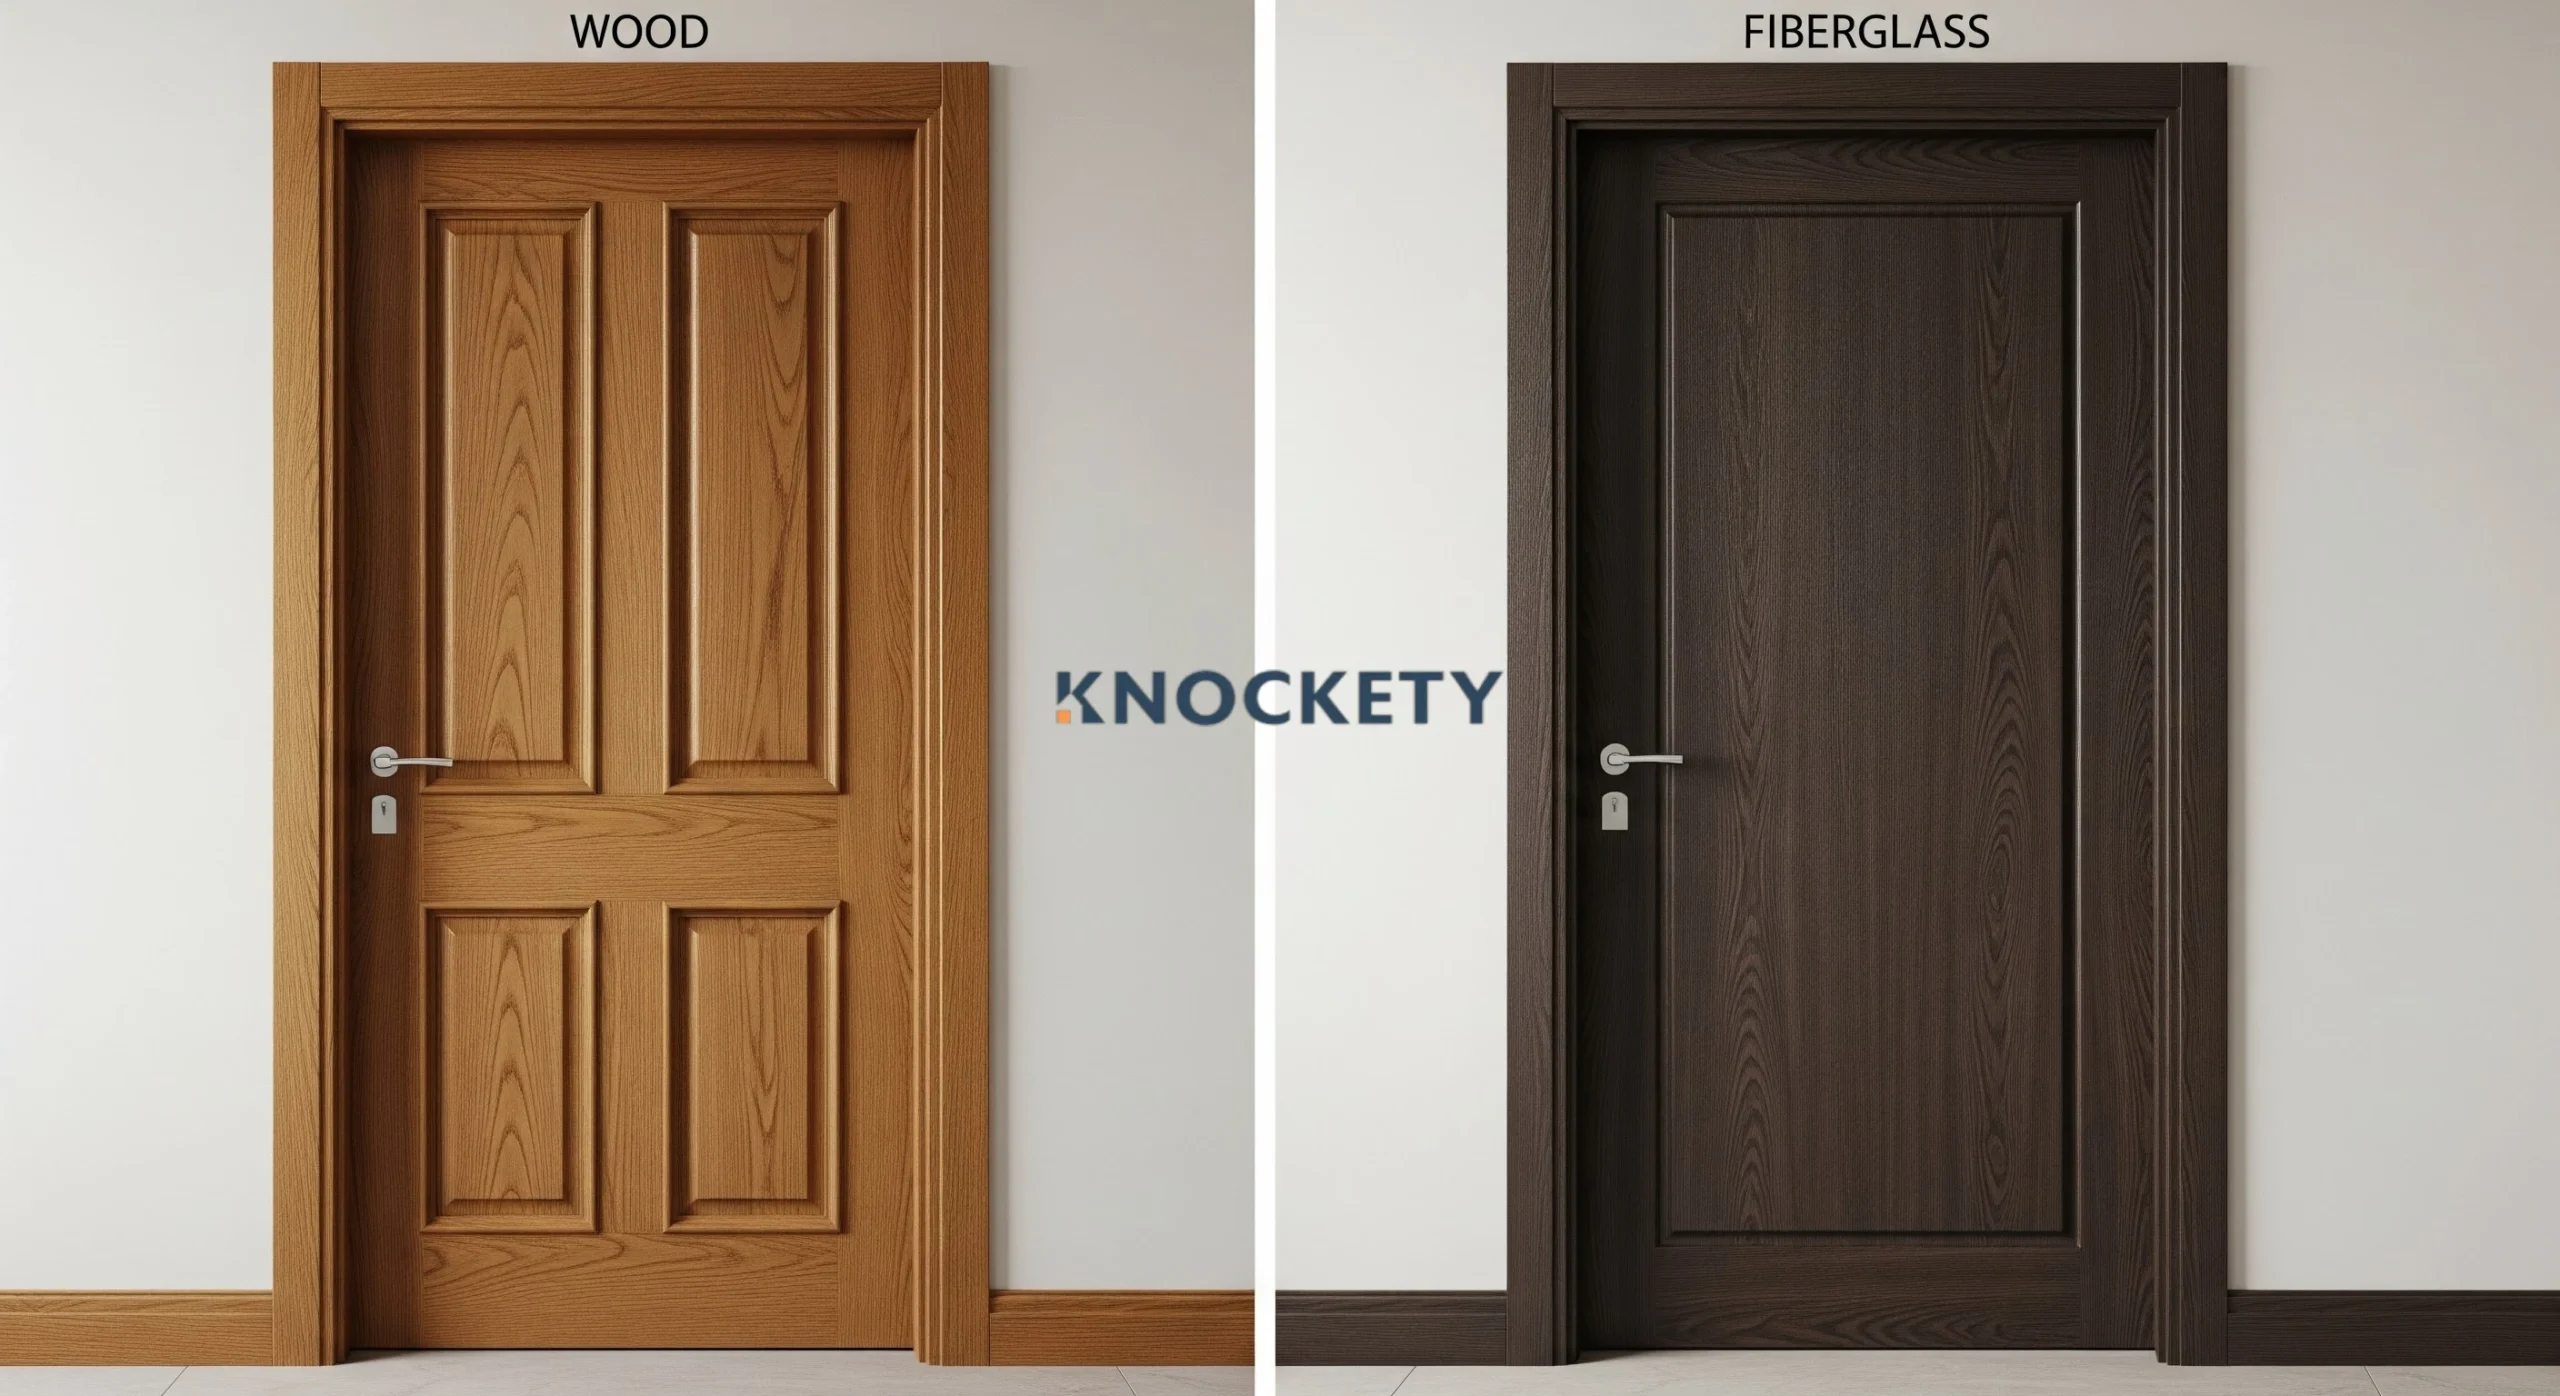
If an exterior opening in a high-exposure spot takes direct weather with limited overhang, you might consider a fiberglass entry that mimics wood grain. If you still want wood inside, you can keep the interior package solid wood and use fiberglass for that one exterior exposure. Keep the profiles consistent so the house still reads as one design story. You can evaluate these side by side in a builder showroom.
How to Choose the Right Solid Wood Door for Your Home
- Decide the role. Entry, bedroom, office, pantry, or pocket. Each has different privacy, glass, and sound needs.
- Pick the panel style. Flat panel for modern, raised or shaker for traditional, glass lites for borrowed light.
- Choose the species and finish. Line this up with floors and trim so your eye reads one palette.
- Match the hardware. Hinge type, lever set, backplate size, and finish.
- Plan installation and timing. If you are mid-purchase, align any door asks with your inspection window, then handle credits or repairs before closing so there are no surprises later.
FAQs
Are solid wood doors worth it?
Yes. You get daily function, a quieter home, better perceived quality, and a finish you can refresh over time. Those benefits show up during showings and inspections when it is time to sell.
How long do they last?
With proper sealing and routine care, decades. The ability to repair and refinish extends the life of the door far beyond a basic hollow-core panel.
Do they help with insulation?
A solid slab with tight weatherstripping reduces drafts and helps your system keep a steady temperature, which supports overall comfort and operating costs. During due diligence on a purchase, this type of detail often comes up as part of repair requests or credits.
Can you repair dents or scratches?
Yes. Light sanding and spot staining usually blend small marks. Heavier damage can be patched, then re-finished to match.
At Knockety, you can shop styles that fit a craftsman bungalow, a modern farmhouse, or a clean contemporary home. Pick your species, panel layout, and glass, then line up the hardware to match. If you are building or under contract, bring those decisions to the table early so they are part of the package rather than an afterthought.