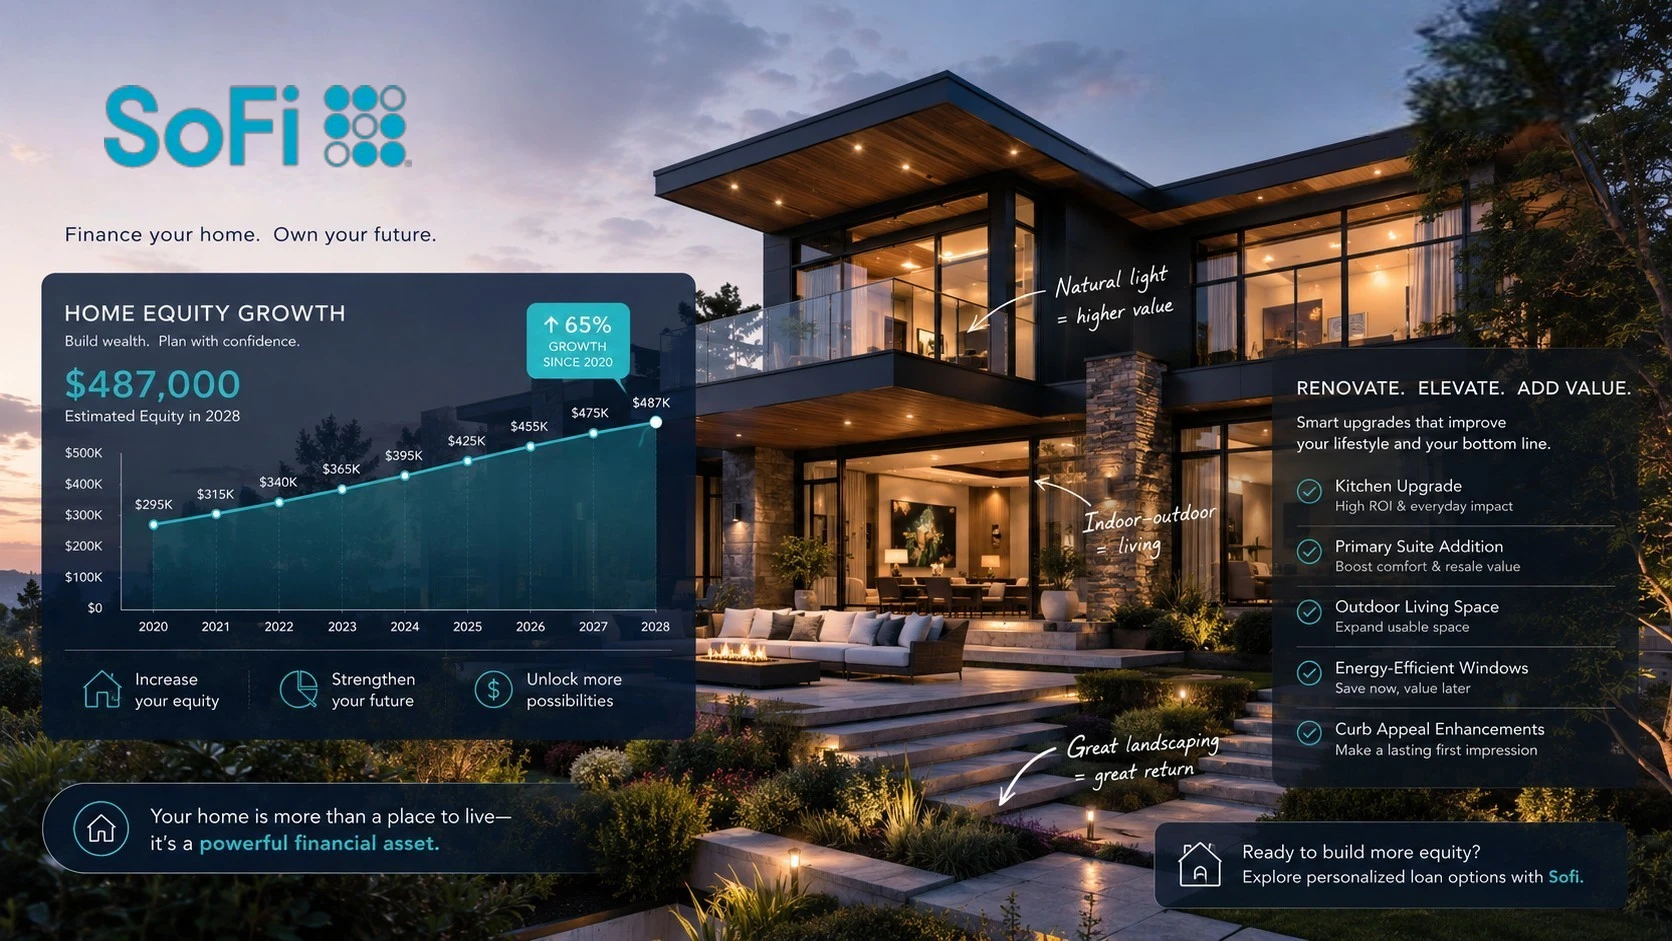
It’s easy to get pulled toward the projects that look the most dramatic. A luxury kitchen, a custom pool, or a full backyard makeover can make a house feel completely different. But when you’re thinking about resale value, the flashiest upgrades are not always the ones that pay you back the most.
The best home improvements usually do two things at once. They make the home easier to live in now, and they make it easier to sell later. Whether you’re getting ready to list your house or just trying to spend your renovation budget wisely, it helps to know which upgrades tend to give homeowners the strongest return on investment.

1. Exterior Upgrades Usually Bring the Highest Return
Curb appeal still matters a lot. Buyers start forming an opinion before they ever step inside, and a clean, updated exterior can make the whole property feel better maintained.
Some of the strongest ROI projects are exterior improvements, especially garage door replacement, front door replacement, manufactured stone veneer, siding updates, exterior paint, outdoor lighting, and basic landscaping cleanup.
These projects are not always the most exciting, but they are highly visible. A new garage door or fresh front entry can change the way a house looks in one afternoon, and that first impression can carry through the rest of the showing.
2. Minor Kitchen Remodels Are Still a Smart Bet
The kitchen is still one of the first places buyers look. It is where people imagine cooking, gathering, helping kids with homework, or having friends over. That makes kitchen updates one of the safer places to spend money.
The key is not to overdo it. A full luxury kitchen remodel can get expensive fast, and you may not get every dollar back when you sell. In many homes, a lighter update makes more sense.
Painting cabinets, replacing cabinet hardware, adding modern lighting, updating countertops, replacing old faucets, and switching to energy-efficient appliances can make the kitchen feel fresh without turning the project into a money pit.
A clean, functional kitchen with finishes that most buyers can live with will usually do more for resale than a very personal, high-end remodel.
3. Bathroom Updates Can Make the Home Feel Much Newer
Bathrooms are small, but buyers pay close attention to them. An outdated bathroom can make the whole house feel older than it really is.
You do not always need to move plumbing or tear everything out. A new vanity, updated mirror, better lighting, fresh paint, new tile, or water-efficient fixtures can make a big difference.
The goal is simple. Make the bathroom feel clean, bright, and easy to use. Buyers do not need every bathroom to feel like a hotel spa, but they do want it to feel taken care of.
4. Fresh Paint Is Still One of the Easiest Wins
Painting may not sound like a major improvement, but it can completely change how a home feels.
Fresh paint makes rooms look cleaner, brighter, and better maintained. Neutral colors also make it easier for buyers to picture their own furniture and style in the space.
If you are getting ready to sell and only have room in the budget for a few updates, paint should usually be near the top of the list. It is relatively affordable, fast, and easy for buyers to notice.
5. New Flooring Can Change the Whole Feel of a Home
Old carpet, cracked tile, or mismatched flooring can drag down an otherwise nice house. Flooring is one of those things buyers notice right away, even if they cannot always explain why the home feels dated.
Luxury vinyl plank, engineered hardwood, hardwood flooring, and modern tile are all popular options, depending on the home and the price point.
The biggest thing is consistency. A house with flooring that flows well from room to room often feels more polished than a house with a different material in every space.
6. Energy-Efficient Upgrades Are Becoming More Important
Buyers are paying more attention to monthly costs. A home that looks good is one thing. A home that is cheaper and more comfortable to run is even better.
Energy-efficient windows, better insulation, smart thermostats, LED lighting, updated HVAC systems, and efficient appliances can all help.
Not every buyer will sit down and calculate the exact savings, but most people like the idea of lower utility bills. These upgrades can also make the home feel more modern.
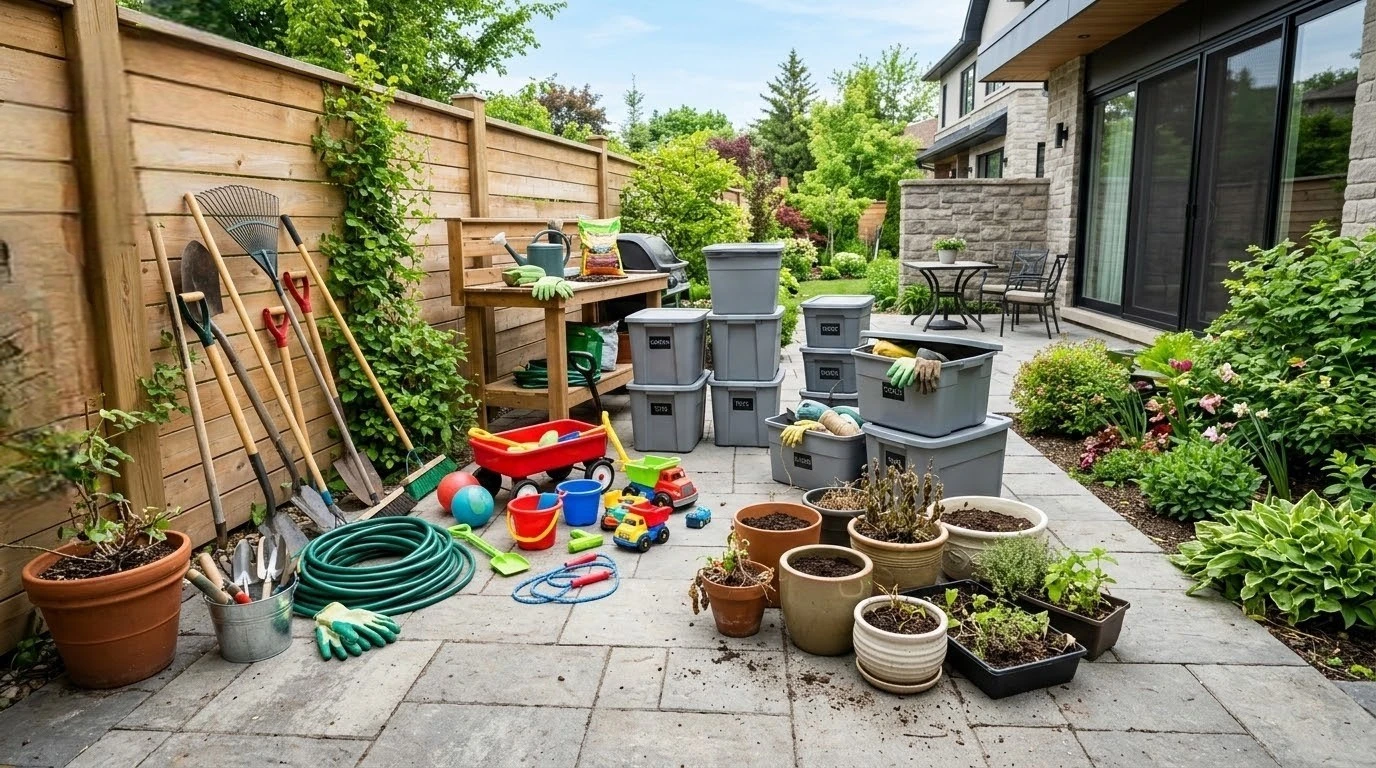
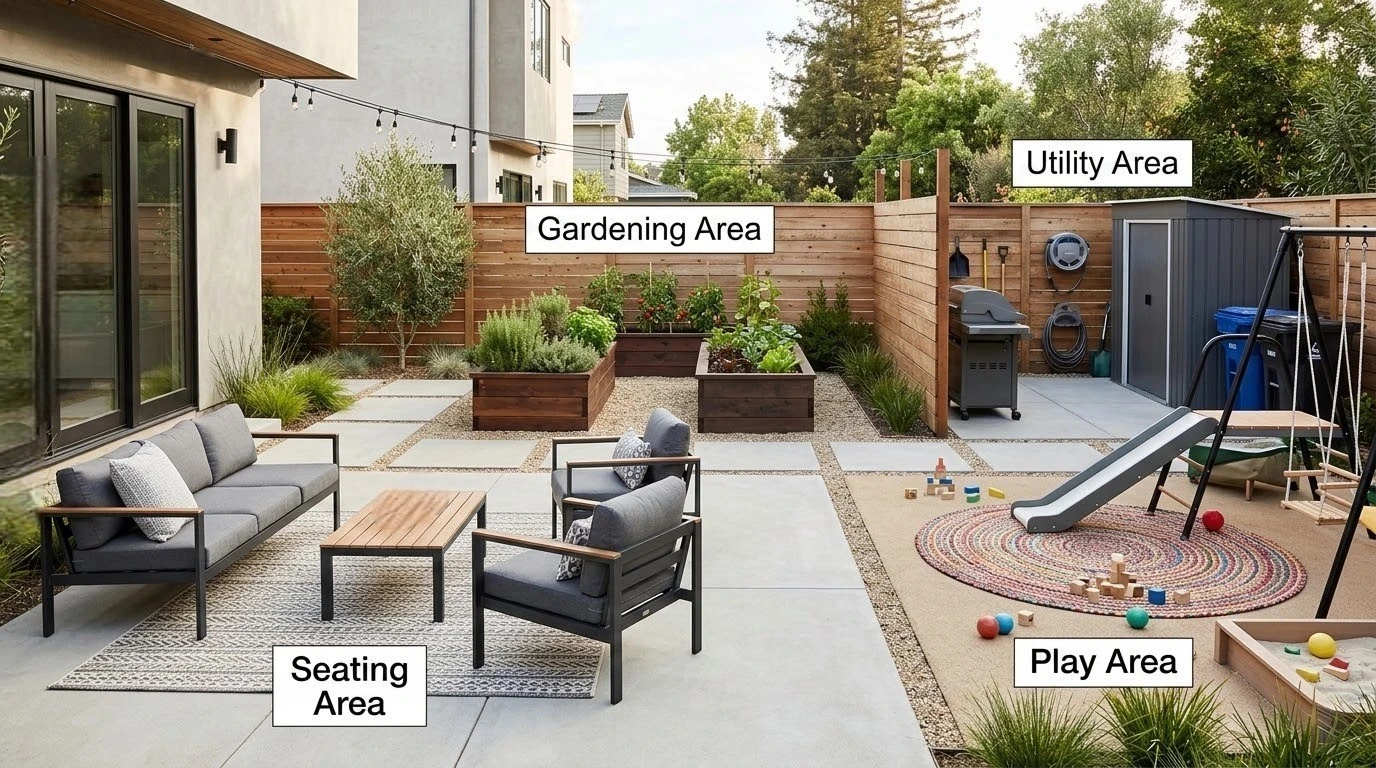
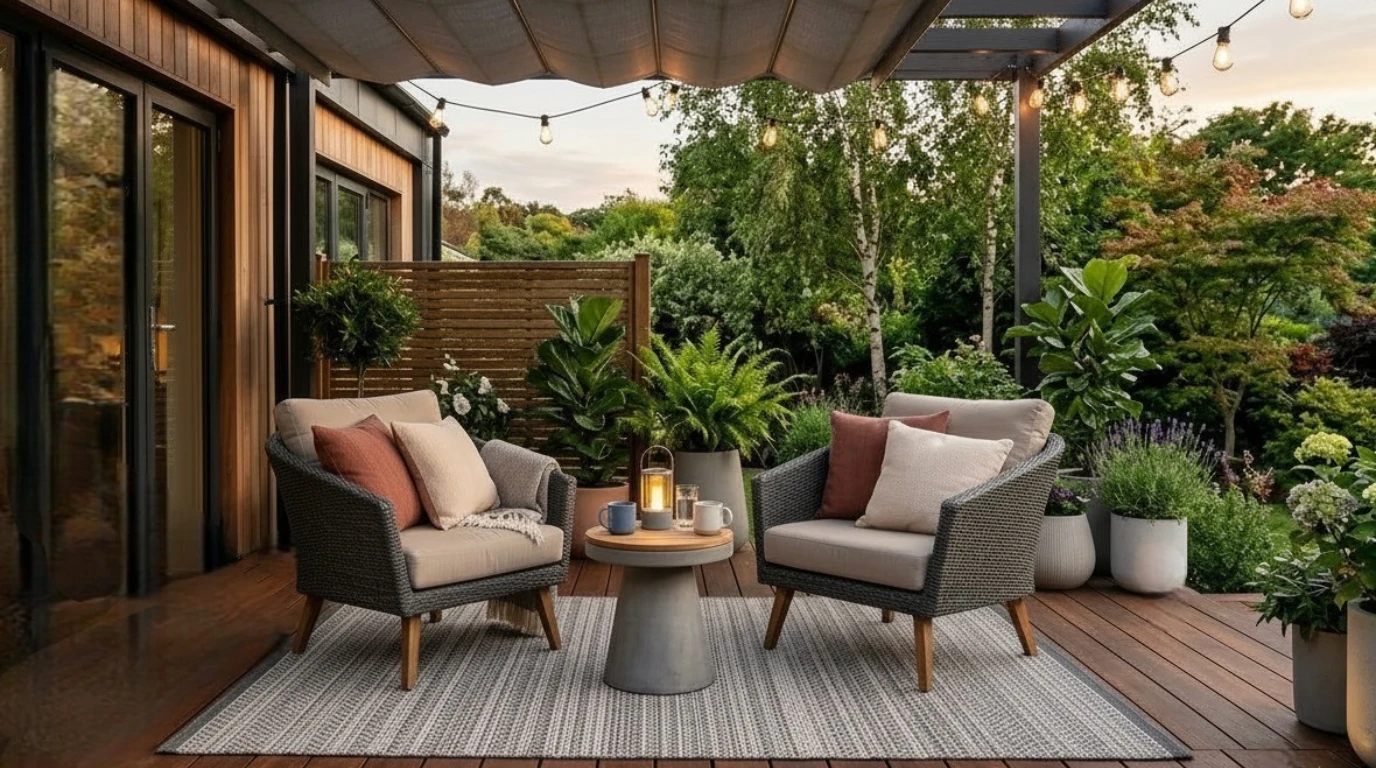
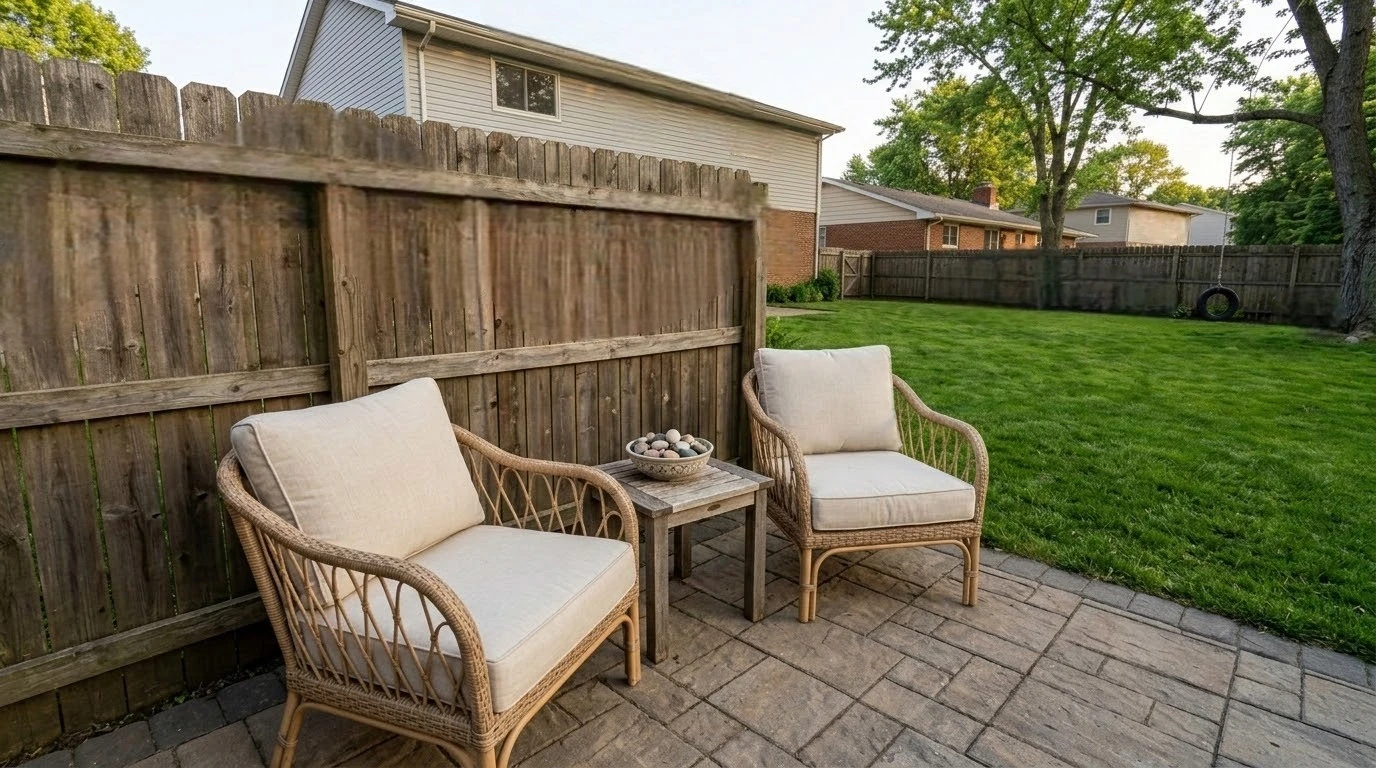
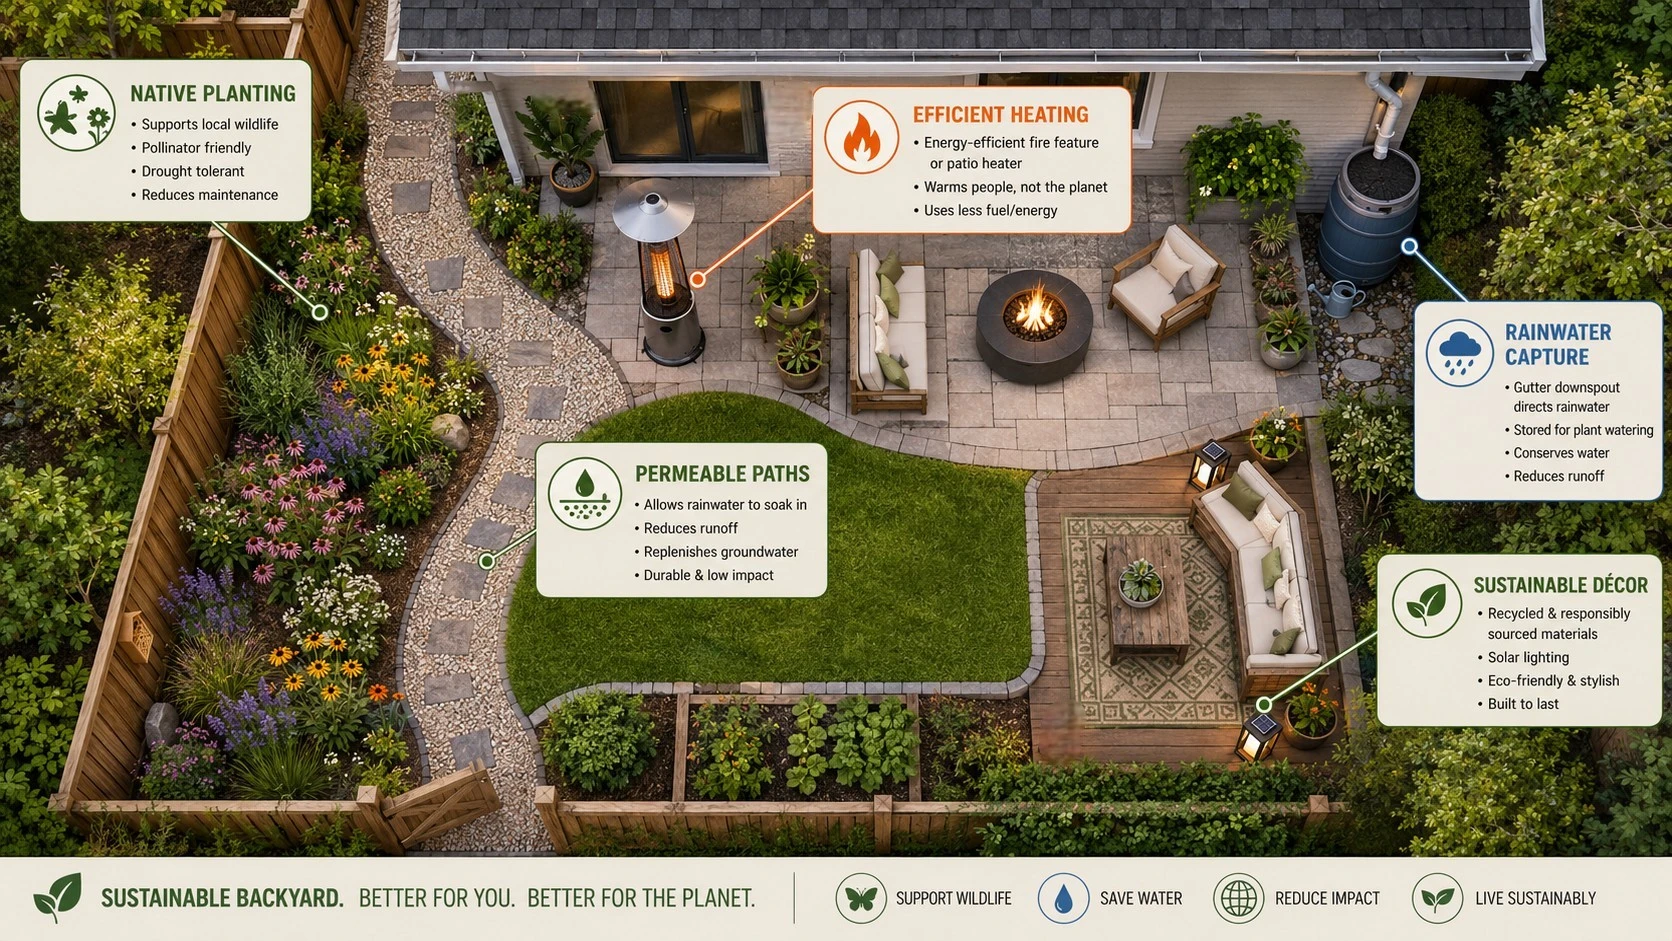
7. Outdoor Living Space Still Has Real Appeal
You do not need a resort-style backyard to make outdoor space valuable. A simple, usable backyard can be enough.
A clean patio, a better deck, a seating area, a fire pit, shade, and low-maintenance landscaping can make the home feel larger because they extend the living space outside.
The best outdoor upgrades are the ones people can actually picture using. A place to drink coffee, grill dinner, sit with friends, or let the kids play will usually matter more than an expensive feature that only looks good in photos.
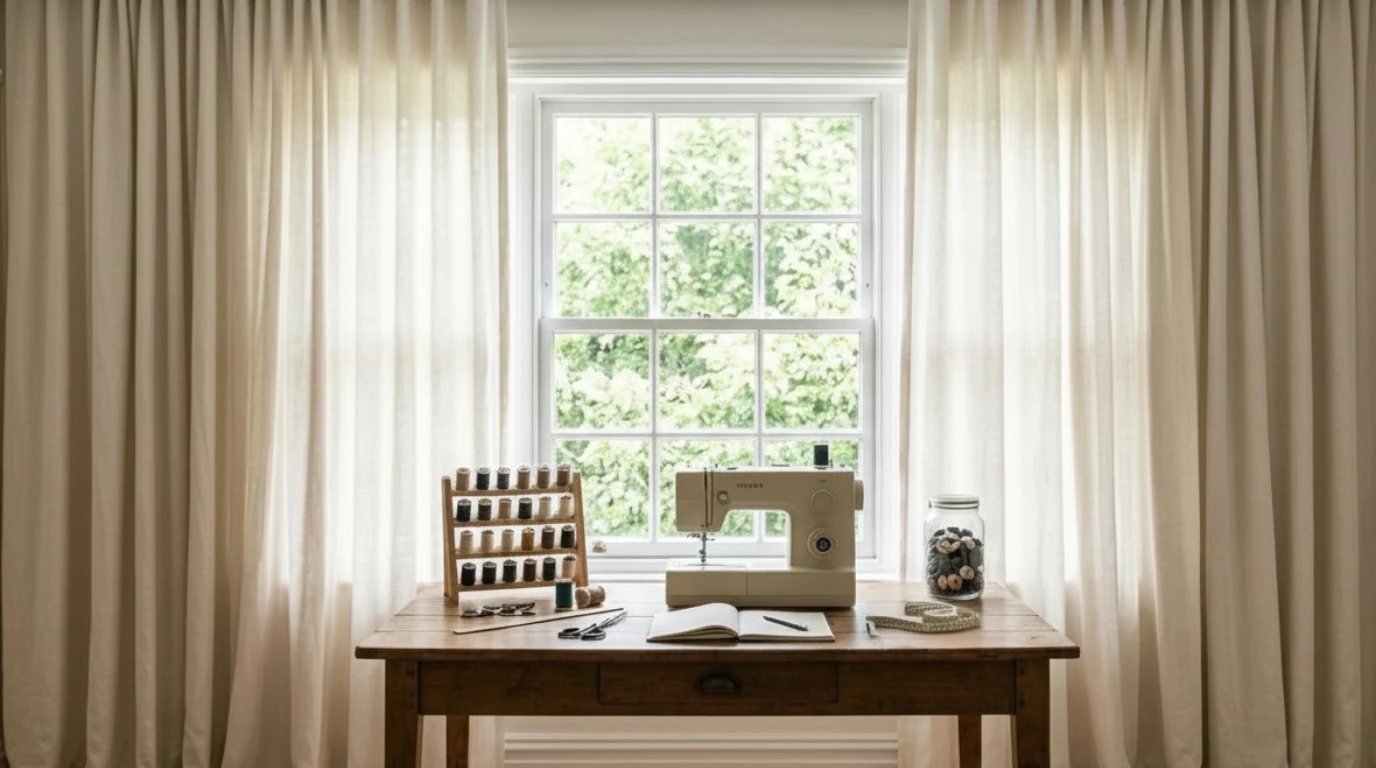
8. A Dedicated Home Office Can Help the Right Buyer Say Yes
Remote and hybrid work changed what a lot of buyers look for. Not everyone needs a full office, but many buyers want at least one quiet, usable space where they can work.
That could mean turning a spare bedroom into an office, adding built-in storage, improving lighting, or making sure the room has strong internet access.
The space does not have to be fancy. It just needs to feel practical. A buyer should be able to walk in and immediately understand how the room could work for daily life.
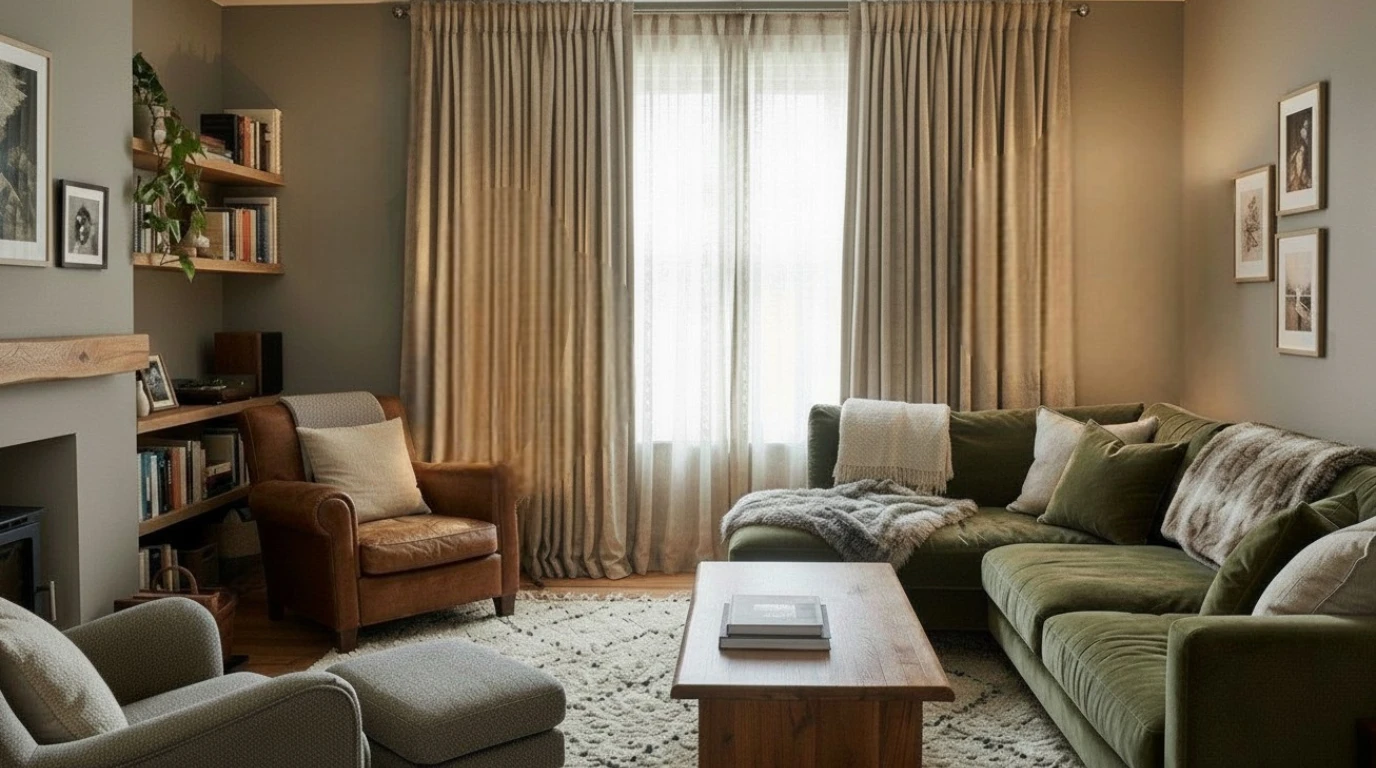
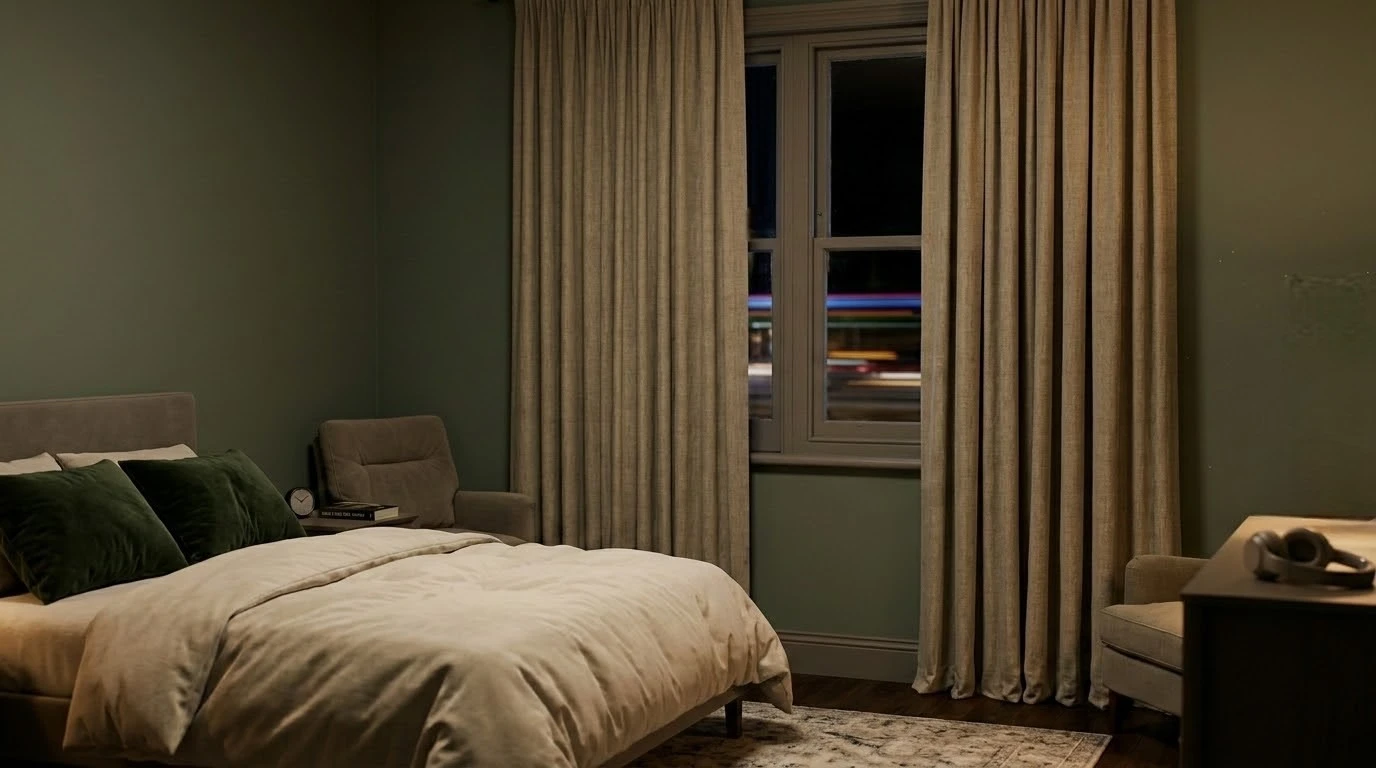
9. Primary Bedroom Updates Are More About Comfort Than ROI
A primary bedroom can help sell the feeling of the home. Buyers want a space that feels calm, comfortable, and separate from the busier parts of the house.
That said, this is not always the place to spend heavily if your only goal is return on investment. Smaller updates usually make more sense.
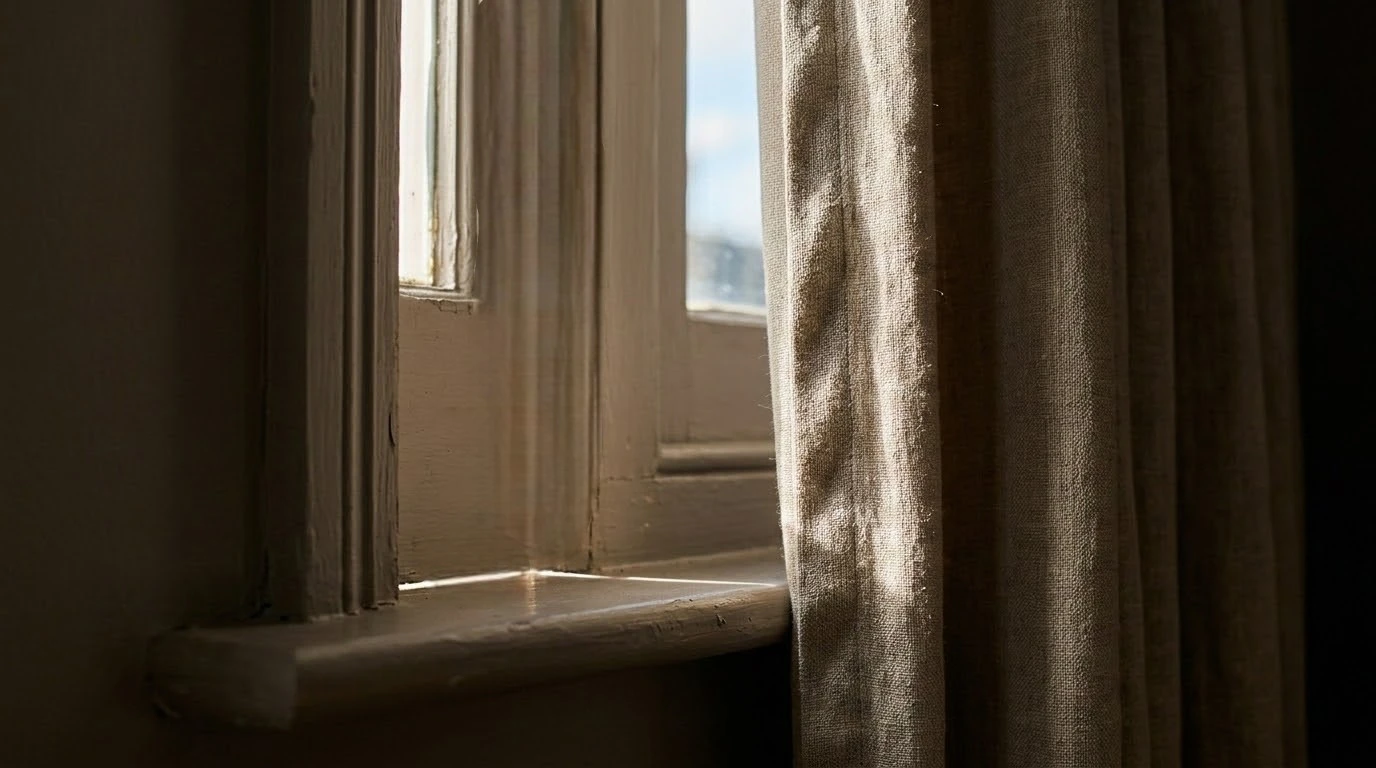
Many homeowners are also investing innovative sleep comfort systems to create a more luxurious bedroom experience. Fresh paint, better lighting, updated window treatments, improved closet organization, and a more comfortable sleep setup can make the room feel more finished without turning it into an expensive remodel.
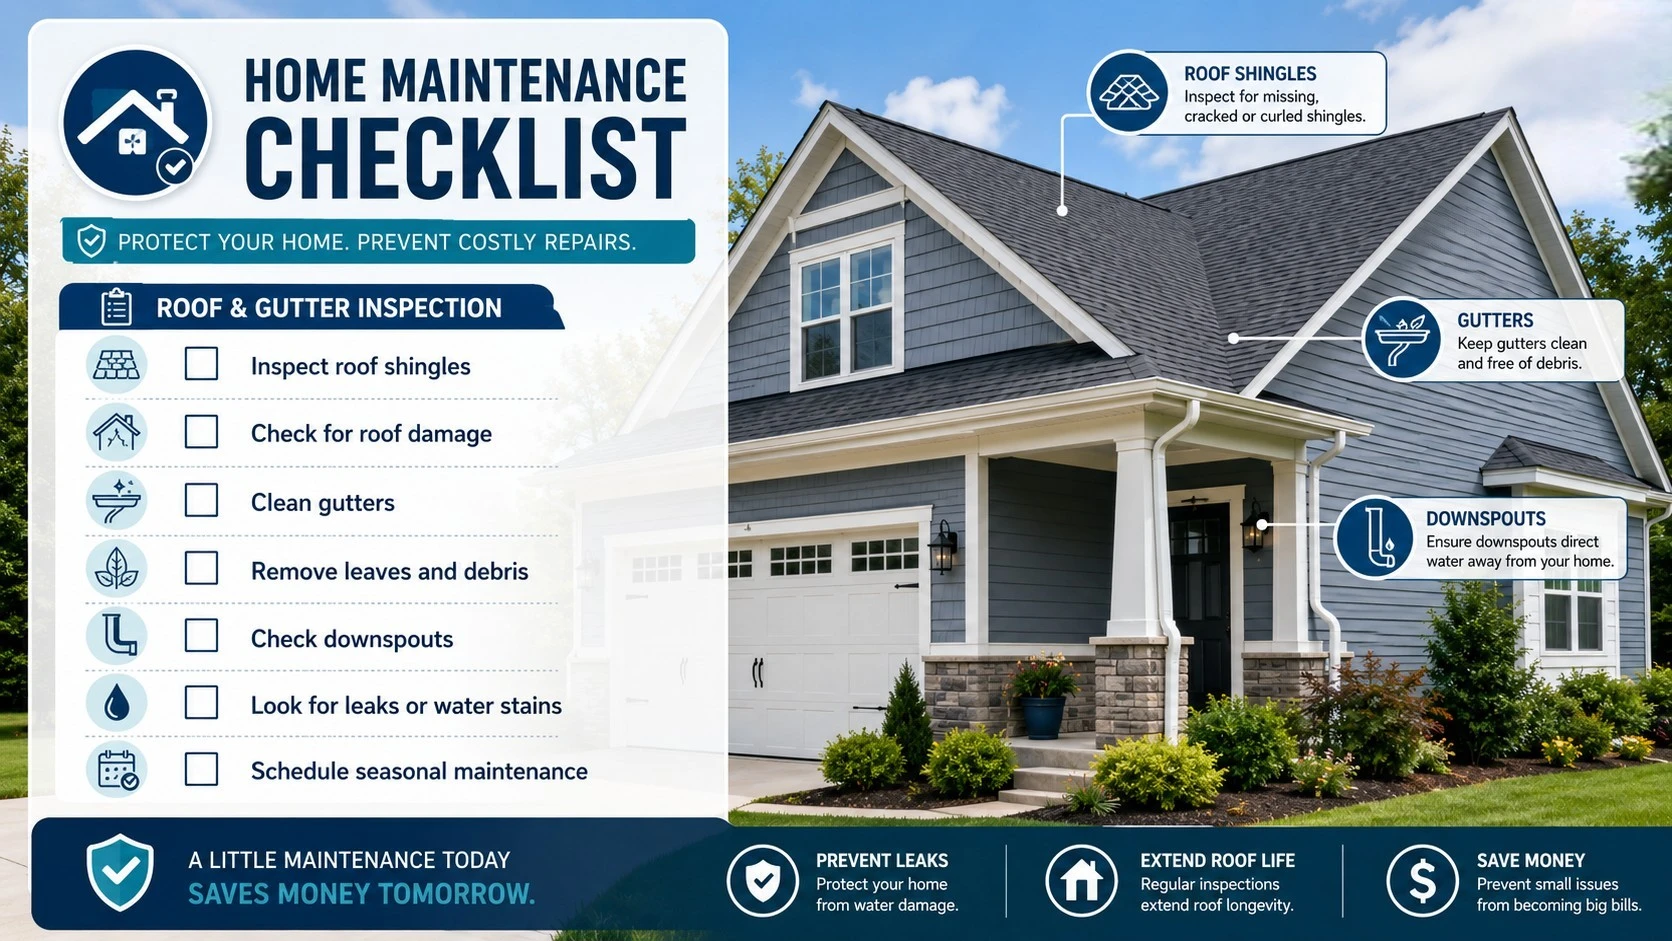
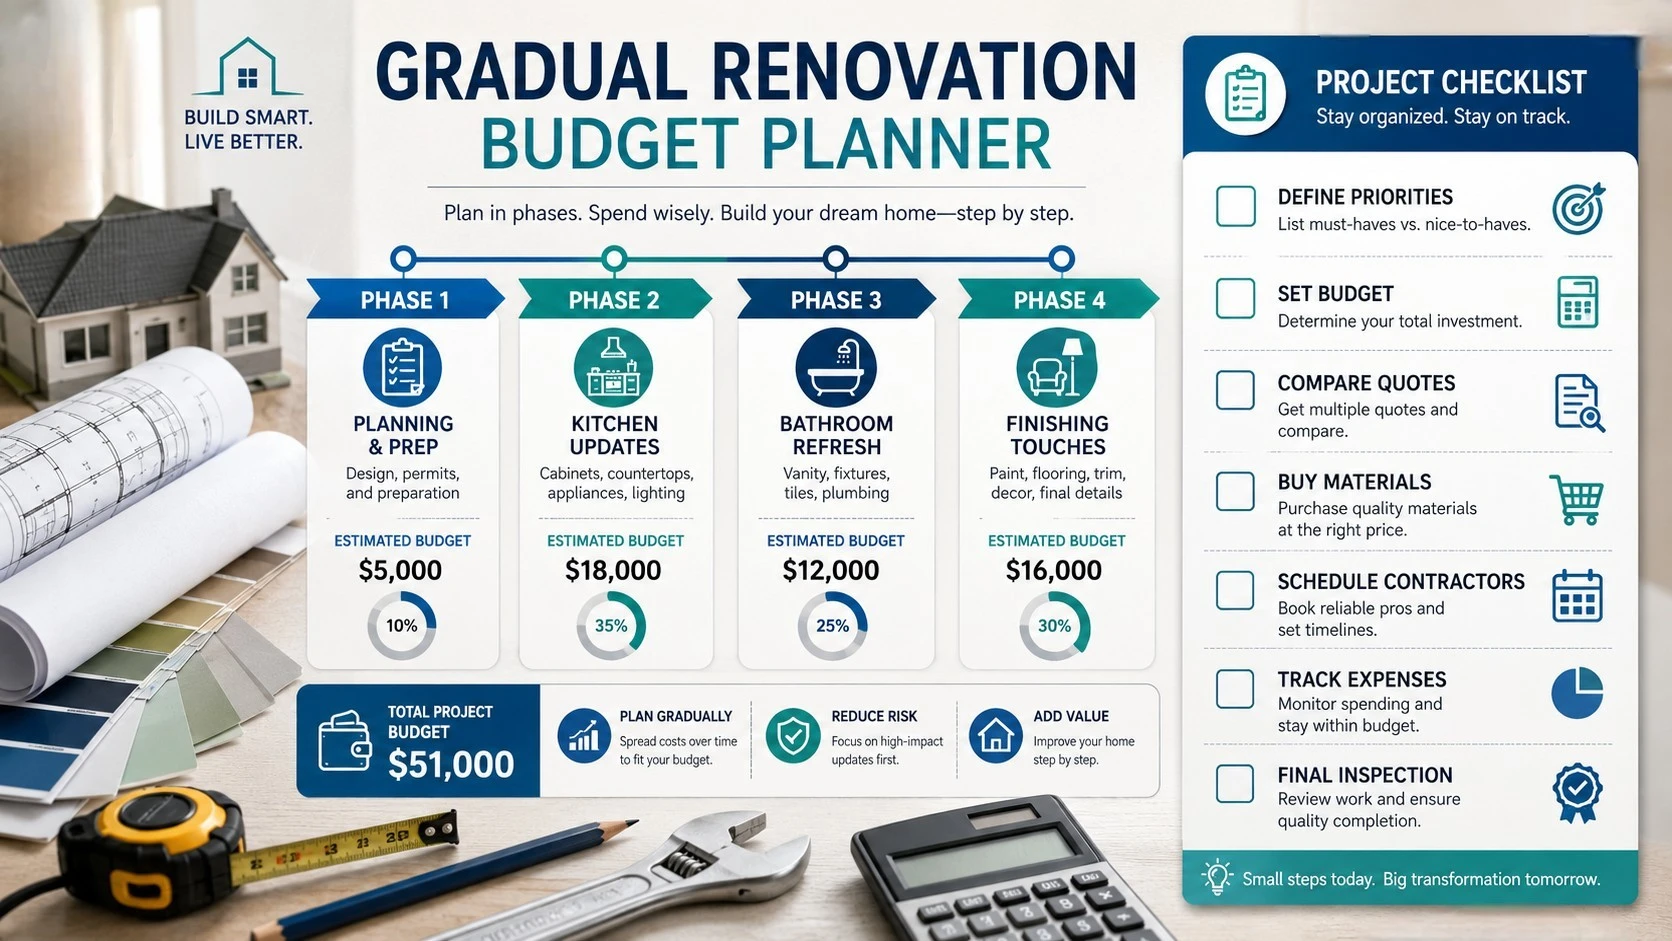
10. Basic Maintenance May Matter More Than Anything Else
Some of the most important home improvements are the least exciting.
A new roof, an updated HVAC system, plumbing repairs, electrical work, foundation repairs, and water damage remediation may not give you a dramatic before-and-after photo. But buyers absolutely care about them.
Big maintenance problems scare buyers because they see future bills. A house with solid systems feels safer, cleaner, and easier to move into. That can be just as important as a beautiful kitchen or fresh paint.
The Bottom Line
The home improvements with the best return on investment are usually practical. They improve how the home looks, how it functions, or how confident a buyer feels about the property.
Instead of chasing the most expensive trends, focus on the things buyers notice right away: curb appeal, kitchens, bathrooms, paint, flooring, energy efficiency, outdoor space, and basic maintenance.
A good renovation does not have to be flashy. It just has to make the home feel cleaner, easier to live in, and better cared for. That is usually where the real return is.