Tag: Home Inspection

  • 5 Irrigation Upgrades That Protect Your DFW Home’s Foundation

    I dig in North Texas clay for a living. After a decade in the business, I can tell you: our soil doesn’t care about your house. It swells when it rains and cracks open when it dries. A 2025 study found that over 70% of Dallas-Fort Worth is sinking, the highest among 28 major U.S. cities.

    About 20% of DFW homes have foundation problems, and Texas foundations fail at 10 times the national average. If you are considering purchasing a home in DFW, it is essential to recognize that foundation issues pose a significant risk in the local real estate market and often serve as the primary obstacle to closing a sale. Unrepaired foundation damage can reduce a home’s value by 10 to 25 percent, which is up to $94,000 on a median-priced DFW property valued at $375,000.

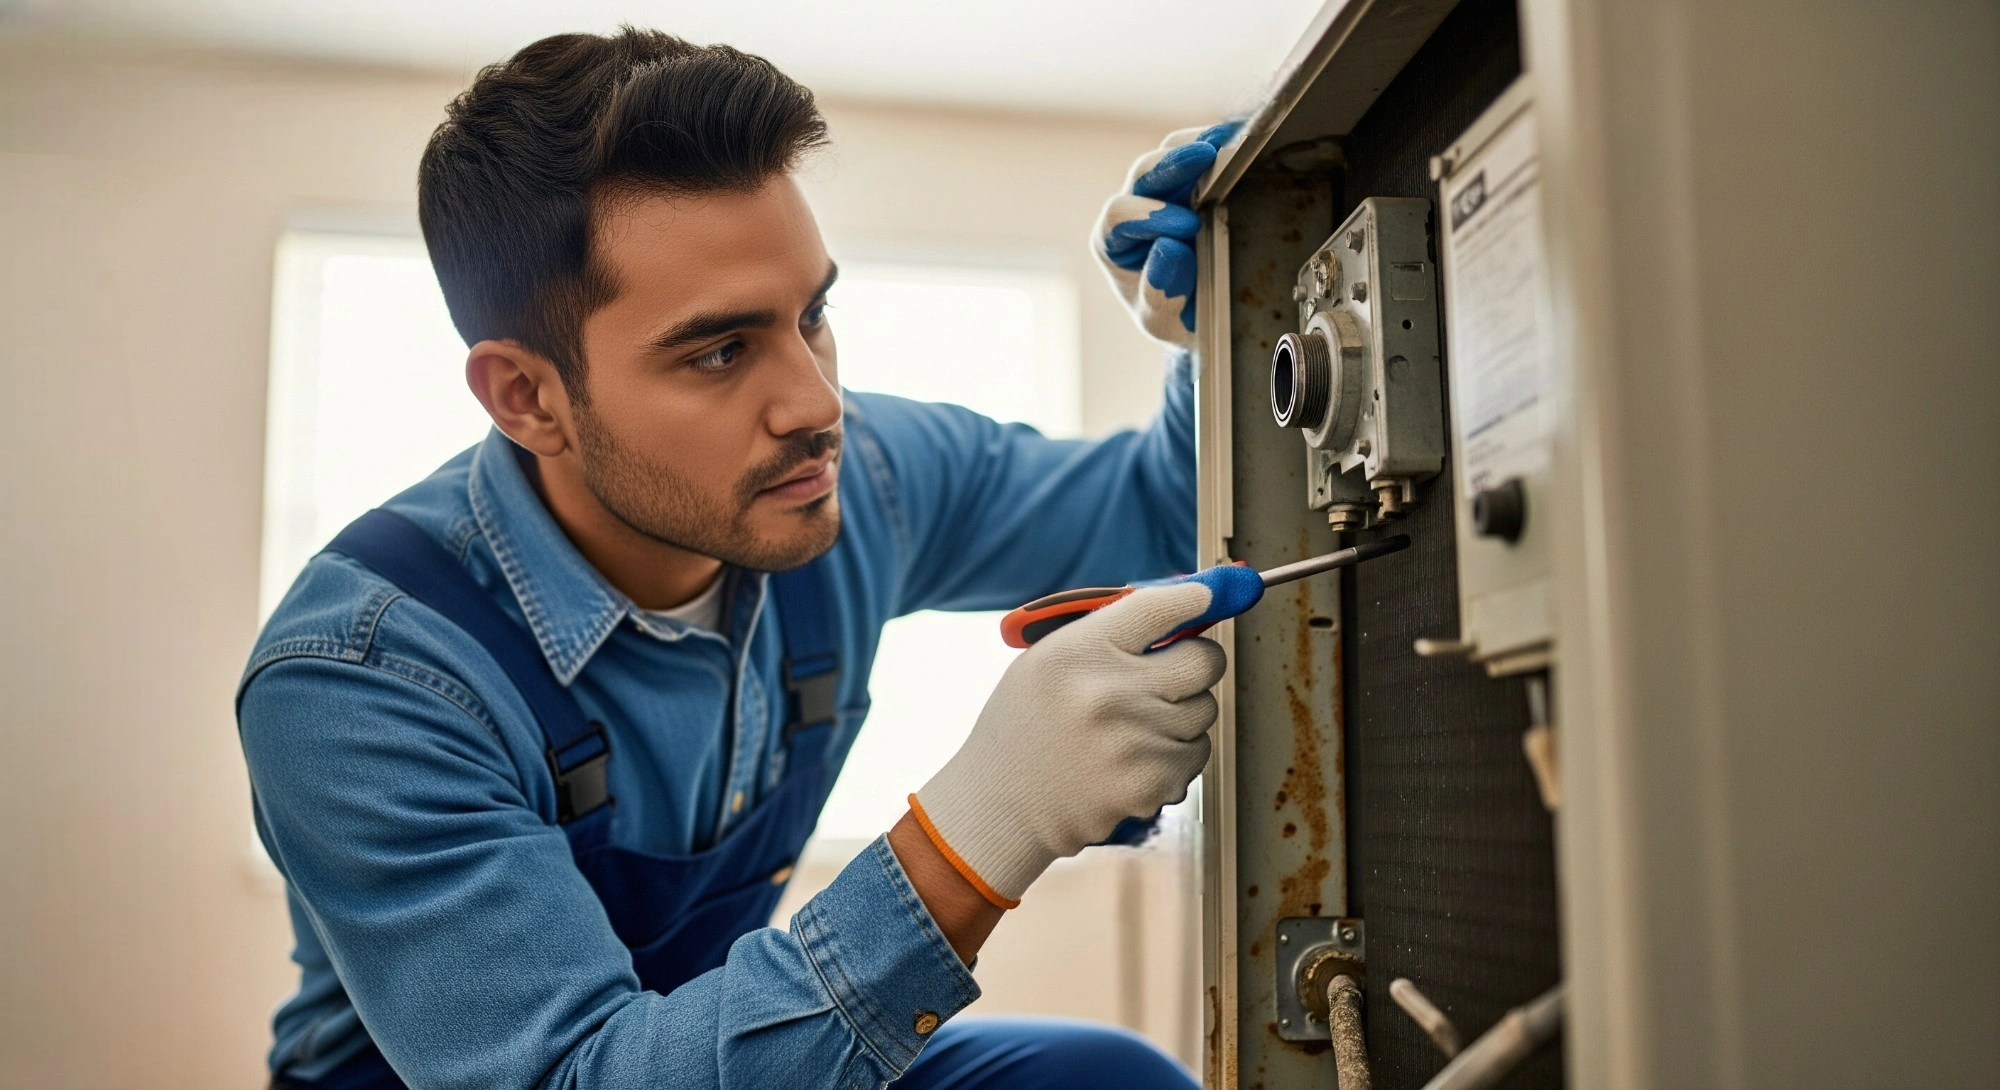
    Before finalizing a purchase, it is important to understand how specific home services, particularly irrigation solutions that stabilize soil moisture, can affect a home’s foundation condition and long-term value. The way I explain it to homeowners: we can’t keep the soil dry; it’s North Texas, it’s going to rain. So we have to keep it wet. Equally wet. And not at the surface, but two, three, four feet down, where your foundation actually sits. Your sprinkler system is one of the best tools for that, and with expansive clay, consistency is the whole game.

    1. Foundation Drip Line: Year-Round Insurance

    A drip line around the foundation perimeter keeps soil moisture stable (not wet, but stable). The goal is to stop the shrink-swell cycle that causes slab cracks.

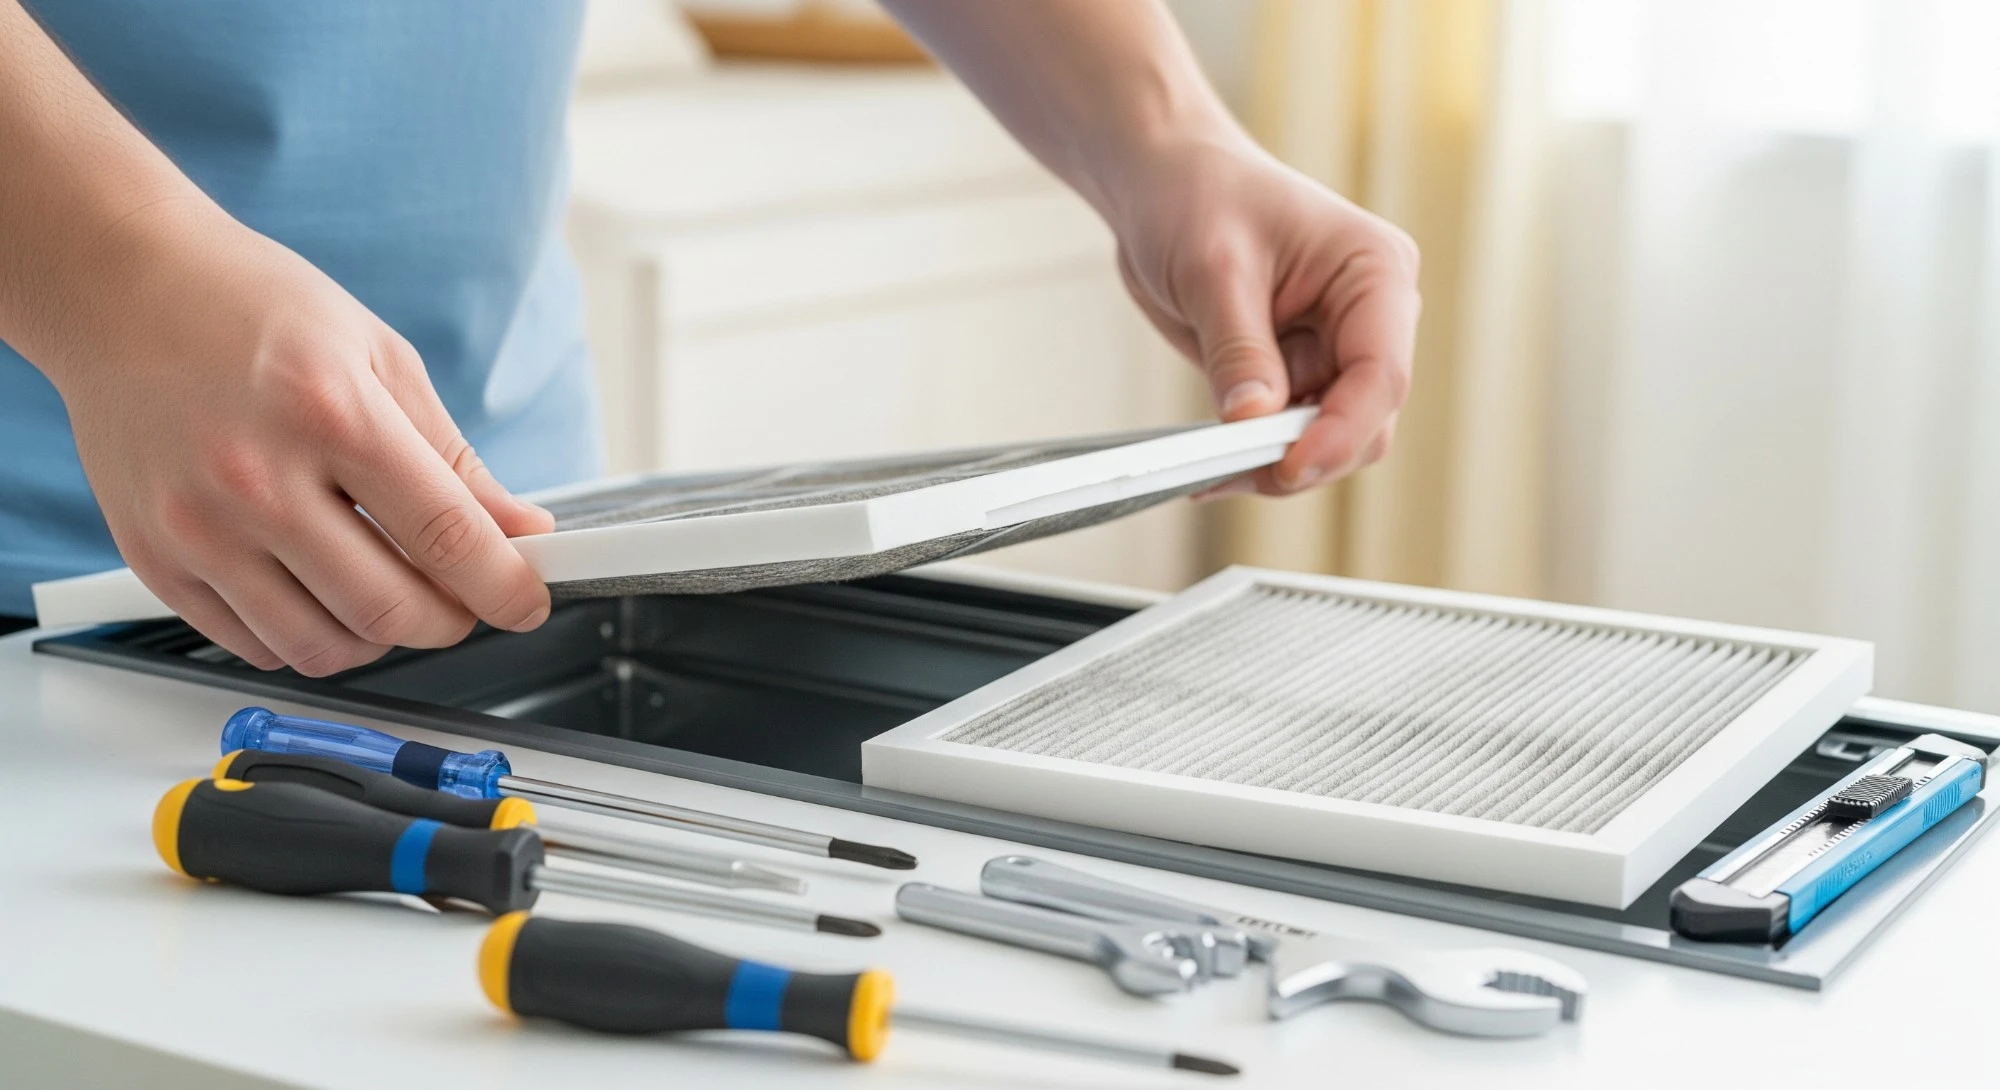
    Many homes have builder-grade drip systems, but most are installed wrong: too close to the house, too shallow, or exposed. Check yours: tubing should be 12 to 18 inches from the foundation and buried 4 to 6 inches deep. A quick measurement now can save you trouble later.

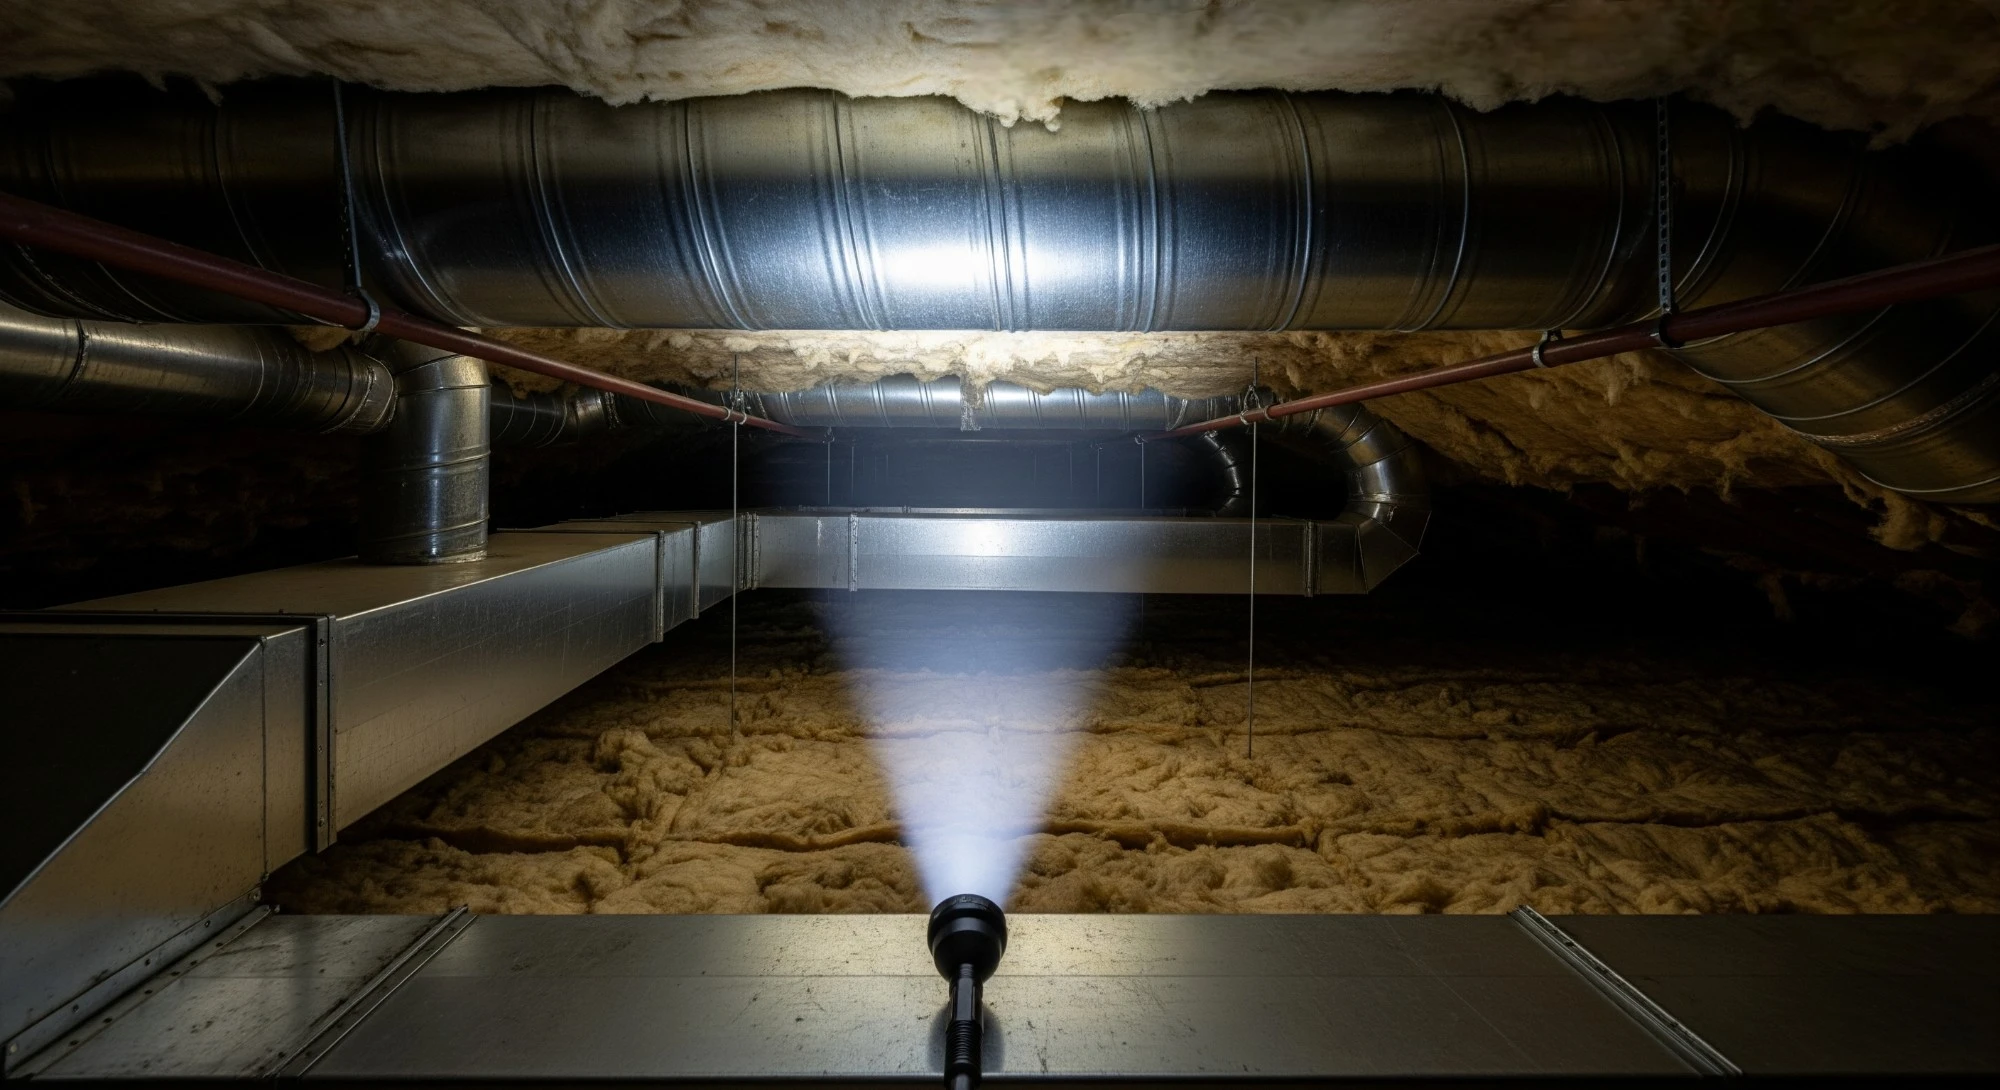
    The real win is that a dedicated drip zone lets you water your foundation without running your whole sprinkler system. Most DFW systems only have turf and bed zones, and to push moisture deep enough in clay, you need cycle-and-soak passes that run your entire yard. When drought restrictions hit, you can’t keep up.

    But foundation drip is exempt from most North Texas twice-weekly restrictions. Under NTMWD rules, you can water your foundation for up to 2 hours on any day, even during Stage 3. A drip system runs $2,000 to $2,500 to install, depending on your home’s perimeter (that includes adding a dedicated valve and zone to your existing system). A typical DFW foundation repair runs $3,000 to $7,500. Full underpinning: $75,000 to $125,000. Spend $2,500 now or $75,000 later. Prevention is smart money.

    2. A Smart Controller

    Most homeowners set their controller once and never touch it again. Same schedule in May as in August. Foundation repair companies report 20 to 30% spikes in service calls during dry years (CBS Texas), and that’s what happens when systems can’t adapt.
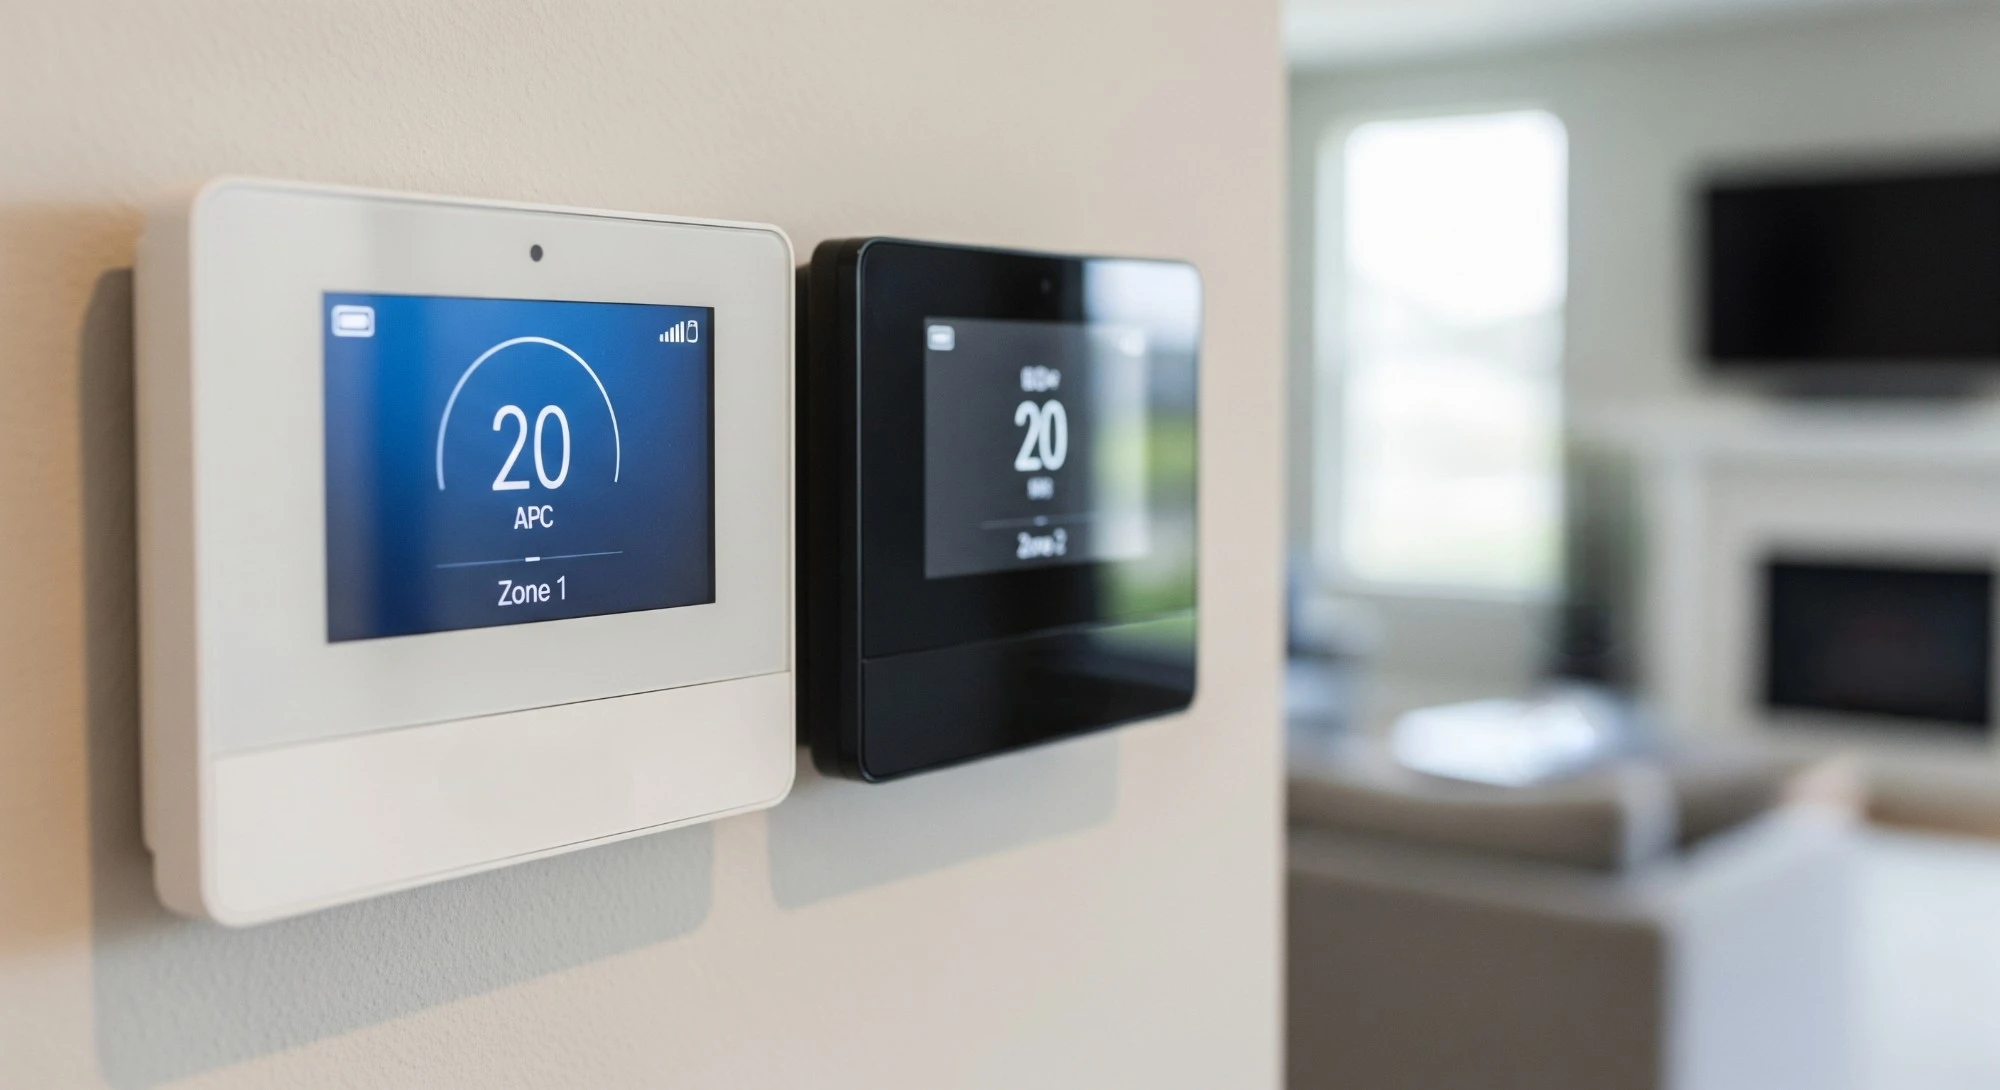
    smart controller like Rachio or Hunter Hydrawise pulls local weather data and automatically adjusts your schedule. When it’s 105 and bone dry, your foundation zone runs longer. After a week of rain, it backs off. For foundation protection, that automatic consistency might be the single most valuable upgrade you can make.

    3. Soil Moisture Sensors

    Here’s something I see constantly: the south side of a house is bone dry, and the north side is saturated. There’s a big pecan tree on one corner pulling 150 to 250 gallons of water a day out of the soil. The homeowner has no idea because, on the surface, the lawn looks fine. That differential is what actually breaks foundations: one side shrinking while the other expands.

    Sensors placed at multiple points around the foundation, three or four feet deep, show you what’s really happening at the foundation level. Without the data, you’re guessing.

    4. Surface Drainage

    Keeping the soil moist is important, but water that pools near the foundation is equally damaging. That’s where drainage comes in. It’s not technically irrigation, but it’s a service often offered by the same irrigation and landscape companies, and it has to work hand in hand with your watering system. When water is allowed to sit within a few feet of the slab, it can spread underneath the foundation and cause the clay to expand and lift unevenly. That’s called heaving, and it creates the same cracks and structural stress as drying out.

    We want the soil evenly wet. Pooling or ponding near the foundation is the opposite. The first piece is proper grading. The dirt around your home needs to be sloped away from the foundation so water flows off naturally rather than pooling against the slab.

    Surface drains and French drains are the two most common solutions after that. Both are designed to collect water and move it away from the house fast, before it has a chance to soak in and cause heaving.

    5. A Flow Meter

    I’ve dug up drip lines where a dog chewed through the tubing six months earlier. The homeowner had no idea; they just knew their water bill had crept up. Meanwhile, that break was dumping all the pressure in one spot, and the rest of the line was getting nothing. Half the foundation had been drying out for half a year.

    A flow meter on your foundation drip zone catches that kind of damage fast. Pair it with a smart controller, and you’ll get an alert on your phone before the problem becomes a crack in your wall.

    What to Take Away If You’re Buying

    Standard homeowner insurance in Texas does not cover foundation damage from soil movement. If you’re buying a DFW home, ask about the irrigation system during your inspection. Is there a foundation drip zone? Is the controller smart or manual? Does water pool anywhere near the house after it rains?

    If you already own your home, an irrigation audit with a foundation moisture assessment can tell you a lot about whether your system is actually doing its job. Regular preventive home checks are the cheapest foundation insurance you can buy. A lot cheaper than finding out the hard way.

    About the Author

    Brandon is the owner of Better Earth Solutions, LLC, a licensed irrigation and sprinkler repair company serving the Dallas-Fort Worth metroplex. He holds a TCEQ Irrigation License (#LI0023963), is a Texas Certified Landscape Irrigation Auditor (TxCLIA) through Texas A&M AgriLife Extension, a TDA-licensed Commercial Pesticide Applicator (#0947069), and a certified Rachio Pro installer. He is also a member of the Texas Irrigation Association.

    Brandon got into irrigation the way many people in the trades do: he grew up in it. His dad was a licensed irrigator and nursery owner, and Brandon learned the business working alongside him before going out on his own.

    He’s done everything from residential repairs to maintaining large commercial systems at places like Capital One headquarters and Willow Bend Mall while working at Landcare. Today, he focuses on residential irrigation: sprinkler repairs, smart controller installations, foundation watering systems, and irrigation audits. He primarily works in Garland, Plano, Richardson, Wylie, Rockwall, and surrounding cities.

    When he’s not digging in North Texas clay, Brandon is usually keeping up with his three kids and their various activities: DeMolay, JROTC, Student Council, and football. You can learn more about Better Earth Solutions at callbetterearth.com.

  • Buying a House After Floods? Here’s What Inspectors Look For in Melbourne

    Buying a house is a massive financial decision, and the excitement of locking down your dream property can sometimes make it easy to overlook the gritty details, especially if that home has a history of flooding. Flood damage isn’t always obvious at first glance; even if a place has been scrubbed clean, severe issues can linger beneath the surface.

    If you are looking at a house in Melbourne that has experienced flooding, a standard walk-through won’t cut it. You need a comprehensive Melbourne Building and Pest Inspection to know exactly what you’re getting into.

    Here is a deep dive into exactly what inspectors look for and what you need to be aware of before you sign on the dotted line.

    1. Structural Water Damage

    One of the first things an inspector looks for in a flood‑affected property is structural water damage. While it might sound straightforward, the true extent of the trouble is often hidden. Water intrusion can severely compromise the building’s structural integrity, so this assessment has to be thorough.

    Inspectors will examine the foundation, framing, walls, floors, and ceilings. They are looking for warping, swelling, or soft spots in the wood, surefire signs that the materials have been compromised. In concrete homes, they look for cracks and areas where moisture might have seeped through.

    Be careful with surface‑level fixes. Fresh paint or new wallpaper can cover water stains, which usually point to bigger problems like rot or mold. Those issues aren’t just ugly ,  they’re expensive to fix and can affect the home’s overall integrity.

    2. Mold and Mildew Growth

    Floodwaters bring moisture, and moisture creates the perfect breeding ground for mold (spelled mould in Australia, but the risk is the same). This isn’t just an aesthetic annoyance; it can be a serious health risk. In flood‑affected homes, inspectors pay close attention to areas that sat in standing water or don’t get good airflow.

    They will look for visible growth, but the pros also use moisture meters to detect hidden dampness behind drywall or under flooring. Mold is tricky, it loves to hide in subfloors and attics, so every corner needs to be checked.

    If mold is found, you need to figure out if it’s a manageable cleanup or a major remediation project. This often involves ripping out drywall, insulation, and flooring, which can drive up your costs.

    3. Electrical System Integrity

    Water and electricity are a dangerous mix. If a house was flooded, the electrical system needs a close look. Water damages wiring, outlets, switches, and appliances, creating both fire hazards and shock risks. An inspector will assess the entire system to ensure it is safe.

    Inspectors also check whether the electrical panel or outlets were exposed to water. If any wiring got wet, it usually needs to be replaced, because water strips insulation off wires and can cause shorts. They look for rust or corrosion on electrical components since this deterioration eventually leads to safety hazards. If the property wasn’t remediated properly after the flood, you might be looking at a complete electrical upgrade.

    4. Plumbing and Drainage Systems

    Plumbing often takes a beating during a flood. Inspectors will closely examine pipes, drains, and the sewage system to ensure they are functioning. Floodwaters can shift the ground enough to crack, leak, or disconnect pipes, leading to expensive repairs.

    They will look for rust, corrosion, or active leaks, particularly in the basement or subfloor. But it isn’t just about the pipes inside; it’s about the water outside.

    Inspectors check the “grading” of the property—basically, the slope of the land. They want to ensure the foundation’s drainage system is directing water away from the home. If the drainage system was compromised, you are looking at future flooding issues during heavy Melbourne rains.

    5. Foundation and Structural Shifting

    When floodwaters inundate a property, the ground beneath the home can shift, leading to cracks in the foundation or structural instability. A flooded house may settle unevenly, causing misalignment; sticking windows or doors often signal foundation movement.

    Inspectors scrutinize the foundation for these shifts or cracks. If the foundation has settled unevenly, repairs can be costly and time‑consuming. In severe cases, floodwaters can erode the soil right out from under the home, weakening the structure permanently.

    6. Insulation and Ventilation Systems

    Floods wreak havoc on insulation and ventilation, both of which are crucial for a healthy, energy‑efficient home. If insulation in walls or attics gets wet, it loses its effectiveness and can foster mold growth.

    Inspectors will determine if the insulation needs to be replaced. Usually, it is safer and more cost‑effective to replace it entirely than to try to salvage it. They also check ventilation systems, like air ducts and fans, to ensure they are free of moisture and contaminants.

    What Can You Do?

    If you are considering a flood‑impacted home in Melbourne, you must protect yourself legally. This is done through a home inspection contingency in your purchase agreement.

    This contingency allows you to cancel the sale or renegotiate the price if the inspection reveals significant problems, like the ones listed above. It typically gives you a window of about 7–10 days to conduct the inspection and make a decision.

    If the Melbourne Building and Pest Inspection report finds serious issues, such as structural cracks or severe mold, you can use this clause to:

    • Ask the seller to make the necessary repairs.
    • Negotiate a lower selling price to account for the repair costs.
    • Walk away from the sale and keep your earnest money deposit.

    The Bottom Line

    Buying a house after a flood comes with unique challenges, but it doesn’t have to be a blind gamble. Always enlist a professional inspector to uncover hidden issues. By taking these steps, you can avoid nasty surprises and ensure your new Melbourne home is safe, secure, and ready for a fresh start.

  • Hidden Plumbing Problems That Can Derail a Home Sale in Ottawa, Canada

    When you get ready to sell your home in Ottawa, fresh paint and shiny floors help, but what sits inside the walls can make or break your deal. Plumbing problems are among the most common hidden issues that scare buyers once the inspection report lands.

    Whether you are listing your own place or advising a client, knowing the common plumbing pitfalls and fixing them early saves time, money, and stress.

    1. The Sneaky Drip That Costs More Than Water

    A slow leak looks small, yet over time it stains drywall, swells cabinets, rots framing, and feeds mold. When an inspector detects moisture or mildew, buyers tend to assume bigger issues and question overall care. One drip can read as deferred maintenance and push offers down or drive repair credits up.

    Pro Tip

    Do a quick walk‑through of the house and check every visible line under the sink, behind the toilet, and around tubs and showers. Look for corrosion, damp rings, bubbling paint, and soft floors, then fix anything you find right away. Ask a pro to run a moisture test or a camera inspection if you suspect a hidden leak, and upgrade old supply lines to braided stainless steel with fresh shutoff valves.

    2. Outdated or Failing Plumbing Materials

    Homes built before the mid-1990s may still have galvanized steel or polybutylene piping, both of which are known to corrode, scale up, crack, or fail. Inspectors call these materials out and many buyers and insurers expect a plan to replace them. Older neighborhoods can also have lead service lines or older brass fixtures with higher lead content that are worth checking.

    Pro Tip

    If the system is about 30 years old, plan a partial or full repipe with modern PEX or copper to improve reliability and water quality. Replace any gray polybutylene you find and keep permits, invoices, and photos to show buyers. If you have a lead service line, ask your utility or a licensed plumber about replacement programs and documentation.

    3. Weak Water Pressure and Slow Drains

    Low pressure and sluggish drains raise red flags because they hint at mineral buildup, pipe corrosion, or a sewer issue. Even if the fix is minor, buyers remember the first impression during a showing and the inspection.

    Pro Tip

    Clean faucet aerators and showerheads to clear mineral grit. Flush the water heater each year to remove sediment. Check that your pressure is around 40–60 psi and ensure the pressure regulator is working correctly. Have slow drains professionally cleared and make sure traps hold water and block odors.

    4. Undiagnosed Sewer Line Trouble

    A damaged or blocked main line is expensive and one of the top reasons buyers walk away. Tree roots, collapsed sections, and low spots can cause backups, bad odors, or even basement flooding.

    Pro Tip

    Schedule a sewer camera scope before you list and fix any issues the video shows. The report and clip give buyers peace of mind and can be a strong selling point. Make sure there is an accessible cleanout and note its location for the inspector.

    5. Skipped Water Heater Care

    Older water heaters can leak, rust, or deliver uneven temperatures, and inspectors always note the age and condition. Once a tank gets close to ten years, buyers start pricing replacement in their heads.

    Pro Tip

    Drain and flush the tank yearly to clear sediment and extend its life. If the tank is rusty or near the end, replace it with an energy‑efficient model or a heat pump water heater and save the receipt. Confirm the drip pan, the temperature‑and‑pressure (T&P) relief valve discharge line, required seismic straps, where applicable, and an expansion tank are in good order.

    6. Small Fixtures That Leave Big Impressions

    A dripping faucet or a toilet that runs nonstop signals poor upkeep and makes buyers wonder what they can’t see.

    Pro Tip

    Swap worn washers, flappers, and fill valves, and replace brittle supply lines and sticky shutoffs. Test every sink, tub, and toilet for smooth operation and leaks. These low‑cost fixes show real care and build confidence.

    7. Venting and Drainage Mistakes

    Poor venting leads to gurgling sounds, sewer smells, and slow drainage, and poor exterior drainage can create damp basements and foundation concerns. Both problems worry buyers and both show up on inspection reports.

    Pro Tip

    Have a plumber verify that vents are clear and that each fixture has a proper P‑trap, since old S‑traps are often not allowed. Where code allows, use an air admittance valve to solve short vent runs. Keep gutters clean, extend downspouts, and grade the soil so water flows away from the house, and add a sump pump with a battery backup if your area is wet.

    8. The Value of a Pre Listing Plumbing Inspection

    A pre‑listing plumbing inspection is one of the smartest prep steps because it finds hidden issues before buyers do and lets you fix them on your timeline. Sharing a clean report helps prove the home is move‑in ready.

    Pro Tip

    Ask for a detailed write‑up that covers fixtures, drains, water pressure, the water heater, and the main sewer line with photos. Keep receipts and warranties for any repairs and place a simple summary in your listing packet. This preparation makes negotiations faster and cuts down on the back‑and‑forth over credits.

    The Bottom Line on Preparation and Buyer Trust

    Plumbing doesn’t need to be visible to shape a sale, it just needs to work without drama. Buyers want to know they won’t inherit surprise repairs, and clean documentation goes a long way.

    Note:

    If you’re unsure where to start, consulting qualified plumbing technicians is the best move. A trusted plumbing service can perform detailed inspections, handle repairs, and provide the peace of mind that your home’s hidden systems are in excellent shape.

    Final Thoughts

    When buyers see clean fixtures, steady pressure, and no signs of moisture or corrosion, they read the home as well cared for. Plumbing may run quietly in the background, yet it strongly shapes how buyers feel about risk.

    Find issues early and take care of them before you list, and you will avoid last minute surprises and present a solid, worry free home that feels ready on day one.

  • 4 Tips for Renting the Ideal Vacation Home in Corolla, NC

    If you’re planning a long family vacation, you don’t need to go abroad to get that much-needed reset. Look for local destinations that offer amenities and features on par with any high-end resort. You can easily find a vacation home right here in Corolla, NC. that still feels like you’ve traveled miles away.

    All it takes is a bit of planning. You don’t want to risk signing a lease for a beachfront home that doesn’t live up to your expectations. A little preparation and knowledge will help reduce stress and save money, so keep reading to learn more about renting the ideal vacation home.

    1. Start Planning Early

    Just like planning a trip abroad, spending your vacation at a rental home nearby still takes some prep. Give yourself at least six months to explore different destinations and figure out what matters most to you. If you’re planning to browse rental homes in Corolla, NC, choose the season that’ll get you the best deal. By starting your search early, you can look up possible listings at affordable rates before prices jump.

    Save time by hitting up friends or family in the area, they’ll give you the real scoop on what it’s like. They might even know someone renting out a place that fits what you’re after. You can also reach out to local agents or property managers who handle vacation homes in your price range with the features you want. However you go about it, use that prep time to check out your options and make sure the place feels right before you book.

    2. Check Out the Property and the Area

    Don’t trust everything you see in online listings, photos can make any place look better than it really is. A comparatively lower rental rate could reel you in, but there are always trade-offs for really low prices. You’ll need to go below the surface and find out if the vacation home matches your family’s needs and justifies its listing rate.

    If the spot’s less than a couple hours from home, request a tour with the owner or listing agent handling the property. As you do so, make sure to focus on the interior and take note of the home’s highlights. You might also want to set aside time to scan the area for other vacation rentals you may have overlooked or that weren’t listed online. Take advantage of this extra time to assess the surrounding neighborhood, especially in terms of safety, security, things to do, and what’s nearby.

    3. Read the Terms Before Signing

    Even if everything looks good, take a little time to go over the rental agreement carefully and check for details that warrant a second look. You should know that the rate you saw on the listing doesn’t include other fees. You may have to pay separate charges for cleaning and the use of amenities such as a jacuzzi. Some vacation rentals might charge extra if you’re bringing a pet.

    Before you sign anything, make sure you understand every term and ask about anything that seems unclear or flexible if there are details that could be negotiated. Some owners might offer a better rate, especially if you’re renting within weeks during the off-season. If the conversation goes well, you might even get them to lower the deposit and waive other charges.

    4. Inspect the Place Before You Settle In

    Don’t assume the rental’s move-in ready. There could be issues you may have overlooked during your initial tour, and you will need to let the owner know about them. You don’t know for certain if the property is in the same condition as when you first visited, so it’s important to thoroughly check the home from the inside and out before settling down.

    If you don’t let the owner know right away, the issue might end up being your responsibility. When you arrive at the vacation home, check for cracks, leaks, and other issues that must be patched up. Snap a few photos and send them over to the owner. That way, you’ll have evidence that you didn’t cause these damages in case the owner disputes it.

    Endnote

    Renting a vacation home can be a great alternative to going on an expensive overseas vacation. You just have to keep the tips above in mind so you’ll get the full getaway experience without even leaving the country..

  • Why Ottawa Homebuyers Shouldn’t Skip a Plumbing Inspection Before Closing

    Why Ottawa Homebuyers Shouldn’t Skip a Plumbing Inspection Before Closing

    Buying a house is a big deal, it shapes your future and your finances. You’ve got to figure out the money, nail down the deal, and make sure to schedule a home inspection. One more check you’ll definitely want at the very top of your list is a dedicated plumbing inspection.

    It helps you understand exactly what you’re buying and what it may cost to maintain over time.

    What Lives Behind The Walls Matters

    Plumbing stays out of sight, yet it affects how a house feels day to day and how it holds value over the years. Even a small leak can stain ceilings, soften floors, and invite mold. Taking a closer look before closing helps you avoid the kind of surprise that shows up the week you move in. If the report turns up issues, you can budget and plan ahead instead of scrambling later.

    Quick Clues You Can Spot on a Showing

    You don’t need to be a pro to notice red flags that deserve a closer look. Pay attention to:

    • Low or inconsistent water pressure when two fixtures run at once.
    • Slow or noisy drains.
    • Rusty or brown water when the tap first turns on.
    • Sewer or musty odors in bathrooms or the laundry area.
    • Fresh ceiling patches or stained baseboards near kitchens and baths.

    Make a note of what you spot so a licensed plumber can zero in on those areas during your inspection period.

    What A Licensed Pro Checks That A Generalist May Not

    A general home inspection gives you a helpful overview, then a qualified plumber goes deeper with specialized tools for the job. Expect camera scoping of the main sewer line, pressure and leak testing on visible supply lines and fixtures, a read on water heater age and capacity, and a check that traps, shutoffs, and cleanouts are present and accessible.

    In basements or low areas, the plumber makes sure the sump pump is running right and draining the way it should, a simple check that can spare you from messy, costly backups. You’ll leave the inspection with clear notes on what’s urgent, what’s recommended soon, and what can wait.

    Why Timing And Paperwork Work In Your Favor

    Your inspection contingency sets a firm deadline to review results and decide on repairs, credits, or next steps. The clock usually runs seven to ten days from the time your offer is accepted, so it’s smart to schedule the plumbing scope right away.

    If the report is clean, you keep moving forward. If issues show up, you can request repairs with invoices from a licensed contractor, ask for a price reduction, or take a seller credit at closing. For major findings, you have the right to cancel within the contingency window.

    When you close, keep the report and photos with your documents, they give you a clear record of the home’s condition.

    How A Plumbing Report Strengthens Your Negotiation

    A clear written summary with photos is easy for a seller to understand and for your agent to present. You can request specific repairs, a closing credit, or a price adjustment based on the documented findings. This approach is common and helps keep the deal moving. If the seller completes the work, you can confirm it during your final walk-through and make sure everything matches what was agreed to in writing.

    During the visit, ask the plumber about realistic replacement timelines for the water heater, which valves may need attention, and where the main shutoff is located. A quick lesson on that shutoff can save you stress if you ever need to stop a leak in a hurry.

    If there’s a sump pump, make sure it cycles, that the discharge drains to the right spot, and that a backup plan is in place. These small questions can make a big difference once you move in.

    First-Time Buyer Tip

    If you are choosing between cosmetic updates and system upgrades, put the plumbing work first. Fresh paint can wait. Replacing a failing water heater or clearing a compromised sewer line belongs at the top of the list. That approach keeps monthly costs steady and helps you enjoy the home sooner.

    Book the plumbing scope along with the general inspection, share your red flags with the plumber, review results right away, and submit any repair requests within your contingency period.

    On closing week, confirm completion during the walk-through, then save every invoice, estimate, and report for future planning. This simple routine keeps the process smooth from offer to keys.

    The Bottom Line

    Plumbing rarely calls attention to itself when everything is working, yet it shapes how you live in the home every day. By working with an expert plumbing specialist, you get a dedicated inspection that gives you clarity before you commit, protects your budget, and strengthens your negotiation position. That’s real peace of mind and it starts with the parts of the house you can’t see.

  • 7 HVAC Questions Every Texas Homebuyer Needs to Ask Before Saying Yes

    Texas heat doesn’t wait. It presses in early and lingers late. The air gets heavy, the windows stay sealed, and ceiling fans do their best but fall short. That’s when HVAC systems quietly takes over, often overlooked, but always essential.

    Comfort in Texas starts here. A home that cools quickly and stays consistent through the day becomes more than just comfortable. It becomes functional. It supports sleep, productivity, and every small routine that makes a house feel right.

    This isn’t just about temperature. It’s about inspections. It’s about rising utility costs. It’s about making sure the biggest system in the house is one that won’t fail when it matters most. For buyers, that means asking smart, specific questions. For sellers, that means being ready with answers that show the system has been taken seriously.

    1. How Old Is the HVAC System and What’s Its Maintenance History?

    Most systems in the U.S. last between 10 and 15 years. In Texas, constant use can shorten that window, especially if the system hasn’t been serviced regularly.

    Service records speak louder than words. A 12-year-old system with annual maintenance checks and clean filters can run better than a five-year-old one that’s been ignored. Documentation from licensed professionals provides confidence and clarity, whether you’re buying or renting a house. Not just for buyers, but for inspectors and lenders too.

    2. How Efficient Is the System According to SEER, SEER2, AFUE, or HSPF

    These ratings matter more than ever. Newer systems often come with higher efficiency scores, and that translates directly into lower monthly energy bills. In 2023, federal minimums for SEER ratings in the South moved up to SEER2 14.3, making older systems easier to spot.

    SEER (Seasonal Energy Efficiency Ratio) is used for air conditioners, while AFUE (Annual Fuel Utilization Efficiency) measures furnace efficiency. HSPF applies to heat pumps.

    3. Has the System Been Regularly Serviced?

    Consistent maintenance keeps systems efficient and safe. Tune-ups usually include filter replacements, refrigerant checks, thermostat calibration, and cleaning of internal parts like coils and blowers.

    Without regular care, HVAC systems lose efficiency and break down faster. According to the Building Performance Institute, neglected systems can lose up to 15 percent of their efficiency. That’s not just a number. That’s money on the table every month.

    Certified HVAC pros log service details that professionals show a system has been respected and cared for. Buyers will notice. So will inspectors.

    4. Are There Any Known Issues Like Leaks, Compressor Failures, or Electrical Flaws?

    HVAC systems are complex and expensive to repair. Be sure to ask the seller directly if they’ve experienced any major issues, such as refrigerant leaks, electrical problems, or compressor failures. 

    These types of repairs can be expensive and are often signs of larger problems. A recent repair might not be a dealbreaker, but if there’s a history of recurring issues, you should investigate further. 

    Asking for repair history helps identify systems that look fine on the surface but may be hiding deeper issues behind the vent covers.

    5. What’s the Condition and Layout of the Ductwork?

    Ducts are the delivery system. If they’re disconnected, kinked, or poorly insulated, the result is uneven temperatures from room to room and higher utility bills across the board.

    According to ENERGY STAR, as much as 20 percent of the air moving through a duct system can be lost due to leaks, holes, or poorly connected ducts. That’s not something visible on a walkthrough. It shows up later as discomfort and wasted energy.

    Duct layout also affects how air flows through each floor. In multi-story homes, poor design can create hot upstairs zones and frigid downstairs rooms. A balanced design and sealed ducts change that completely.

    6. Is the Home Zoned or Are Multiple Units Installed

    Zoning makes life easier. Especially in large homes or multi-level floor plans, separate zones or multiple systems help keep temperatures consistent without overworking the entire setup.

    In newer builds, zoning systems are becoming more common. One thermostat controls upstairs. Another handles downstairs. Each space receives attention based on use and time of day. This improves comfort and efficiency without driving up the bill.

    Older homes may have one system working overtime for the entire layout. That doesn’t always mean bad performance. But it does mean extra evaluation.

    7. Was the HVAC System Installed by a Licensed Pro and Properly Permitted

    A quick test during a walkthrough won’t tell the full story. For that, a deeper look from a licensed HVAC technician helps. They know what to check. Airflow measurements. Code compliance. Electrical safety. Refrigerant pressure.

    When a new system was installed, permits should have been pulled. Inspections should have been passed. This confirms that the work meets state and municipal standards.

    Having this documentation on hand makes the process smoother for everyone involved—from lender to buyer to appraiser.

    Quick Tips for Buyers and Sellers

    HVAC is a consideration when buying or selling a home that often remains hidden. But don’t sleep on it – here are some quick tips to follow to get clarity around your home’s HVAC:

    Buyers

    An older system isn’t always a dealbreaker. But when inspections reveal outdated components or spotty maintenance, that becomes an opportunity. Leverage those findings to ask for credits, repairs, or price adjustments. Solid HVAC insight turns into negotiating power fast.

    Sellers

    Schedule a professional tune-up before listing your home. Having inspection paperwork and recent service records on hand can help build buyer confidence and make the transaction go smoothly.

    Final Thoughts

    HVAC systems are one of the most important and expensive components of a home, especially in climates like Texas! 

    Taking time to ask these questions and gather the right documents helps avoid the last-minute panic that often creeps up just before closing. It also shows that the home has been taken care of. Thoughtfully. Responsibly. Intentionally.

    Knowing how a system runs and confirming it’s up to standard means fewer surprises later and a lot more peace of mind. Especially once those triple-digit days start rolling in.

  • Why Smart Dallas Realtors Sweat the AC Before the Open House Even Starts

    If you’re selling homes in Dallas, one silent deal killer can ruin a showing fast: weak AC. In the Lone Star State, buyers don’t just hope the AC works. They expect it to blast cold air the second they walk in. Whether it’s a sleek mid-century in Lake Highlands or a brand-new build in Frisco,

    If the AC feels weak, the whole showing feels off. People can overlook ugly light fixtures and quirky tile. But sweat? Not a chance. For realtors, understanding how AC plays into your listing’s curb appeal, inspection outcome, and buyer psychology can help keep your deals cool when the market’s anything but.

    AC Isn’t Just a Feature, It’s a Selling Point

    A stylish living room with a visible smart thermostat and AC vent

    Buyers in Dallas don’t ask if there’s central air. They ask how new it is. They ask about SEER ratings, filters, and warranties. A weak HVAC system can push a home into the “needs work” category with just one flick of the thermostat. You can have perfect staging, but if a buyer is sweating during the tour or hears a unit rattling like it is falling apart, the mood shifts fast.

    Smart agents always ask: How old is the unit? Has it ever been replaced? When was the last tune-up?. It might be tempting to do some DIY updates to make it look better, but this is where you slow down. Air systems are not a Pinterest project. Even small cosmetic changes like painting vents or swapping thermostats can go wrong without the right skills. It is safer and smarter to call a licensed pro if you want a clean inspection and fewer last-minute issues.

    Curb Appeal Is Key, But Don’t Let the AC Steal the Show

    Outdoor AC unit

    Let’s talk about showings. You’ve nailed the landscaping, the porch feels inviting, and the inside smells like freshly baked cookies or whatever magic scent your stager used. But there it is, humming like a truck next to the patio: the outdoor AC unit. Not cute. In Texas, you can’t exactly get rid of it, but you can be smarter about where it goes.

    Realtors with an eye for presentation will look for ways to hide your AC creatively. That might mean lattice panels, greenery, or even clever fencing that blends into the yard. Just don’t box it in too tightly—you still need airflow, and techs need access. Remind your sellers that curb appeal doesn’t end at the front path. Buyers notice the backyard too, especially if they’re thinking about entertaining. And again, no DIY panel jobs with nails sticking out or a curtain of shrubs suffocating the condenser. A well-hidden but accessible unit is the sweet spot.

    Old Units Equal Buyer Hesitation

    Technician inspecting an old AC unit

    If a home’s AC is older than the buyer’s college degree, it’s going to raise questions. Inspectors will catch worn components, dirty coils, and undersized ductwork, things that can send buyers running or asking for price cuts. Realtors who’ve seen deals fall apart over HVAC issues know it’s better to get ahead of this. If the seller can’t replace the system outright, at least recommend a professional tune-up and inspection before listing. A clean bill of health gives buyers peace of mind.

    And while we’re on the topic: resist the urge to suggest a YouTube-guided “deep clean” of the indoor unit. It’s not worth the risk. One wrong move and you’re dealing with a flooded drain pan, a busted blower motor or worse, liability if something breaks between offer and closing. In a hot market, it’s tempting to rush and cut corners. But your reputation (and your seller’s bottom line) is safer when the guts of the system are handled by someone licensed and insured.

    When AC Goes Out Mid-Sale, You Need Backup Fast

    A mom making a phone call with an AC unit in the background

    Every seasoned Dallas agent has a story. The buyer falls in love with a home. The offer’s in. Everyone’s excited. Then—bam—the AC dies during escrow. And suddenly it’s chaos. This is where your vendor list is your lifeline. If you’ve already built a relationship with a local company that does air conditioning repair, you can jump into action instead of scrambling through Yelp at 9 PM.

    It’s also a big value-add for your clients when you show up with names ready. It shows you’re prepared, you’ve been through it, and you know what it takes to get a deal across the finish line in the Texas heat. The difference between a delayed closing and a smooth one might be who you call and how fast they can respond. Bonus: having a tech vouch for the system after repairs can be a powerful peace-of-mind tool in negotiations.

    Yes, AC Affects Appraisal—Here’s How to Talk About It

    Appraiser reviewing HVAC system during home inspection

    It’s not just buyer comfort and inspections—AC plays into the value of the home, too. Appraisers in Dallas take system age, efficiency, and functionality into account. If the unit is new and energy-efficient, it can nudge the value up slightly, especially when paired with smart thermostats or insulation upgrades. If it’s clearly limping along, that can drag comps down even in a hot zip code.

    Realtors who speak confidently about HVAC details can stand out. You don’t have to be an expert, but knowing whether the unit was replaced in the last five years, if it’s properly sized for the square footage, and what kind of maintenance has been done can boost your credibility with both buyers and appraisers. And again: let the pros do the talking when it comes to repairs, replacements, or anything involving wiring or ducts. You’re a realtor, not Bob Vila.

    Final Take

    In Dallas, air conditioning isn’t just another box to check, it’s part of the story you’re selling. It can be the reason buyers linger at the open house, feel more confident about their offer, or walk away entirely. Whether you’re listing a high-rise downtown or a family home in the suburbs, taking AC seriously shows you know your market, you understand your buyers, and you’re not here to sweat the small stuff, literally.

  • Appliance Repair Tips Every Home Buyer & Seller Should Know

    House hunting or getting ready to sell? Take a minute to check the appliances—seriously. People often get caught up in curb appeal and the layout, but a broken dishwasher or a dying fridge can cost you big after closing, not to mention the hassle of fixing appliances. Open the doors, run a quick cycle, and listen for weird noises. It only takes a few minutes and might save you hundreds later.

    Buyer Tips: How to Check Appliances Before Buying a Home

    While checking a property, don’t just focus on the design or décor but also appliances, as old or faulty appliances become a huge cost after you take possession. Here are some important issues to inspect prior to purchasing a property.

    • Test Major Kitchen Appliances: Begin in the kitchen, as the kitchen serves a central role in the house. Inspect the dishwasher, turn on the oven, and check the refrigerator’s cooling. If they make unusual sounds, operate sluggishly or leak, that’s a sign of malfunction.
    • Check the Washer and Dryer: Ask when the washer and dryer were last serviced. Keep an eye out for unusual noise or delayed drying during the tour. Some issues might be easy to fix, but it’s helpful to know ahead of time. Replacing these appliances can get expensive if you’re already on a tight budget.
    • Inspect the HVAC System: Turn on the heat and AC to make sure they’re working. Unusual odors, inconsistent heat, or clogged filters could be a sign that the system requires maintenance—or worse, replacement. Repairs to a faulty HVAC system can run into the thousands of dollars, so this test is essential, particularly in severe-weather states.
    • Verify Age & Warranty: Ask for the manuals and any warranty information that’s available. Some appliances, like refrigerators or HVAC equipment, can last a long time—up to 15 years or more—while others may be nearing the end of their useful life. Knowing how old they are helps you plan for future repairs or replacement and can assist in negotiating the selling price.

    For Sellers: Simple Repairs to Increase Home Value

    If you wish to sell your house, investing in appliance repairs will make your property more appealing. Here’s how minor repairs will translate into big returns:

    • Refresh the Kitchen Appliances: Home buyers are drawn to modern, well-maintained kitchens. A refrigerator door that won’t seal, or burners that don’t light easily on the stove, can leave a negative impression. Small problems such as replacing worn-out seals or burners can make a big difference in how the kitchen looks and how well it functions.
    • Fix the Laundry Room: A leaky washer or a dryer that leaves clothes still damp after a long time will be a red flag for buyers. These issues can be harbingers of greater maintenance problems later on, which will make buyers look elsewhere. Prevent this by keeping your washer and dryer in top working condition.
    • Address Small but Noticeable Issues: It’s the little things that have the biggest impact when it comes to affecting a buyer’s impression of your property. A noisy dishwasher, a refrigerator with a missing shelf, or a microwave with a spotty performance might not be significant issues, but they will have buyers questioning their decision.
    • Consider Energy Efficiency Upgrades: Replacing your old appliances with modern, energy-efficient appliances will not only make the property more appealing to buyers, but will lower the energy bills as well.

    Should You Repair or Replace Your Appliance?

    Knowing how to repair an appliance instead of replacing it can save both buyers and sellers time and money. A good rule of thumb:

    • Repair if the appliance is less than 10 years old and the repair costs less than 50% of a replacement.
    • Replace if it’s over 10–15 years old, has recurring issues, or lacks modern energy-efficient features.

    If you are not sure, hiring a professional appliance technician can help you decide the best option.

    Proactive appliance maintenance benefits both buyers and sellers. Buyers will avoid surprise expenses, and sellers will increase the worth of their property. Take the time prior to closing the transaction to inspect kitchen, laundry, and HVAC appliances you’ll be glad you did.

  • New House Lighting Inspection Checklist: A Must-Read for Home Buyers

    Lighting, this seemingly simple element, not only quietly affects a home’s warmth and convenience but also the family security guardian. A comprehensive and detailed lighting inspection can effectively avoid those troubles that may creep in. Next, we have carefully organized a guide for lighting inspection before you enter the new house. Let you light up the new life on the road!.

    1. Lighting System’s Overall Condition

    Lamp number

    Check the types and quantity of lighting fixtures. There are 10 types of lighting fixtures in common use, and the number is about 10-15. They should be consistent with the contract. So check each room one by one to ensure there are no omissions or redundancies.

    Lamp installation

    Ensure the lighting fixtures are stable. Please pay attention to heavy objects such as chandeliers to avoid safety hazards.

    Lamp appearance

    Observe the lamp’s appearance. There should be no scratches, deformations, or stains on the surface. Expensive lighting fixtures require more careful inspection.

    Switch layout

    The switch layout should be reasonable and convenient to use. It should be installed near the room entrance, bedside, etc.

    Switches and sockets

    The test switch socket should operate smoothly and meet the electrical requirements

    2. Lamp Function

    Lamp lighting

    Light each lamp and make sure they all work properly. If a light does not work, it may be caused by the circuit or lamp. Record it, and get the developers settled.

    Dimming function (if applicable)

    Try transitioning from dark to light one by one. The light has to transition smoothly, with no flickering or pulsating. Dimmers should also operate smoothly without stalling or malfunctioning.

    Voice-control sensitivity

    Check the voice-control lamp’s response. It must respond to voice commands quickly, without delay or malfunction.

    Induction function

    Test induction luminaire’s sensitivity. It should turn on and off normally according to the body’s movement. Adjust the sensing range or repair the sensor if there is a dead spot or failure

    3. Circuits and Switches’ Safety

    Lamp circuit condition

    The lamp’s circuit should be neat and not exposed. Electrical wiring should be properly hidden and secured to the wall or ceiling. Bare wires are neither pretty nor safe. You must immediately ask for rectification if there is nudity or improper handling.

    Switch installation and operation

    The switch should be firmly installed on the wall. The operation should also be smooth without stuck or loose.

    Leakage protection device

    Verify leakage protection device is working properly. This is an important guarantee for circuit safety and can avoid electric shock accidents. Confirm the devices have been installed in the lighting area and tested with professional equipment. If there is no installation or abnormal function, it must be rectified in time

    4. Lighting Effect and Comfort Evaluation

    Light Brightness

    The light brightness affects the living environment’s comfort and functionality. Areas such as the living room and study require higher brightness to ensure that the lamp’s power and the light source are reasonably configured; bedrooms and dining rooms should choose softer light sources to avoid excessive or weak light affecting daily life.

    Light distribution

    Light uniformity is one of the criteria for evaluating the lamp’s effect. Obvious dark corners or light spots should be avoided. The light source distribution should be balanced to avoid overly bright or dark areas, especially in larger spaces. Check whether there is a glare problem, especially in the living room and bedroom, to avoid discomfort to the eyes caused by the light.

    Light color

    The light color affects the atmosphere and visual effect. Cold light (above 4000K) is suitable for work areas such as kitchens and bathrooms; warm light (around 2700K) is ideal for relaxing spaces such as bedrooms and living rooms. When inspecting the house, confirm whether the light color meets personal preferences and is coordinated with the interior style. For example, the modern style is suitable for cold white light, while the rural style is suitable for warm yellow light.

    5. Typical Space Lighting Requirements

    Kitchen

    The cooking area should be bright enough. For safety and accuracy, countertop lighting should avoid shadows. The lamps’ position and the light source’s angle should be checked to ensure the work surface is evenly lit without dark corners and obstructions.

    Bathroom

    The bathroom is wet, so the lamps must be waterproof. When inspecting the house, you must confirm whether the lamps are tightly sealed to prevent water vapor from entering and causing short circuits or safety hazards. You must check whether there is a waterproof mark and whether the IP level meets the standard. Test the lamp switch’s waterproof performance and prevent moisture from affecting safe use.

    Corridor and stairs

    The lights in the corridor and stairs must be safe and energy-saving. When inspecting the house, check whether the sensor lamp works and can light up quickly. Brightness must also meet continuous lighting needs. Pay attention to the delay setting; otherwise, a sudden light out will affect walking safety.

    6. Smart Lighting System Inspection (If Any)

    Smart system control

    Homebuyers need to verify the smart lighting system. Each lamp must be tested with mobile phone applications, voice assistants, etc., to see if it can be turned on and off easily. The system must respond quickly and be easy to operate to avoid failures or incompatibility in the future.

    Remote devices successfully connect

    Check the connection between the smart lighting system, mobile phone, and remote devices. Open the application and try to control the light switch and dimming functions remotely. You should also shout at voice assistants such as Alexa and Google Assistant to see if they respond quickly so that you don’t shout until your throat is broken, there is no response, or you make many mistakes.

    Timing and scene-switching functions

    Also, the timing and scene-switching functions must be tested to see if they are easy to use. The timer switch lights must be on time; scene switching, such as movie and good night modes, must change automatically as needed. Additional functions such as energy-saving mode and dynamic dimming must also be tested to see if they are really effective.

    7. Necessary Rectification Suggestions

    Record all problems found

    • Record problems in detail.

    During the house inspection process, home buyers should record in detail the problems related to each lighting system. You can take pictures and record the issues to ensure sufficient evidence when communicating.

    • Communicate with the developer or property management.

    List the problems found individually and communicate with the developer or property management to solve the issues promptly. Avoid missing any details and ensure that each problem can be properly handled.

    Propose specific requirements

    • Propose rectification requirements.

    Specific rectification requirements should be proposed. For example, if the lamp cannot work properly, it must be replaced; if the electrical line does not meet the standards, it must be rectified.

    • Clear solution and timetable.

    When proposing rectification, explain the problem in detail. Then, ask the developer or property management for a clear solution and timetable to ensure the rectification work is completed on time.

    Rectified lamps’ re-inspection

    • Conduct re-inspection.

    After the rectification work, the homebuyer should re-inspect to ensure all problems are effectively solved.

    • Request a second rectification.

    If problems persist after the rectification, the developer or property management must make a second rectification until all issues are completely resolved.

    8. Tips for House Inspection Lighting Inspection

    Bring a strong flashlight

    • Check lamp installation and light distribution.

    In a dimly lit environment, use a strong flashlight to check. Observe whether there are dark or dead corners to ensure uniform light in each area.

    • Check the wiring layout.

    A strong flashlight can also help check whether the wiring layout is standardized, whether there are safety hazards, and ensure the system’s safety.

    Natural light and artificial light’s synergistic effect

    • Compare the lighting conditions during the day and at night.

    When inspecting the house, buyers should observe the natural and artificial light effects in the room during the day and at night. Especially in rooms with large windows, natural light during the day will affect artificial light, and at night it will rely entirely on light.

    • Evaluate the lighting system performance.

    In this way, buyers can more clearly understand the lighting system’s performance under different lighting conditions and judge whether it is necessary to adjust the lighting layout or replace the bulbs.

    A house inspection checklist

    • Prepare a detailed house inspection checklist2

    Prepare a detailed checklist before the house inspection. Please list all the lighting system items that need to be checked, and check each item to ensure that it is checked.

    • Ensure functional and safety performance verification2

    Check each item through the checklist to verify the lighting system’s functions and safety performance, avoid missing details, and ensure the house inspection goes smoothly.

    Conclusion

    Lighting acceptance ensures living comfort and safety. Potential problems can be discovered and solved by carefully checking the installation, function, line safety, and actual light efficiency. Home buyers should use this inspection point as a reference to ensure that the future living space is brighter, more comfortable, and safer.

    In addition, if you find that a light fixture needs to be replaced or upgraded during your home inspection, you can visit Homebaa. It has all-style lamps and very attractive discounts. Here, you can easily buy your favorite lamps.

  • How to Avoid Common Pest Issues When Buying an Older Property

    Image Source

    Buying an old house may come with a significant history. However, one drawback that can often be found with this type of home is insects or rodents residing within its structure. In houses roughly 100 years old, there tends to be more infestation than in newer homes. This article will outline measures you can take to avoid ending up with any creepy crawlies—or hazardous chemicals—when purchasing an older home.

    Common Pests in Older Homes

    Older homes are much more susceptible to pest infestation due to age in their structure. Such points of hiding hardly get tapped, and as a home owner, one should have an idea about them and how they may be able to drive away the undesired tenant(s).

    Below is a detailed overview of the most prevalent pests and their impacts:

    PestCommon Areas FoundDamage/ConcernsSigns of Infestation
    TermitesWooden beams, foundations, wallsStructural damage to wood; expensive repairsHollow-sounding wood, mud tubes, discarded wings
    CockroachesKitchens, bathrooms, basementsContaminate food, spread bacteria, trigger allergiesDroppings, unpleasant odor, sightings at night
    RatsAttics, basements, wall cavitiesChew electrical wiring, damage property, spread diseasesDroppings, gnaw marks, scratching noises
    Bed BugsMattresses, furniture, crevicesBite humans, cause skin irritation, difficult to eliminateRed welts on skin, small blood stains on bedding, eggshells
    SilverfishBathrooms, attics, basementsDamage paper, wallpaper, fabricSilvery, wriggling insects in dark, damp places
    MosquitoesNear stagnant water, lawns, basementsCarry diseases like malaria and dengue; irritate with bitesBuzzing sounds, itchy bites, larvae in standing water
    FliesKitchens, garbage areas, damp spotsCarry pathogens, contaminate foodFrequent sightings, buzzing, eggs or maggots in garbage or food sources

    Addressing these pests effectively can help resolve many problems with old houses and maintain their historical charm.

    Tip: Refer to the ‘Signs of Infestation’ column to identify potential red flags when evaluating old homes.

    Best Pest Control Tips For Buying A Historic House

    When purchasing a historic home, preventive measures and proactive pest control are essential. Below are the most common pest concerns you might face, along with practical tips for each.

    Termite Damage Prevention and Control

    One of the problems the 100 year old houses are termites, which eat up most of the wooden members, costing hence a lot in the working repair. The problem becomes drastically serious in case of historical edifices as they form an important constituent of Tourist attraction.

    While traditional chemicals remain effective, biological alternatives have gained more attention over recent years. Essential oil extracts, plant-derived biocides, fungi, and nematodes represent non-toxic, environmentally friendly approaches for the control of termites. Such solutions best suit historic properties that require the conservation of initial fabric.

    To prevent termite infestation in an older property:

    • Inspect Regularly: Conduct thorough inspections of wooden structures, particularly in basements, attics, and crawl spaces.
    • Control Moisture: Termites thrive in damp environments. Ensure proper drainage, fix leaks promptly, and consider dehumidifiers.
    • Use Treated Wood: Where possible, incorporate termite-resistant or treated wood for repairs and renovations.

    Rodent Infestation

    Rodents often chew through walls and foundations, leading to significant pest issues in older homes. Here are some rodent control strategies you can look into:

    • Rodenticides: Modern rodenticides, such as Brodifacoum, are effective but should be applied strategically to avoid unintended critters.
    • Traps: Mechanical traps offer a humane alternative but work best in combination with other methods.
    • Biological Controls: Introducing natural predators or disease-causing agents can limit rodent populations, though this method requires careful ecological consideration.
    • Genetic Engineering: Emerging technologies like RNA interference and gene editing hold promise for long-term population control by targeting reproduction, though they remain in development.

    To prevent these unwanted visitors, start by decluttering storage areas, storing food in airtight containers, and maintaining cleanliness. Remember, rodents thrive in dirty, food-rich environments, so keeping everything clean keeps them at bay.

    Cockroach Infestation

    To keep such strong insects off, one only needs to practice cleanliness and conduct regular checks or simply use exclusion methods.

    Let there be no garbage that could provide a nice hiding spot under the sink or some other places, and remove the trash fairly frequently! Dispose of any remnants daily and store all food, including pet food by the way, in airtight packages or containers!. Outdoors, ensure that dustbins are clean and kept away from the house.

    Seal cracks around doors, windows, plumbing, and walls to block entry points. Regularly inspect hiding spots, like stacks of paper, cardboard, or firewood, and keep them away from your home.

    Bed Bug Infestation

    In modern conditions, bed bug infestation is on the rise, especially in old houses. It is not easy to defeat the insects that live deep in the house and sometimes, one can feel that all the means of prevention taken are inadequate-what to do in this situation?

    • Integrated Pest Management (IPM): This approach combines monitoring, understanding the signs and behavior of bed bugs, and non-chemical treatments.
    • Proactive Monitoring: Regular inspections are crucial to catch pests early, especially in older homes where hidden cracks and gaps may be present.
    • Community-wide Programs: In a neighborhood, a coordinated pest management program is more sustainable and cost-effective than relying on insecticides alone.

    Benefits of Professional Pest Control Services

    We spoke with Luqman Butter who owns and operates Pestend Pest Control based in Toronto. In our discussion with him, he had some solid reasons why professionals are always a better hire when the intention is to tackle stubborn pests. Here, he details benefits associated with professional pest control:

    • Expertise and Experience: Professionals have the knowledge and training to deal with all types of pests. They understand the behavior of pests and know the most effective methods for elimination.
    • Advanced Equipment and Techniques: With access to the latest tools and treatments, pest control experts can address infestations more efficiently than DIY methods.
    • Long-Term Prevention: Professionals not only eradicate pests but also help prevent future invasions through strategies like sealing entry points and providing guidance on home maintenance.
    • Safety: Professional services use eco-friendly and safe treatment solutions to protect your family and pets.
    • 100% Money-Back Guarantee: If you’re not satisfied with their extermination services, pest control companies will fully refund your payment (granting you have followed their recommendations).

    In summary, while DIY solutions may seem cost-effective, working with a professional pest control service like Pestend ensures a thorough, long-term solution for keeping your newly bought old home pest-free.

    Conclusion

    While one can most definitely appreciate the character and the history that come along with any old house, actually such buildings happen to be quite vulnerable toward pest manifestation. To have that old house of your most beautiful dream, it becomes necessary for you to practice 2 things-anti-infestation precautions and involvement with professional pest control service. This blog will be helpful if you ever need to revisit how to keep pests out of your home.