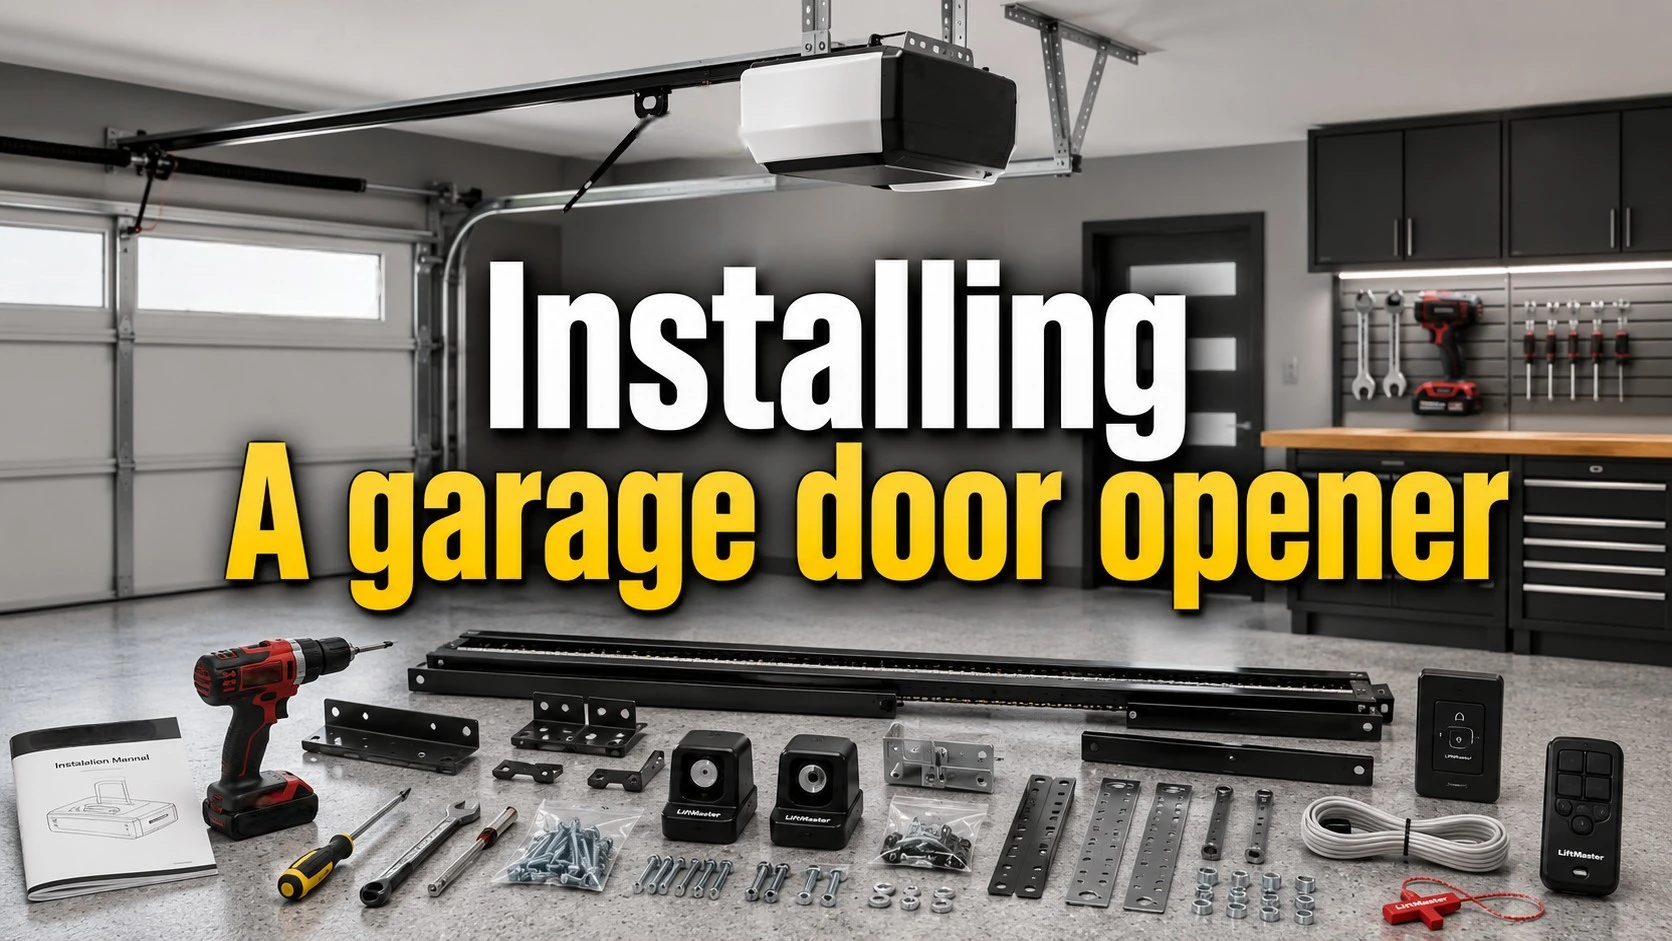
Installing a garage door opener can look like a heavy-duty job at first, but it gets a lot easier once you lay out the parts and follow the manual step by step. If you are comfortable using basic hand tools and working on a ladder, this is a project many homeowners can finish in a few hours.
If you’re replacing an old opener or installing one for the first time, the main thing is to check the door first, mount everything securely, and test every safety feature before calling the job done.
What You Need Before Installing a Garage Door Opener
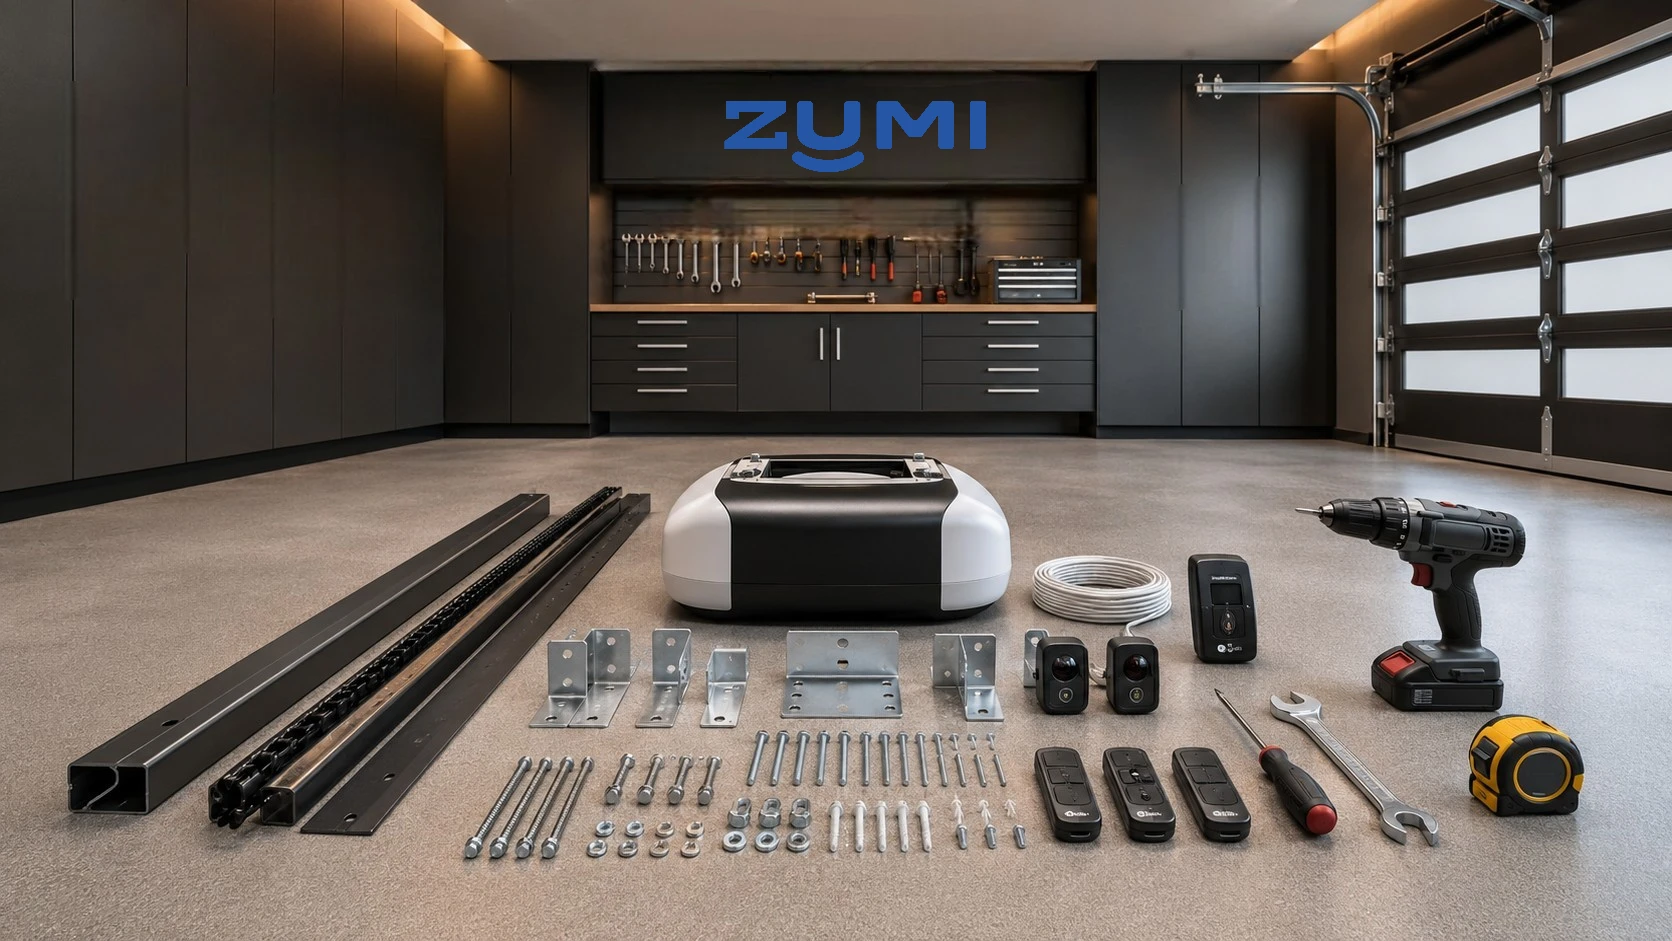
Before starting installation, make sure you have all the necessary tools and components ready.
Essential Tools
Most garage door opener installations require:
- Power drill
- Adjustable wrench
- Socket wrench set
- Screwdrivers
- Ladder
- Tape measure
- Level
- Pliers
- Safety glasses
- Stepladder
- Pencil or marker
Garage Door Opener Kit Components
Your opener package typically includes:
- Motor unit
- Rail assembly
- Trolley
- Belt, chain, or screw drive mechanism
- Header bracket
- Door bracket
- Hanging brackets
- Safety sensors
- Wall-mounted control panel
- Remote controls
- Mounting hardware
Check your manual to make sure you have every piece before you start. Do not reuse old sensors, rails, brackets, or hardware unless your opener’s manual clearly says they are compatible. In many cases, they are not.
Once you have checked the parts and tools, the next step is to make sure the garage door itself is ready for the opener.
Step 1: Check the Door Before You Install Anything
Before installing the opener, make sure your garage door is balanced and moves smoothly. Disconnect the door from any existing opener, then lift the door halfway by hand and let go. If it is balanced, it should stay in place. If it drops, shoots up, sticks, or feels unusually heavy, stop and call a trained garage door professional.
Garage door springs, cables, pulleys, and brackets are under extreme tension. Do not try to adjust them yourself. A garage door opener is designed to move a door that already works correctly. It is not meant to force a damaged or unbalanced door open and closed.
Also, disable any manual door locks and remove any ropes attached to the garage door before installing the opener. Loose ropes can get caught in the opener mechanism.
Step 2: Know Your Garage Door Opener
Before you install anything, make sure your opener can handle your door’s size and weight.
- Chain-drive openers are durable and affordable. They work well for many standard doors, but they are usually louder than other options.
- Belt-drive openers are quieter and smoother, making them a solid choice if there is a bedroom or living space above the garage.
- Screw-drive openers have fewer moving parts, so they can require less maintenance, but some models may have issues in major temperature swings.
- Smart garage door openers connect to Wi-Fi, letting you control or monitor the door through an app or compatible smart-home system.
- Wall-mounted openers mount beside the garage door instead of on the ceiling. They can free up overhead space, but the installation process is different from a standard rail-style opener.
Step 3: Remove the Old Unit
If you’re replacing an old opener, start by unplugging it. Pull the emergency release cord to disconnect the opener from the garage door.
Carefully take down the motor, rail, wall control, sensors, and brackets. Label any wiring before removing it if you think it will help during the new installation. Inspect the old setup, but use the new opener’s included parts whenever possible. Mixing old and new components can cause alignment issues or safety problems.
Step 4: Assemble the Rail
Lay all the rail pieces on the garage floor and connect them according to the manual. Next, install the drive mechanism. Depending on your model, you will run the chain, belt, or screw drive along the rail.
Set the tension according to the manufacturer’s instructions. A chain or belt that is too loose can make the door move unevenly, while one that is too tight can strain the motor and hardware. Slide the trolley onto the rail before you bolt the rail to the motor unit.
Step 5: Mount the Header Bracket
The header bracket anchors the front of the opener to the wall above the garage door. Measure the width of the door and mark the exact center on the wall.
Position the bracket above the highest point of the door’s travel, following the measurement in your manual. Use lag screws to mount it into solid structural framing. Do not fasten the header bracket only to drywall. This bracket handles a lot of force, so it needs a strong, secure mount.
Step 6: Attach the Rail to the Header Bracket
Lift the assembled rail and connect it to the header bracket using the provided pivot pin. Secure it with the retaining clip.
Rest the motor end of the rail on your stepladder while you prepare to hang the motor. This keeps the rail supported and helps you avoid twisting the assembly while you work.
Step 7: Hang the Motor Unit
The motor unit needs to be securely suspended from ceiling joists or other structural framing. Use a stud finder to locate solid wood framing, then attach the metal hanging brackets with lag screws.
Lift the motor unit and bolt it to the brackets. Put a level on the rail to make sure it is straight and properly aligned. A crooked rail can put extra strain on the opener and shorten its lifespan.
Step 8: Attach the Door Bracket and Arm
The opener arm connects the trolley to the garage door. Mount the door bracket at the center of the top panel, following your manual’s placement instructions.
If you have a lightweight aluminum, fiberglass, or thin steel door, you may need a reinforcement bracket. Without reinforcement, the opener can bend or damage the top panel over time.
Connect the curved and straight arm pieces, then attach them to the trolley using the supplied bolts and pins.
Step 9: Install the Safety Sensors
Safety sensors help stop the door from closing on people, pets, or objects. Install one sensor on each side of the garage door opening. The sensor beam should be no higher than 6 inches above the garage floor.
The sensors must face each other directly. Run the sensor wiring up the wall and across the ceiling to the motor unit, securing it with insulated staples. Don’t pierce the wire with staples, because that can create a short or break the circuit.
If the sensors are blocked, dirty, wired incorrectly, or misaligned, the door may refuse to close. Take your time here, since sensor alignment is one of the most common setup issues.
Step 10: Install the Wall Button
Install the wall control within sight of the garage door, away from moving parts, and at least 5 feet above the floor so small children cannot reach it.
Route the wire back to the motor unit and connect it to the correct terminals shown in your manual. If your garage is pre-wired, match the same wires at the opener that you connected at the wall control.
Step 11: Plug It In and Program It
Once everything is mounted and wired, plug the opener into a grounded outlet. Don’t connect power until the manual tells you to.
Set the travel limits so the door knows exactly how far to open and close. Then adjust the force settings according to the manual so the motor does not push or pull too hard.
Finally, use the opener’s “Learn” button or control panel to sync your remotes, keypad, and smart features.
Step 12: Test the System
Run the door up and down a few times and watch the movement closely. It should travel smoothly without jerking, rubbing, or shaking.
Test the safety reversal system by placing a 2×4 flat on the floor under the door. When the door touches the wood, it should reverse. Next, close the door again and wave an object through the sensor beam. The door should stop and reverse right away.
Do not skip these tests. A garage door opener is not fully installed until the safety systems work correctly.
Common Mistakes to Avoid
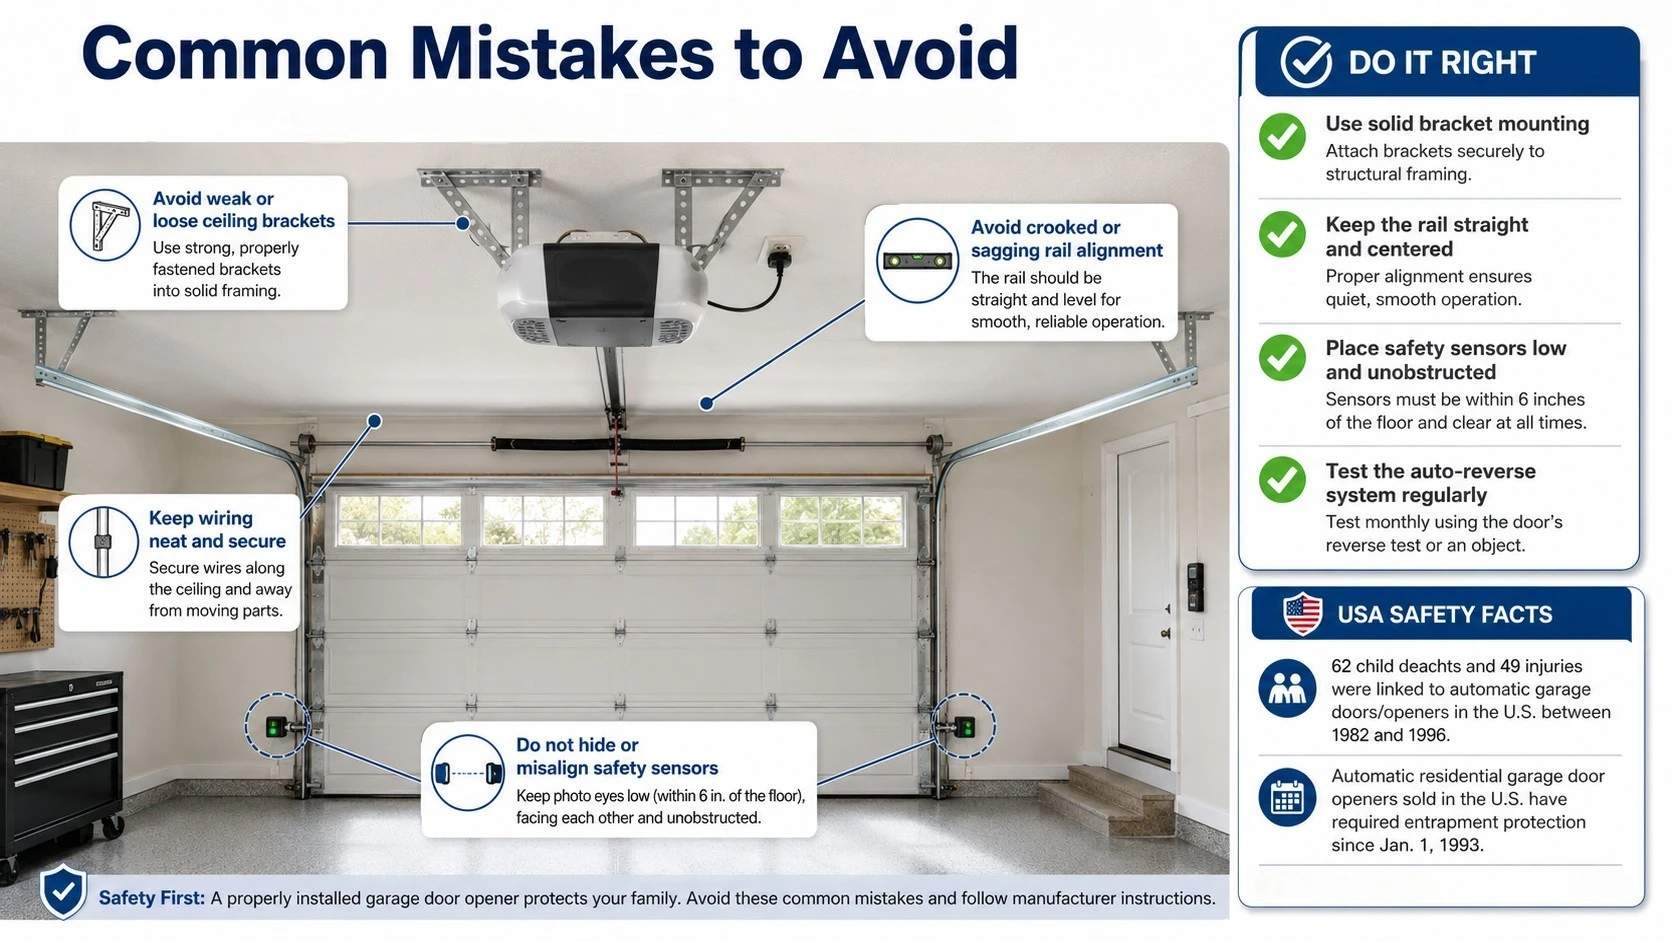
- Crooked rail: An angled rail puts extra strain on the motor and hardware.
- Weak ceiling mounting: Always bolt the motor into structural framing, not just drywall.
- Misaligned sensors: If the sensors are not lined up correctly, the door may not close.
- Skipping the door balance test: An opener cannot fix a bad spring, damaged cable, or sticking door.
- Skipping manual instructions: Every opener model has its own hardware, settings, and safety steps.
When to Call a Pro
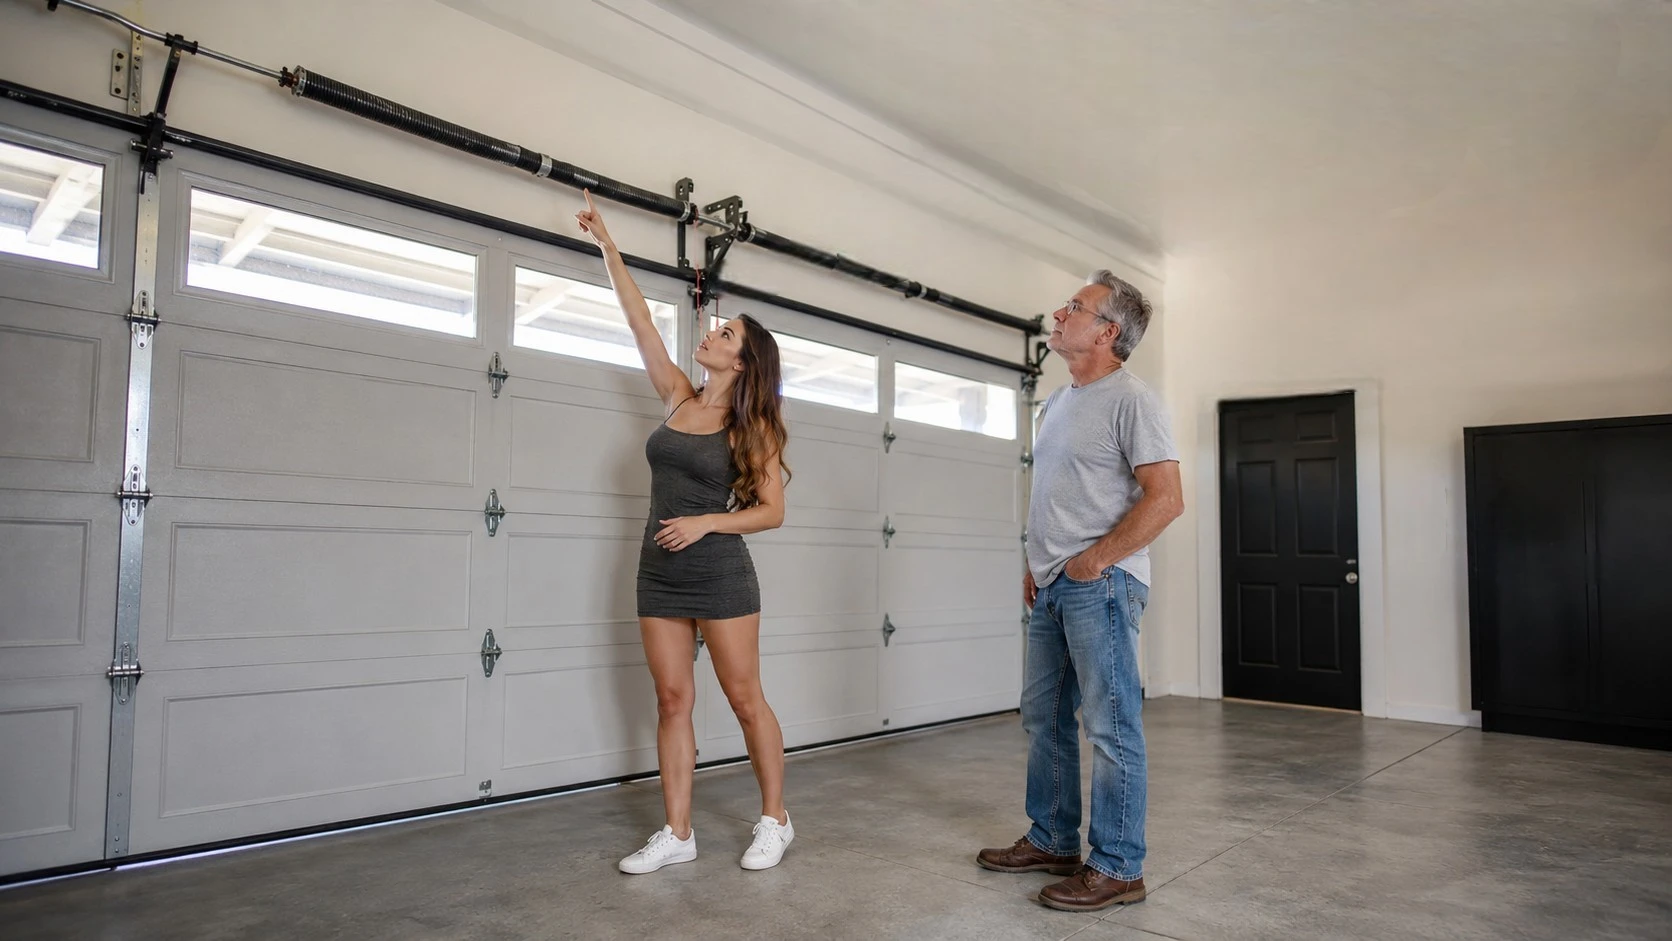
DIY installation is doable, but you may want to call a professional if:
- Your garage ceiling is unusually high.
- You need a new electrical outlet installed.
- The garage door is extremely heavy, damaged, or custom-sized.
- The door does not stay balanced when lifted halfway.
- You are installing a wall-mounted opener.
- You aren’t comfortable working on ladders or lifting the motor unit overhead.
A professional can install the opener safely, adjust the system correctly, and help protect your warranty.
Final Thoughts
Installing your own garage door opener can save money and make your garage more convenient. The job is manageable for many homeowners, but it only works well if the door is balanced, the opener is mounted securely, and the safety sensors are installed correctly.
Take your time, follow the manual, and test the reversal system before using the opener every day.
If you want a modern smart opener with app control, quiet operation, and built-in safety features, the ZUMI garage door openers are worth considering for residential garages. Their wall-mounted design also frees up ceiling space, which is useful for garages with storage racks or low ceilings.


