Tag: Backyard Ideas

  • DIY Artificial Grass Installation: A Step-by-Step Guide for Beginners

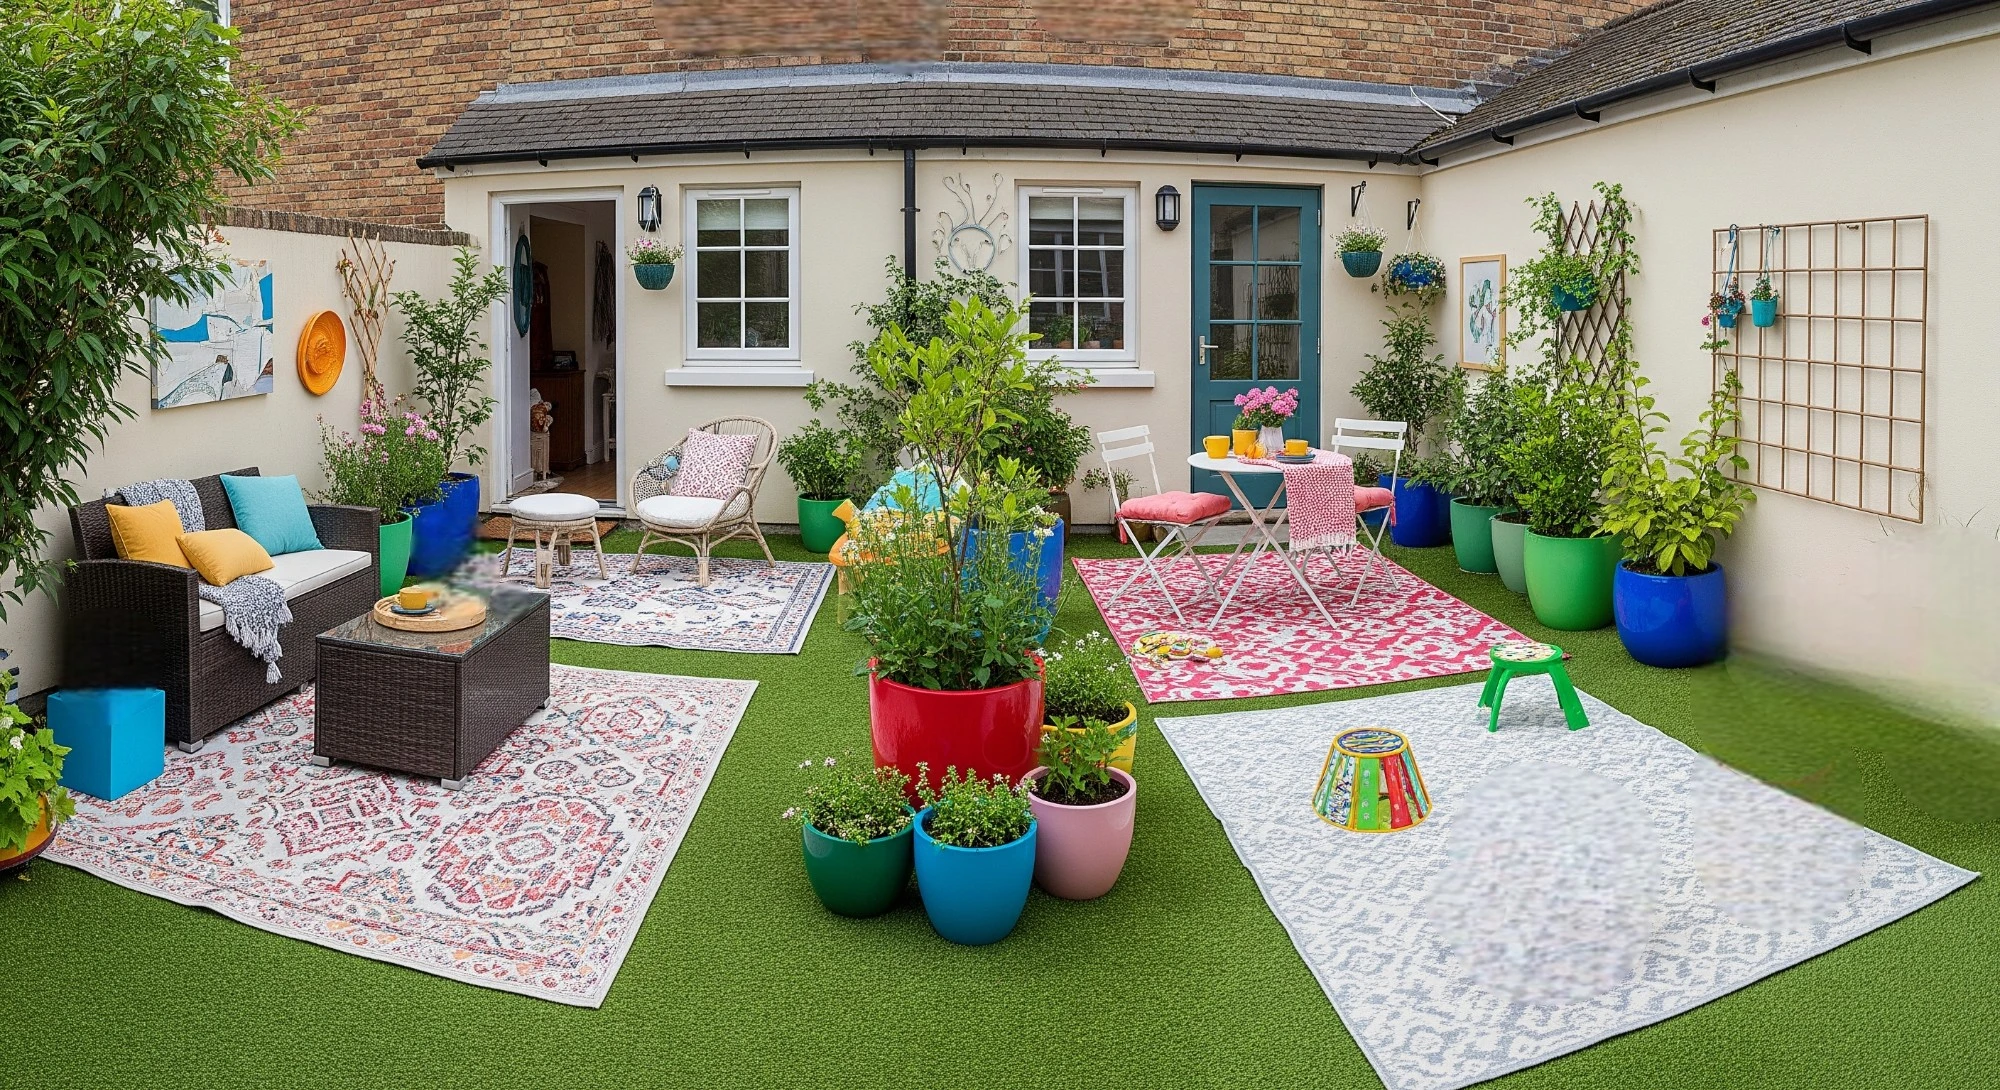
    Some spaces just aren’t made for real grass. Maybe there’s too much shade, too many paws running around, or not enough time to deal with sprinklers and weeds. That’s where artificial grass quietly steps in and does its thing. It’s green all year, doesn’t care about dry spells, and somehow always looks like you just had it professionally edged.

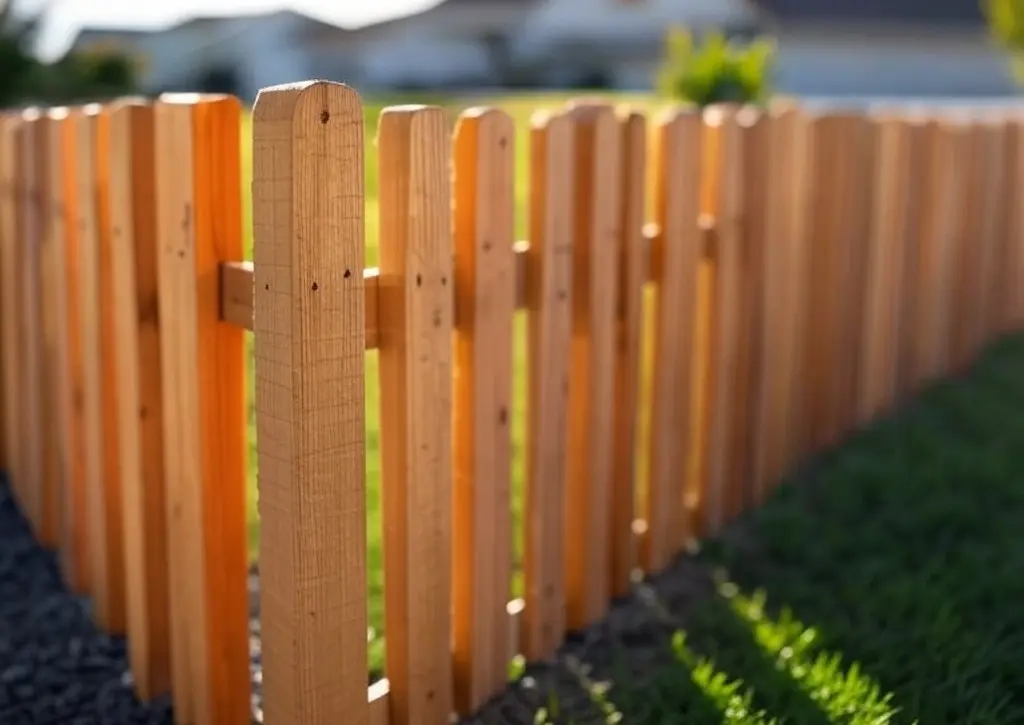
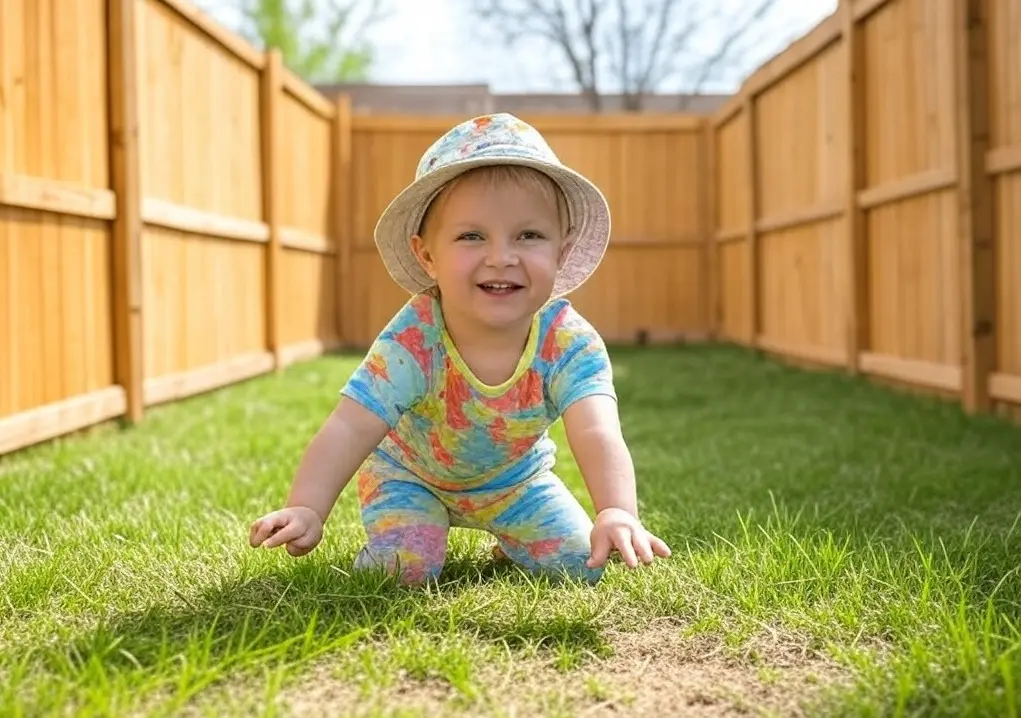
    You’ll see it tucked between stepping stones in a small side yard, softening up a balcony in the city, or covering that awkward patch between the garage and the fence that never grew anything anyway. It’s a favorite for dog owners—easy to rinse, tough to dig through and parents like it too because there’s no mud, no mess, just clean space to run around. It’s not trying too hard, it just works, which is probably why so many people keep going back to it once they see how low-key the upkeep really is.

    You don’t always need a crew or fancy equipment to get it in place. With a free weekend, a bit of planning, and maybe a playlist that keeps the energy up, DIY artificial grass installation can actually turn into one of those surprisingly satisfying wins. It’s the kind of project that changes how your space looks and feels and once it’s done, it pretty much takes care of itself.

    Step 1 – Prep the Ground

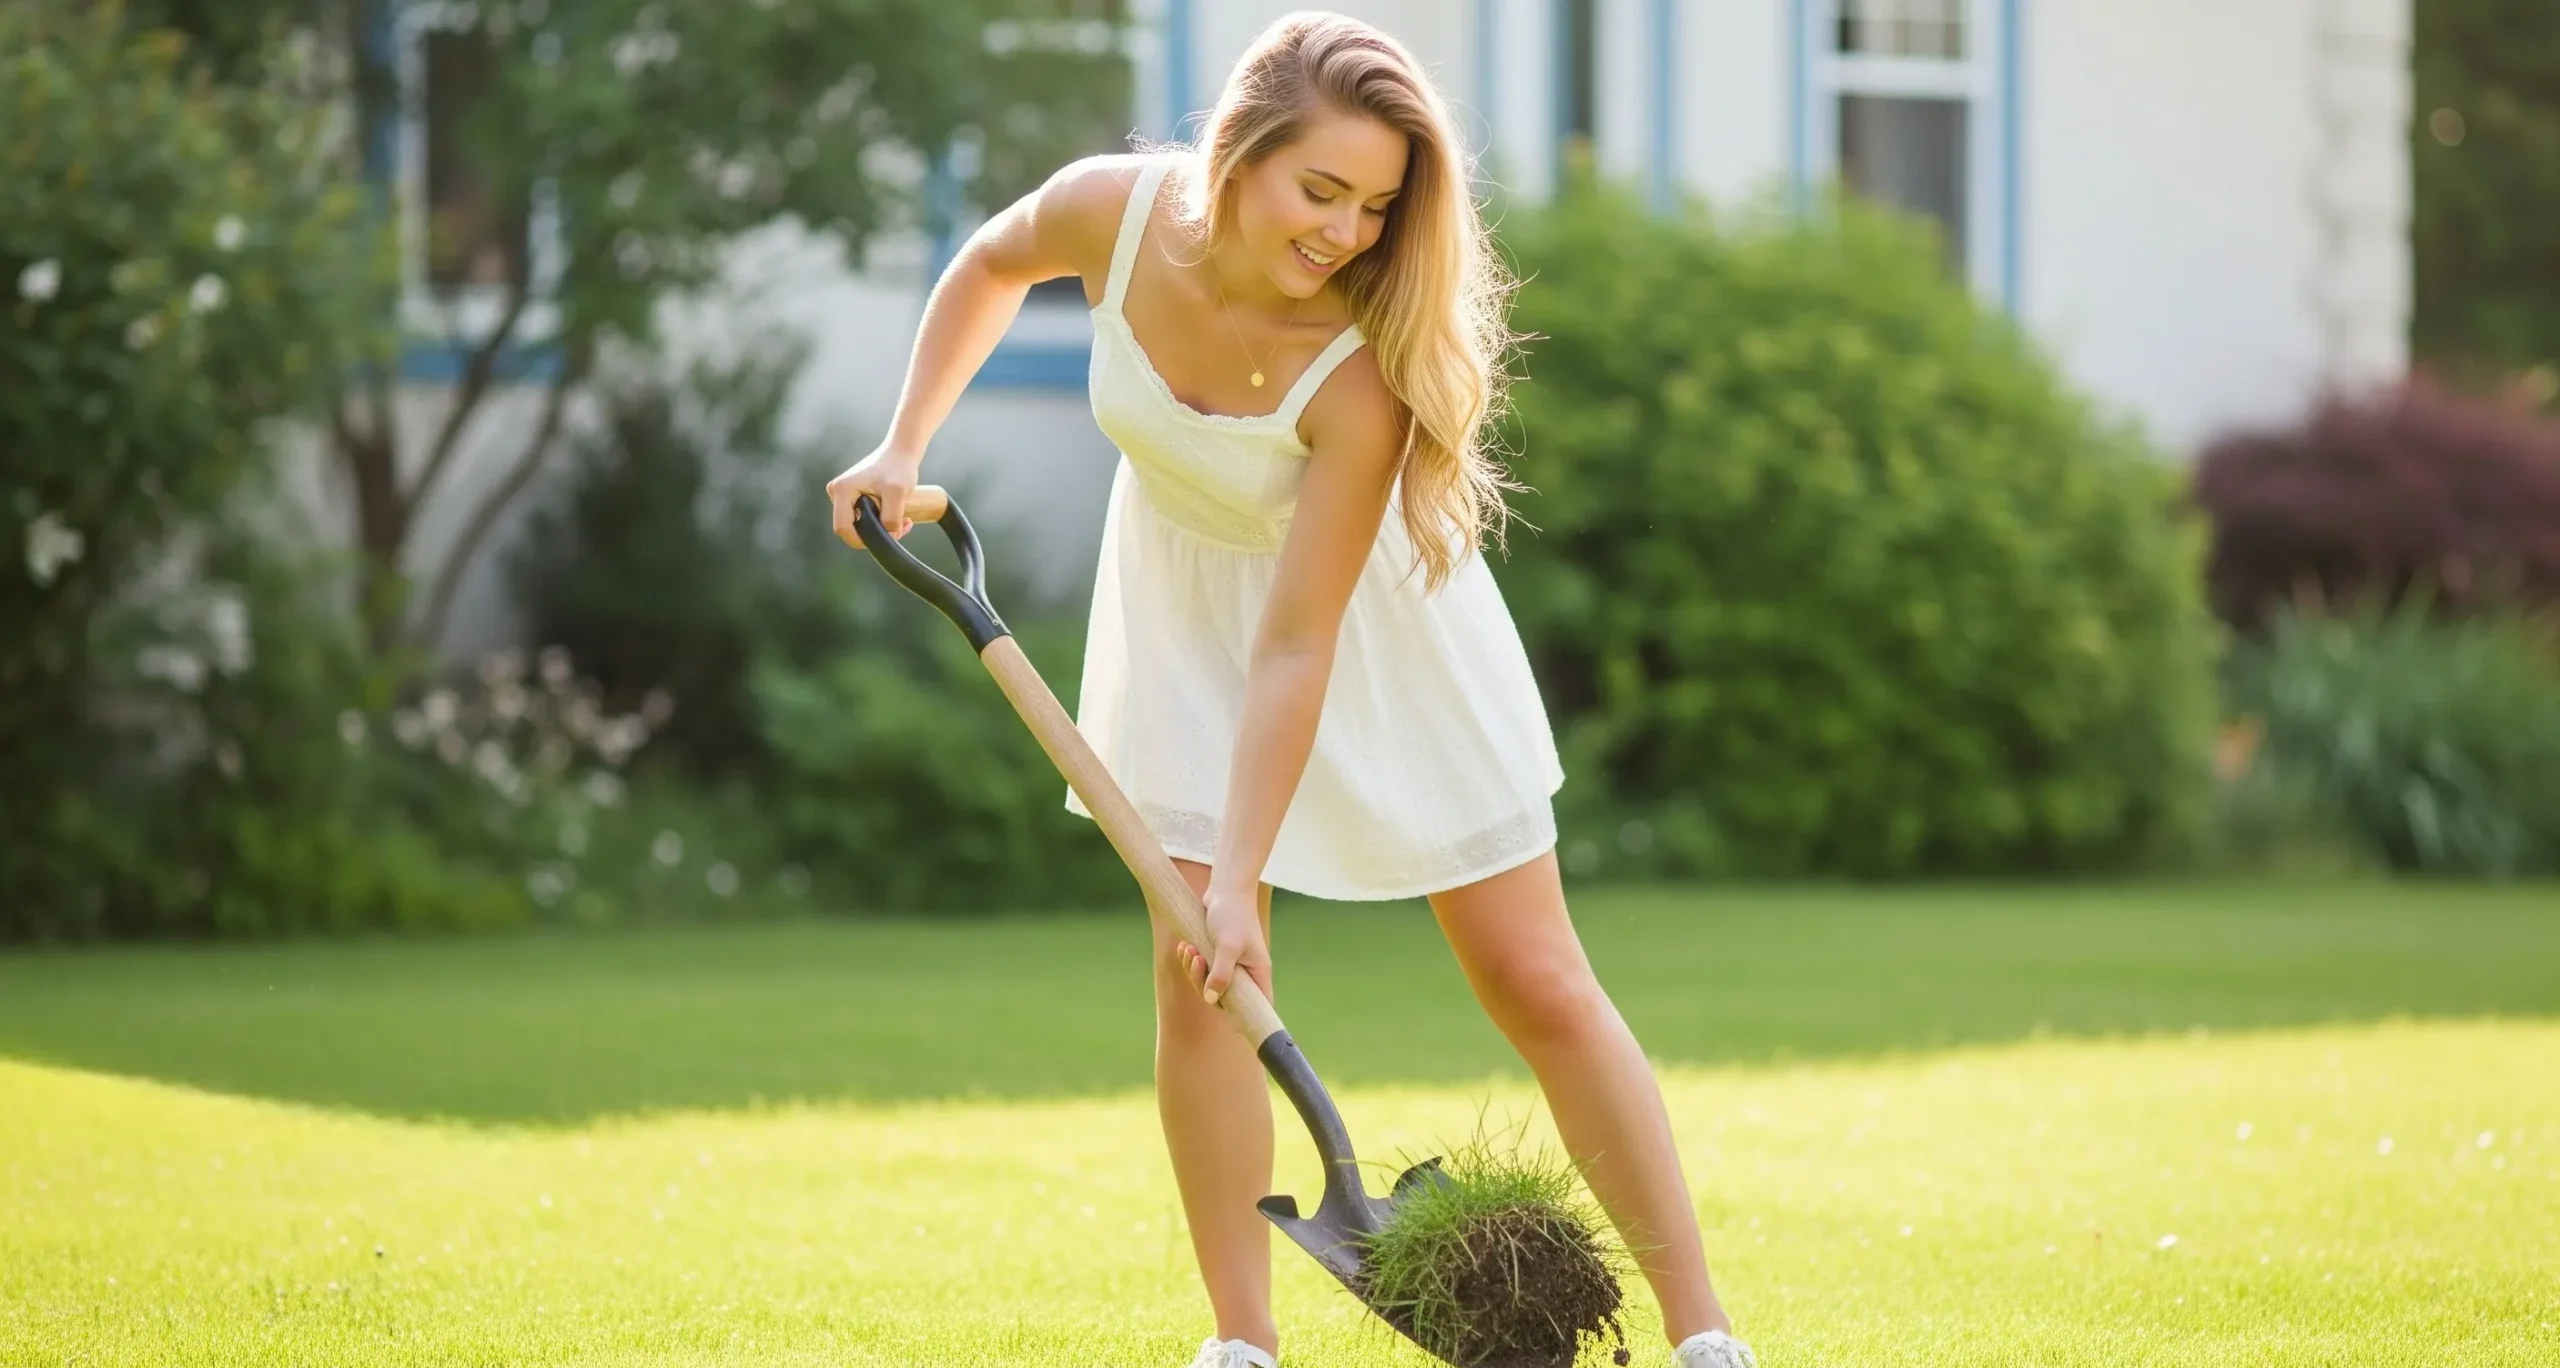
    Getting the ground ready might not be the most exciting part, but it sets everything up to actually last. First, all the old stuff has to go. Grass, weeds, rocks, random roots, basically anything that doesn’t belong under your new lawn. A few inches down is usually enough, just enough to get a clean surface. If there’s an old sprinkler system hiding in there, now’s the time to cap it off or pull it out so nothing leaks or grows moldy underneath. And since water needs a place to go, a gentle slope away from the house helps a lot during rainy days.

    Before grabbing a shovel, always check for underground lines. and don’t forget to call 811 before digging, it’s a small step that helps avoid accidents, costly repairs, and worse..

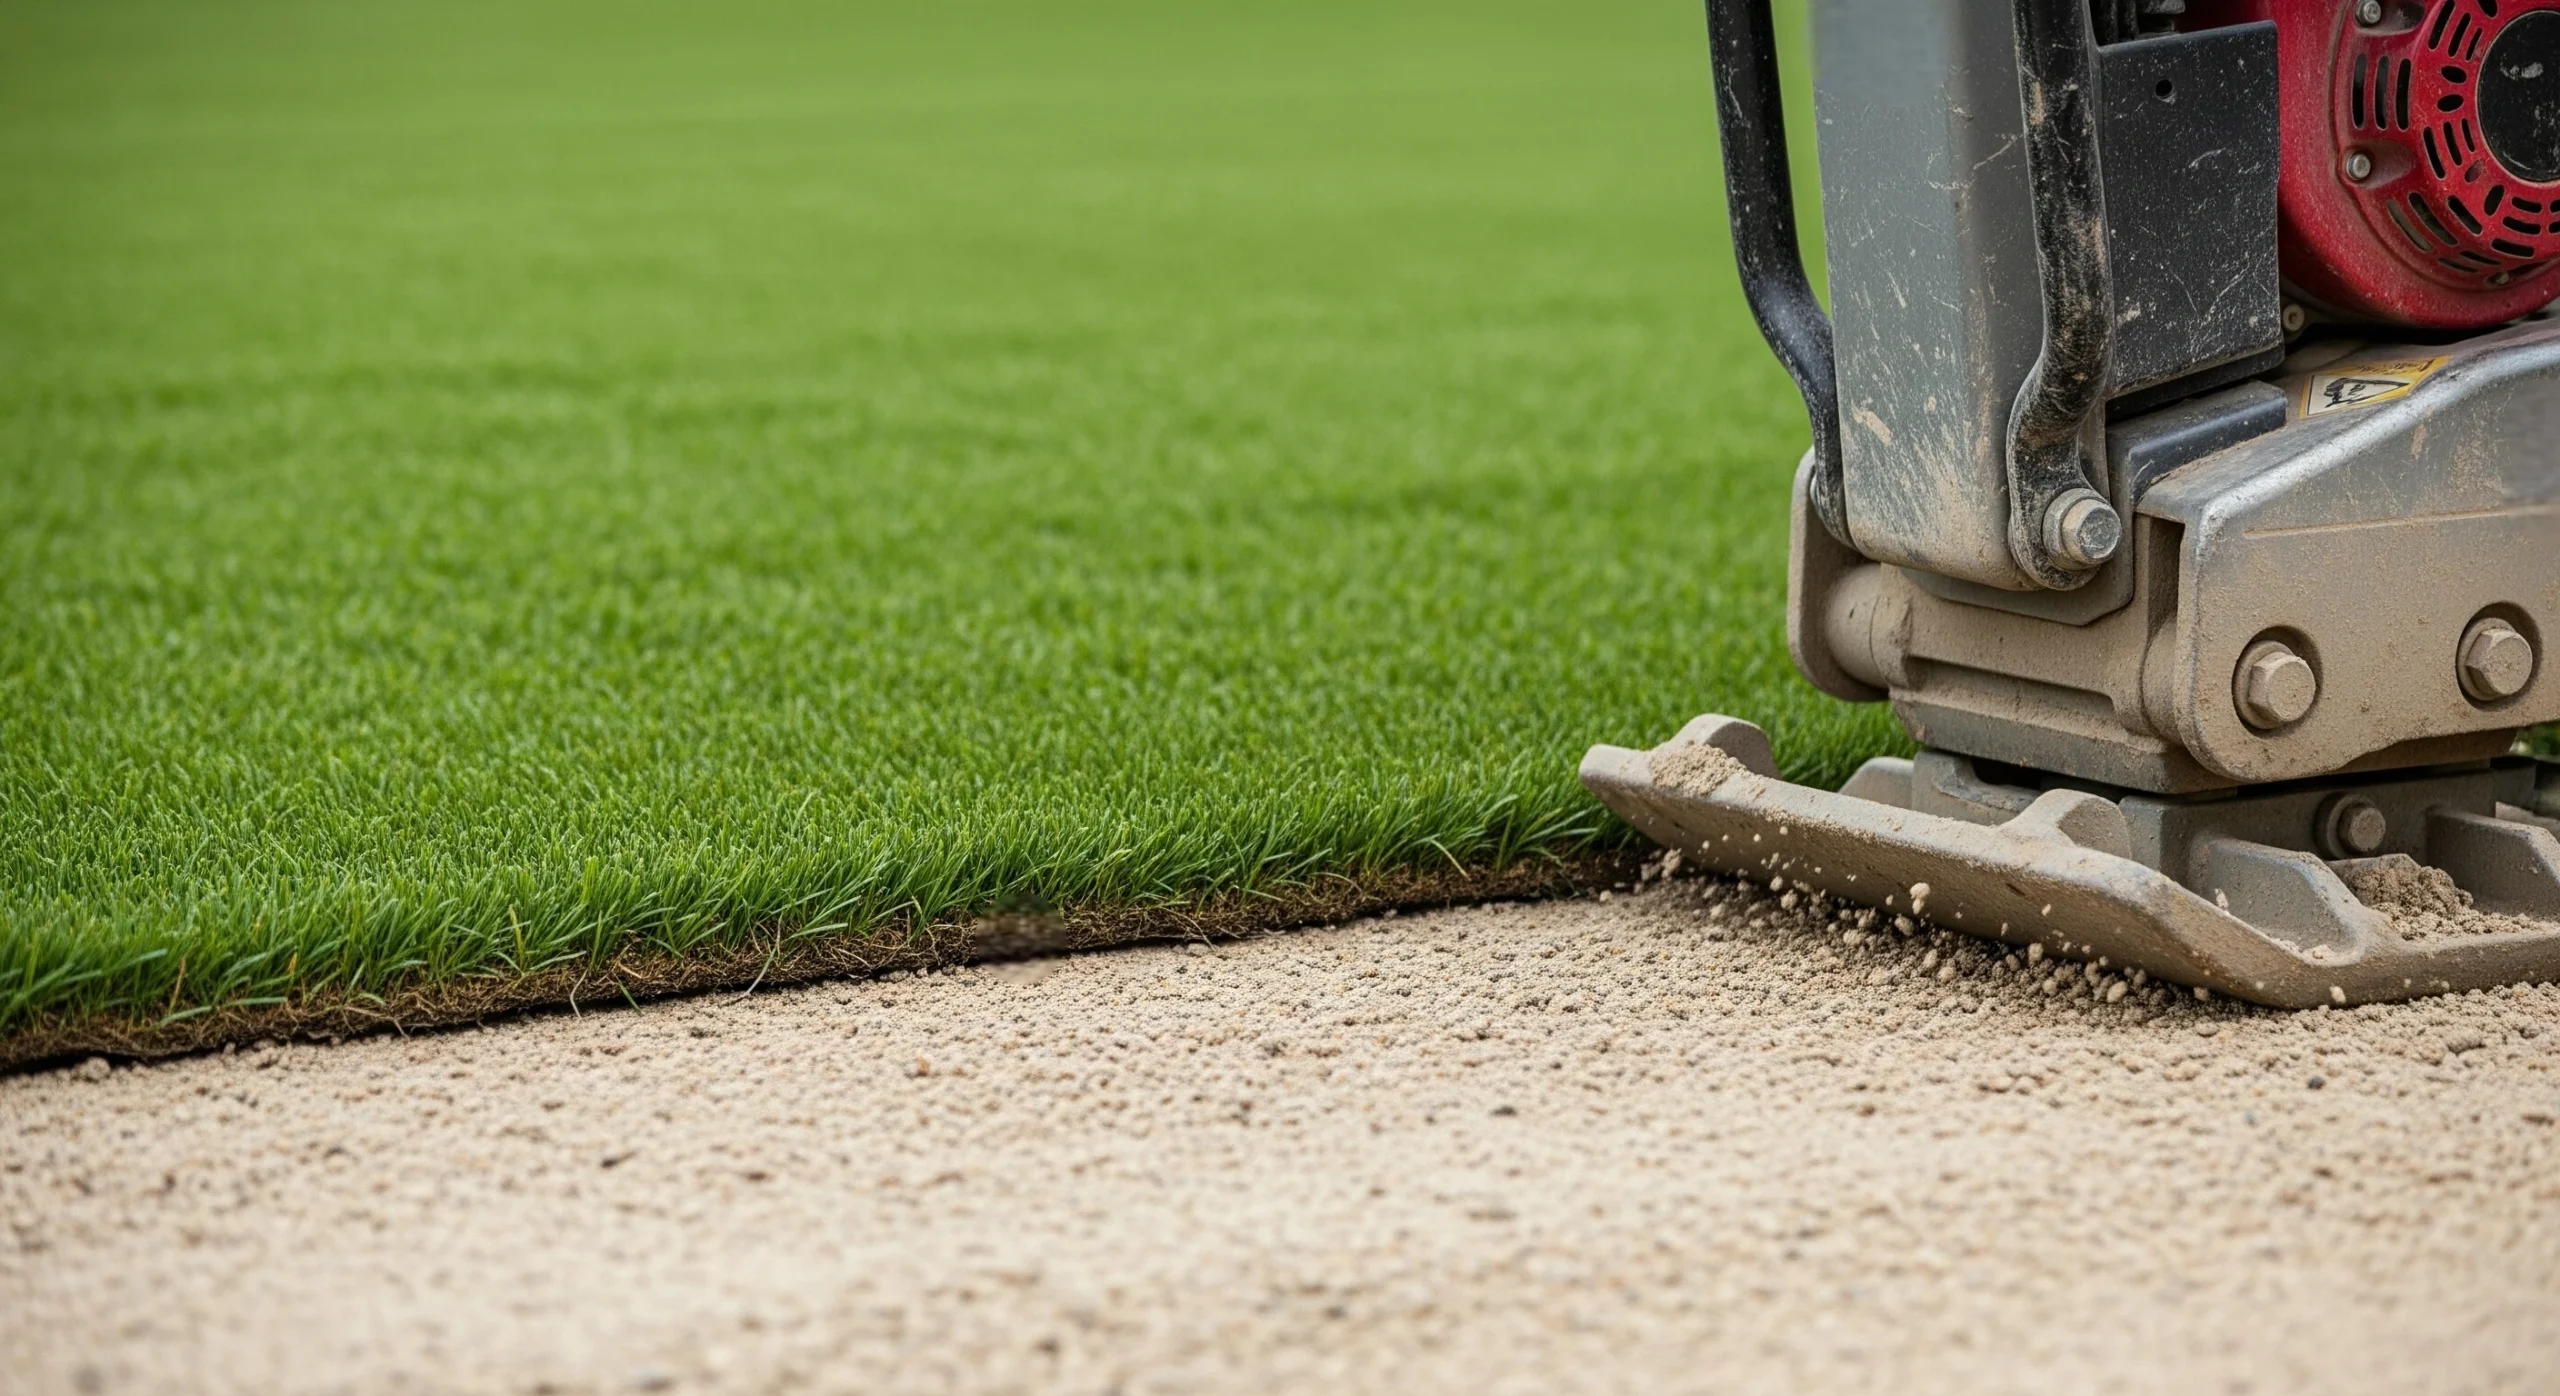
    Step 2 – Build a Stable Base

    After clearing the area, it helps to add a border around the space. It’s not a must, but having something like bender board or weather-treated wood around the edge gives the whole thing a cleaner finish and helps hold the turf in place once everything’s down. It also makes the final edge feel more intentional instead of just sort of stopping wherever the grass ends.

    Then comes the base layer, which is basically what keeps everything feeling solid. A couple inches of crushed stone or decomposed granite works great here. Once it’s spread out, the surface needs to be as level and even as possible, with a little slope so water doesn’t just sit there. Packing it down tightly makes a big difference too—this is what keeps dips and soft spots from showing up later. Some folks like to roll out a weed barrier at this stage, just to make extra sure nothing tries to grow back through.

    Step 3 – Lay and Settle the Grass

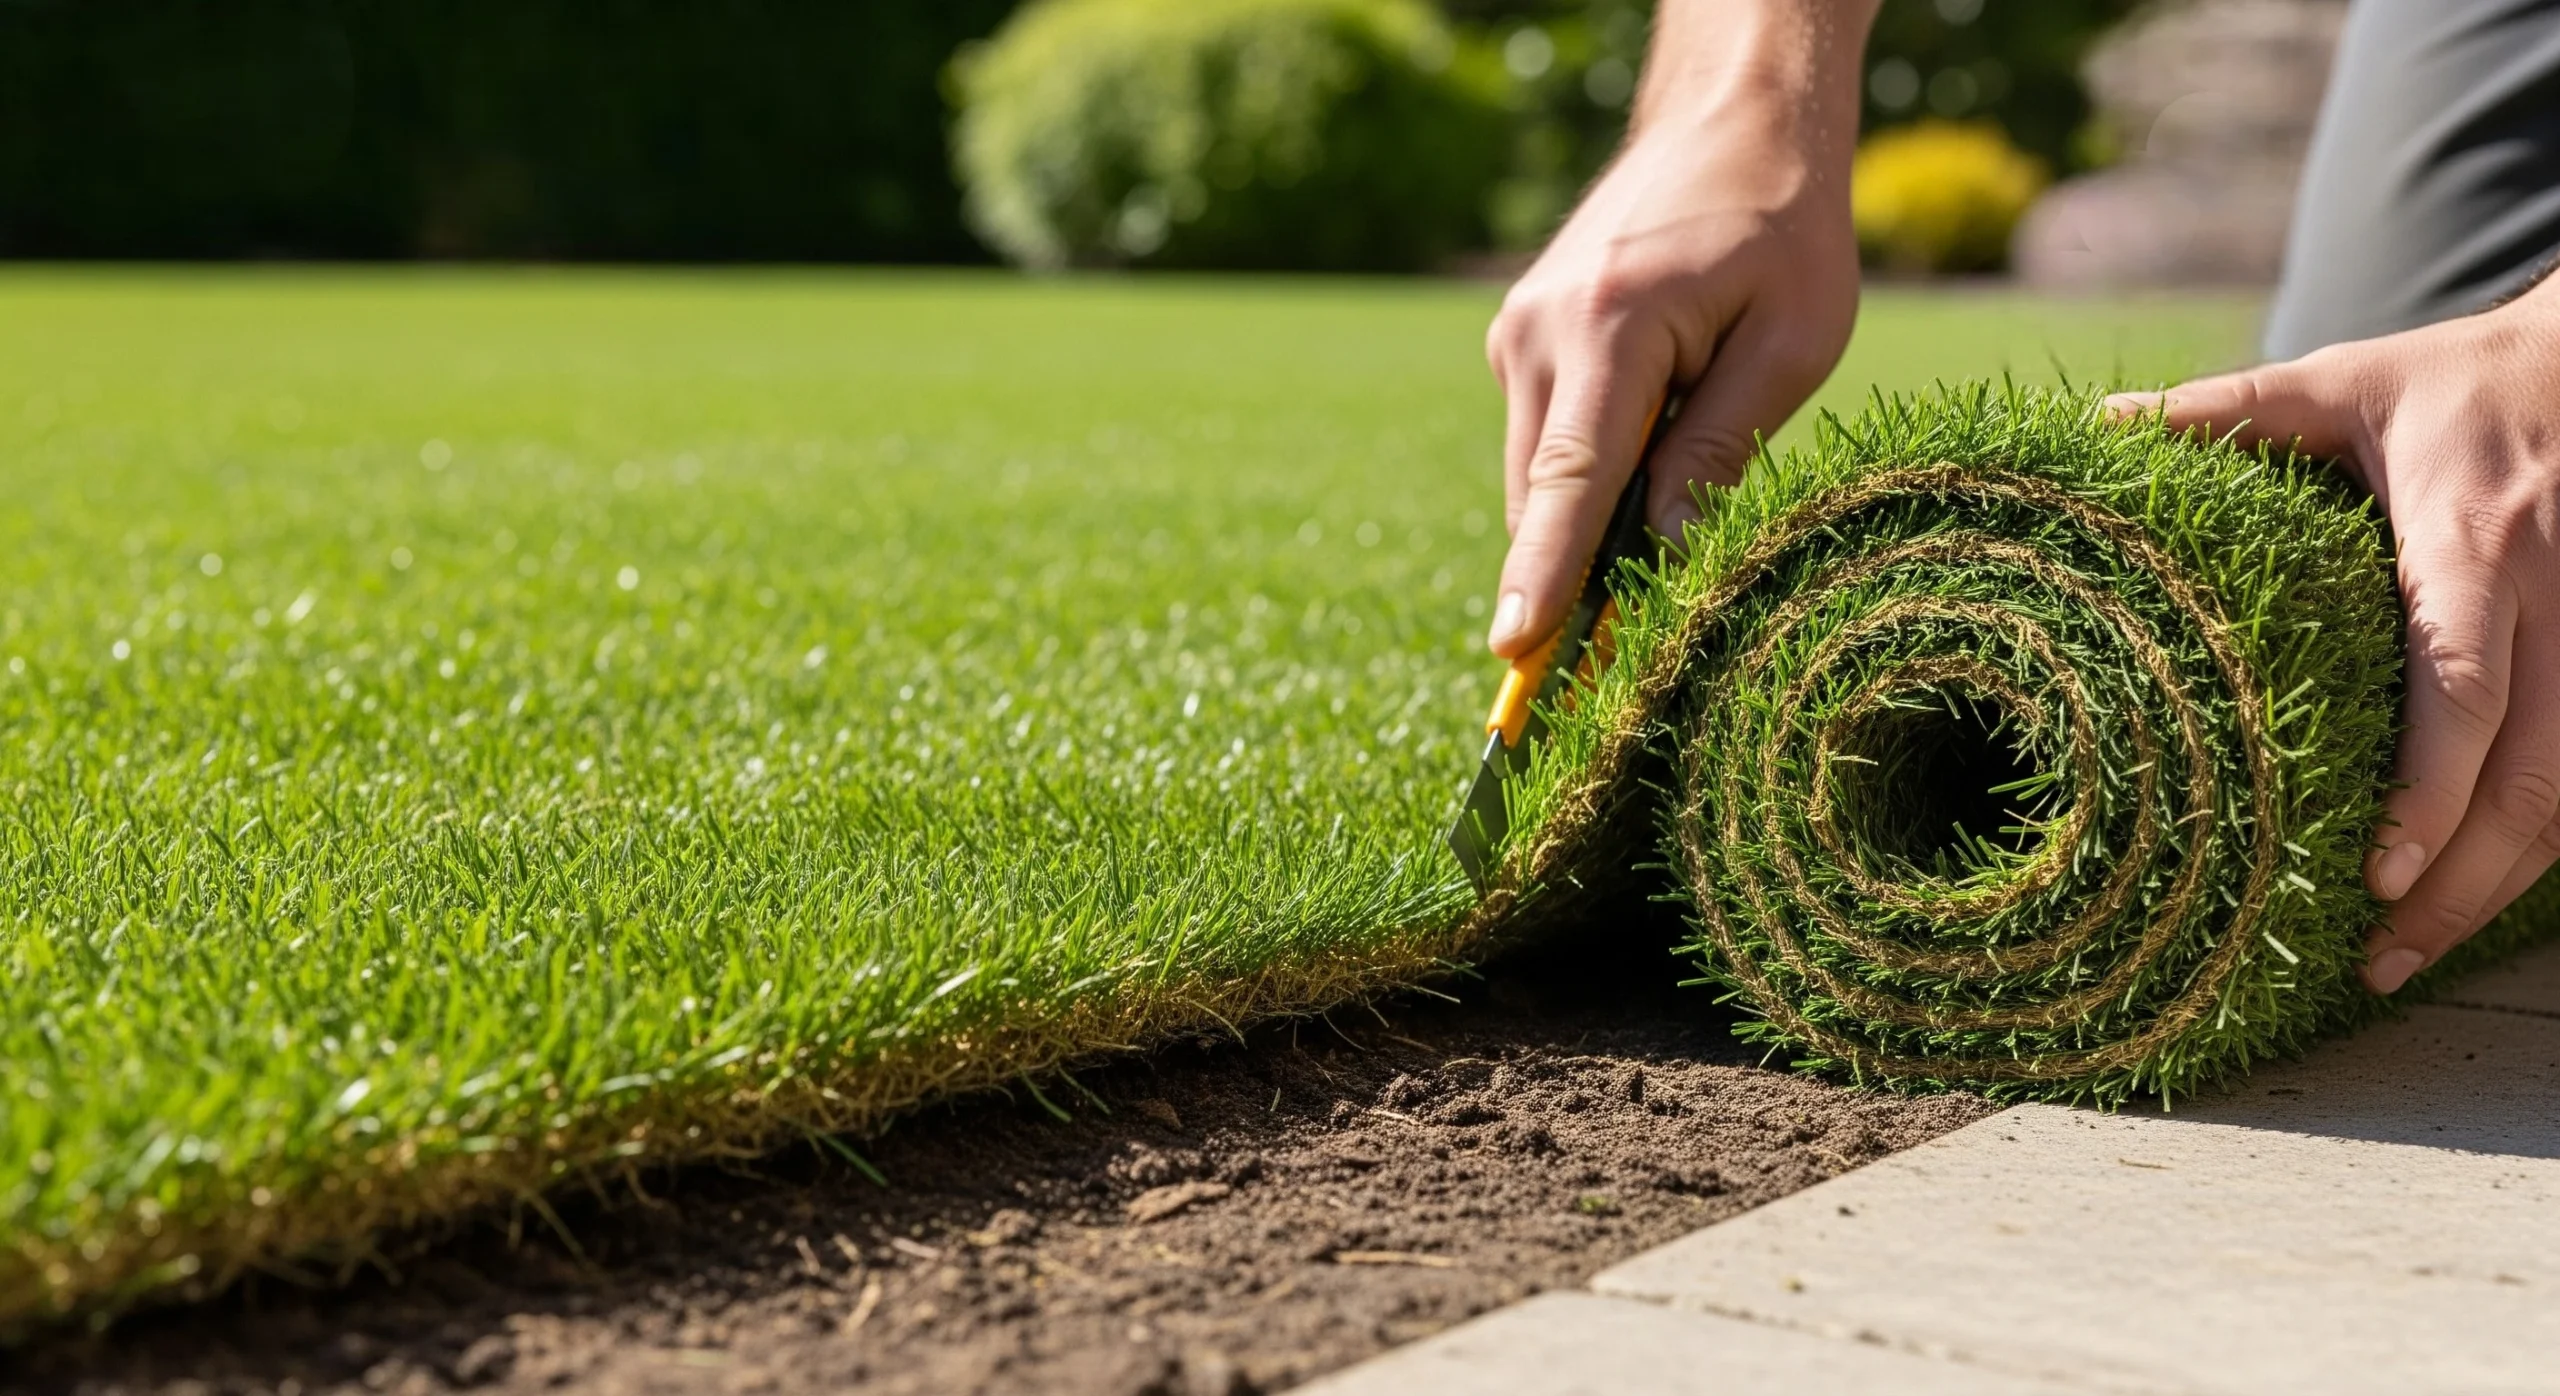
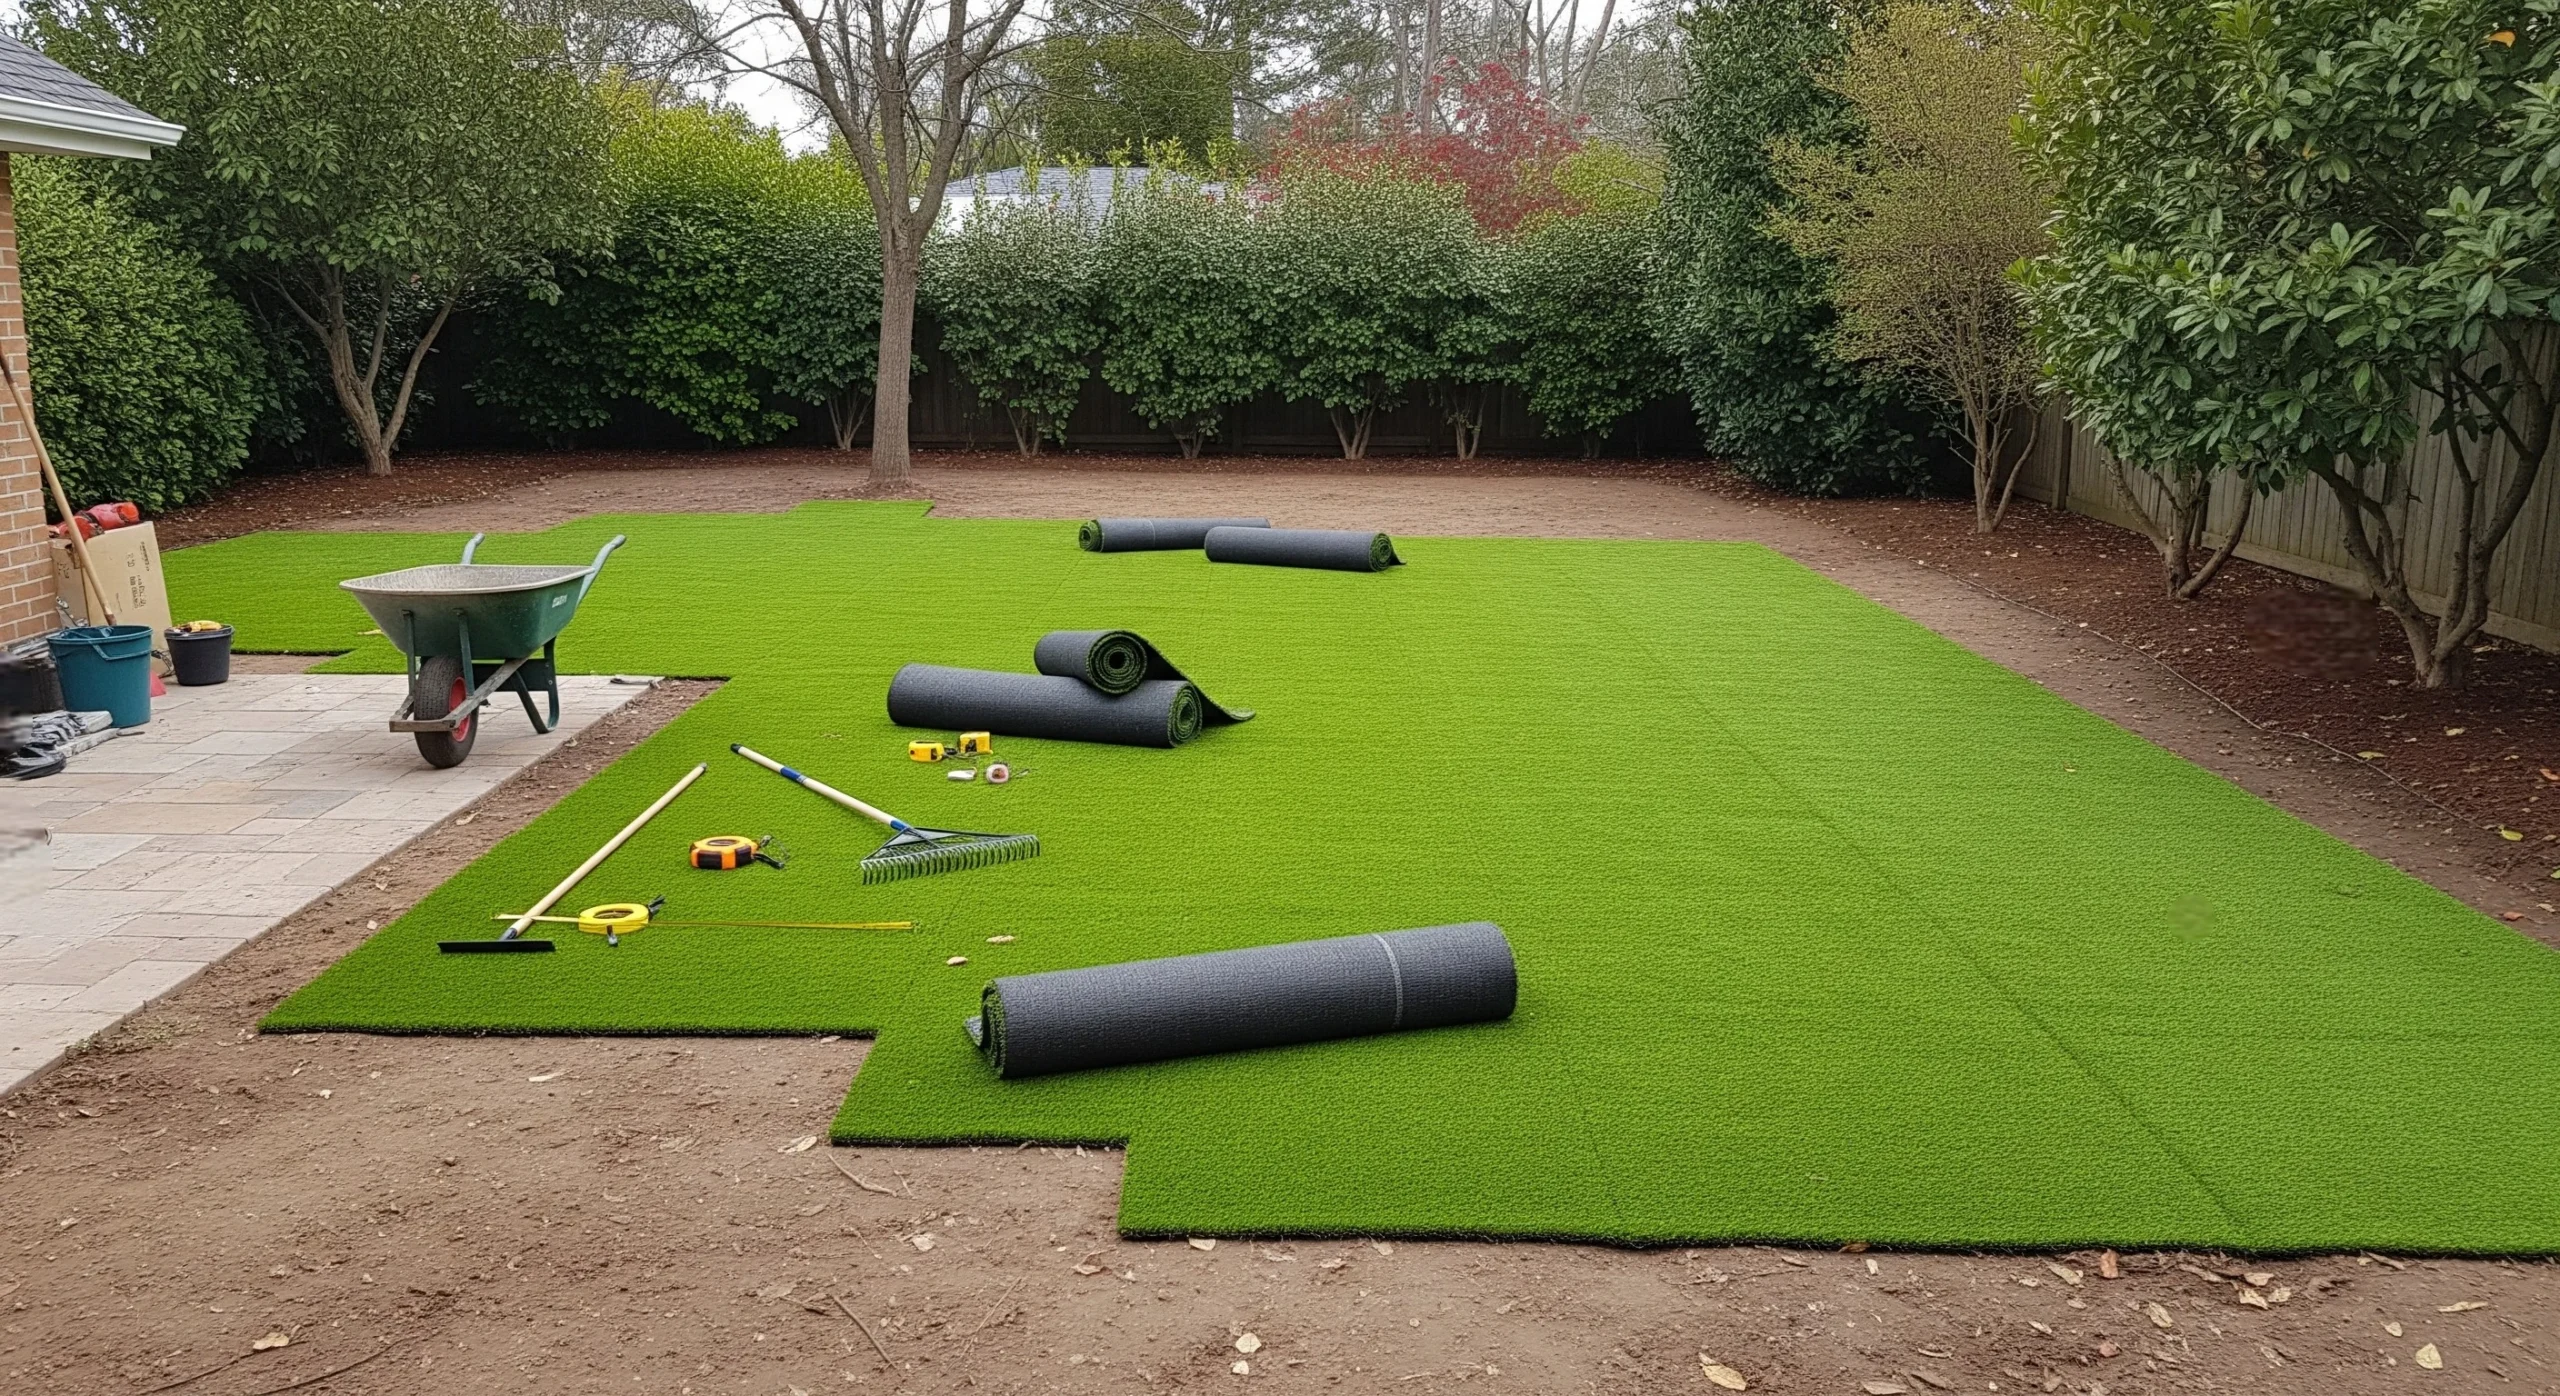
    Once the base is set, it’s time to roll out the green. The turf usually comes tightly packed, so letting it hang out in the sun for a bit helps it relax and flatten out. It’s kind of like unrolling a giant yoga mat that’s been stuffed in a closet for too long. The warmth makes the material easier to shape and way less stubborn when it’s time to get it sitting right.

    Once it’s relaxed, the trick is to keep all the blades going in the same direction. It sounds tiny, but if some of them lean one way and others lean another, the lawn ends up looking patchy in weird lighting. Trimming around edges, stepping stones, or tree trunks takes some slow moves and a sharp blade, but once you get going, it’s oddly satisfying. If you’ve got more than one roll to work with, lining up seams can take a minute, but once they’re glued and pressed down, it all disappears like a good wallpaper pattern.

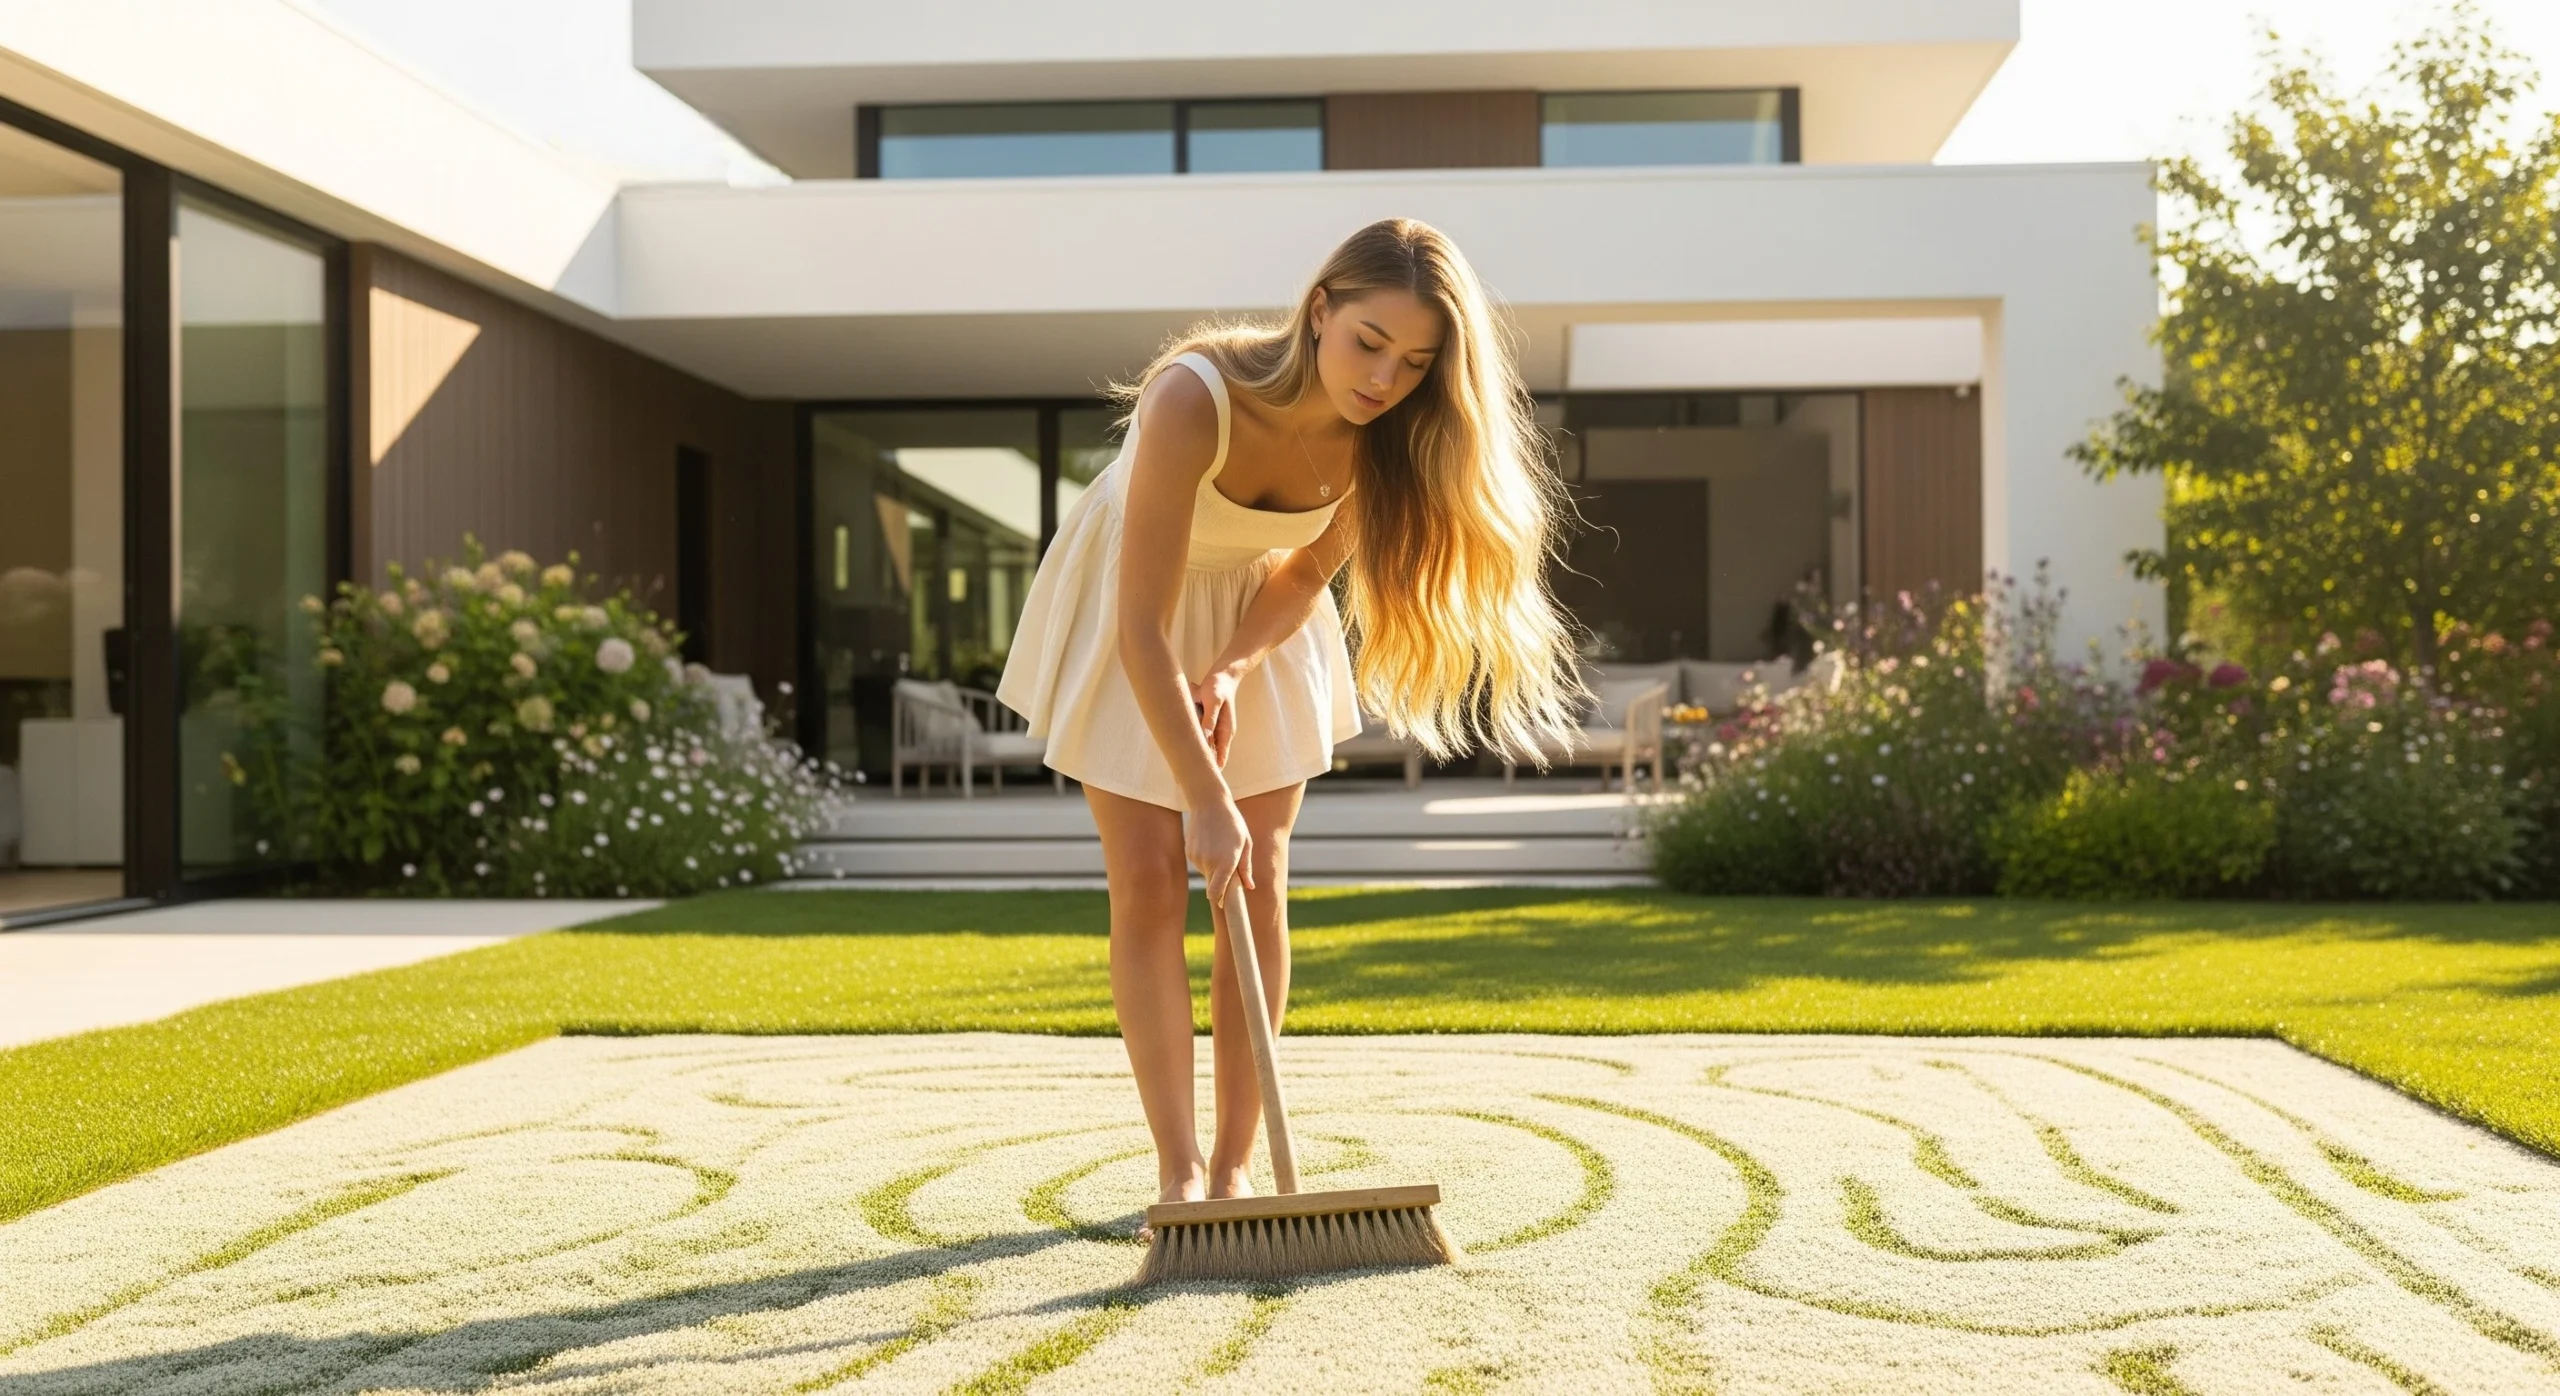
    To finish, anchor the edges so nothing shifts out of place, then give everything a good brush—nothing fancy, just something stiff enough to lift the blades so it starts to look less like packaging and more like a real backyard.

    Step 4 – Add the Infill

    This part feels a little like seasoning a big pan of something before it goes in the oven. The infill is what settles into the grass and helps everything feel grounded, literally. There are a few options to pick from, silica sand is common, rubber crumb gives more bounce, and pet-friendly blends are great if furry paws are part of daily life. The type you go with depends on how the space will be used, but either way, it’s what gives the turf weight and helps the blades stay upright.

    Once it’s spread across the surface, a stiff brush (or power broom, if you’re feeling fancy) helps work the material down into the fibers so it doesn’t just sit on top like sprinkles on a cupcake. It takes a little elbow grease, but once it’s in, the whole thing feels more finished. Also, it helps the turf look more like real grass instead of something you just rolled out yesterday.

    Step 5 – Final Touches

    With everything in place, the last step is all about tidying up and giving the whole space a once-over. Any loose bits—extra infill, stray blades, scraps from trimming, can be swept or vacuumed up to keep things looking polished. It’s also a good time to check edges one last time, make sure nothing’s lifting, and brush out any areas that got matted down during install.

    Once the surface looks clean and even, that’s when it really starts to feel like a finished yard. No muddy patches, no weird brown spots, and no mower in sight. Just a soft, green space that looks good from every angle and holds up whether it’s sunny, rainy, or somewhere in between. It’s one of those upgrades that keeps paying off over time—less work, more time to actually enjoy being outside.

    Tools and Materials

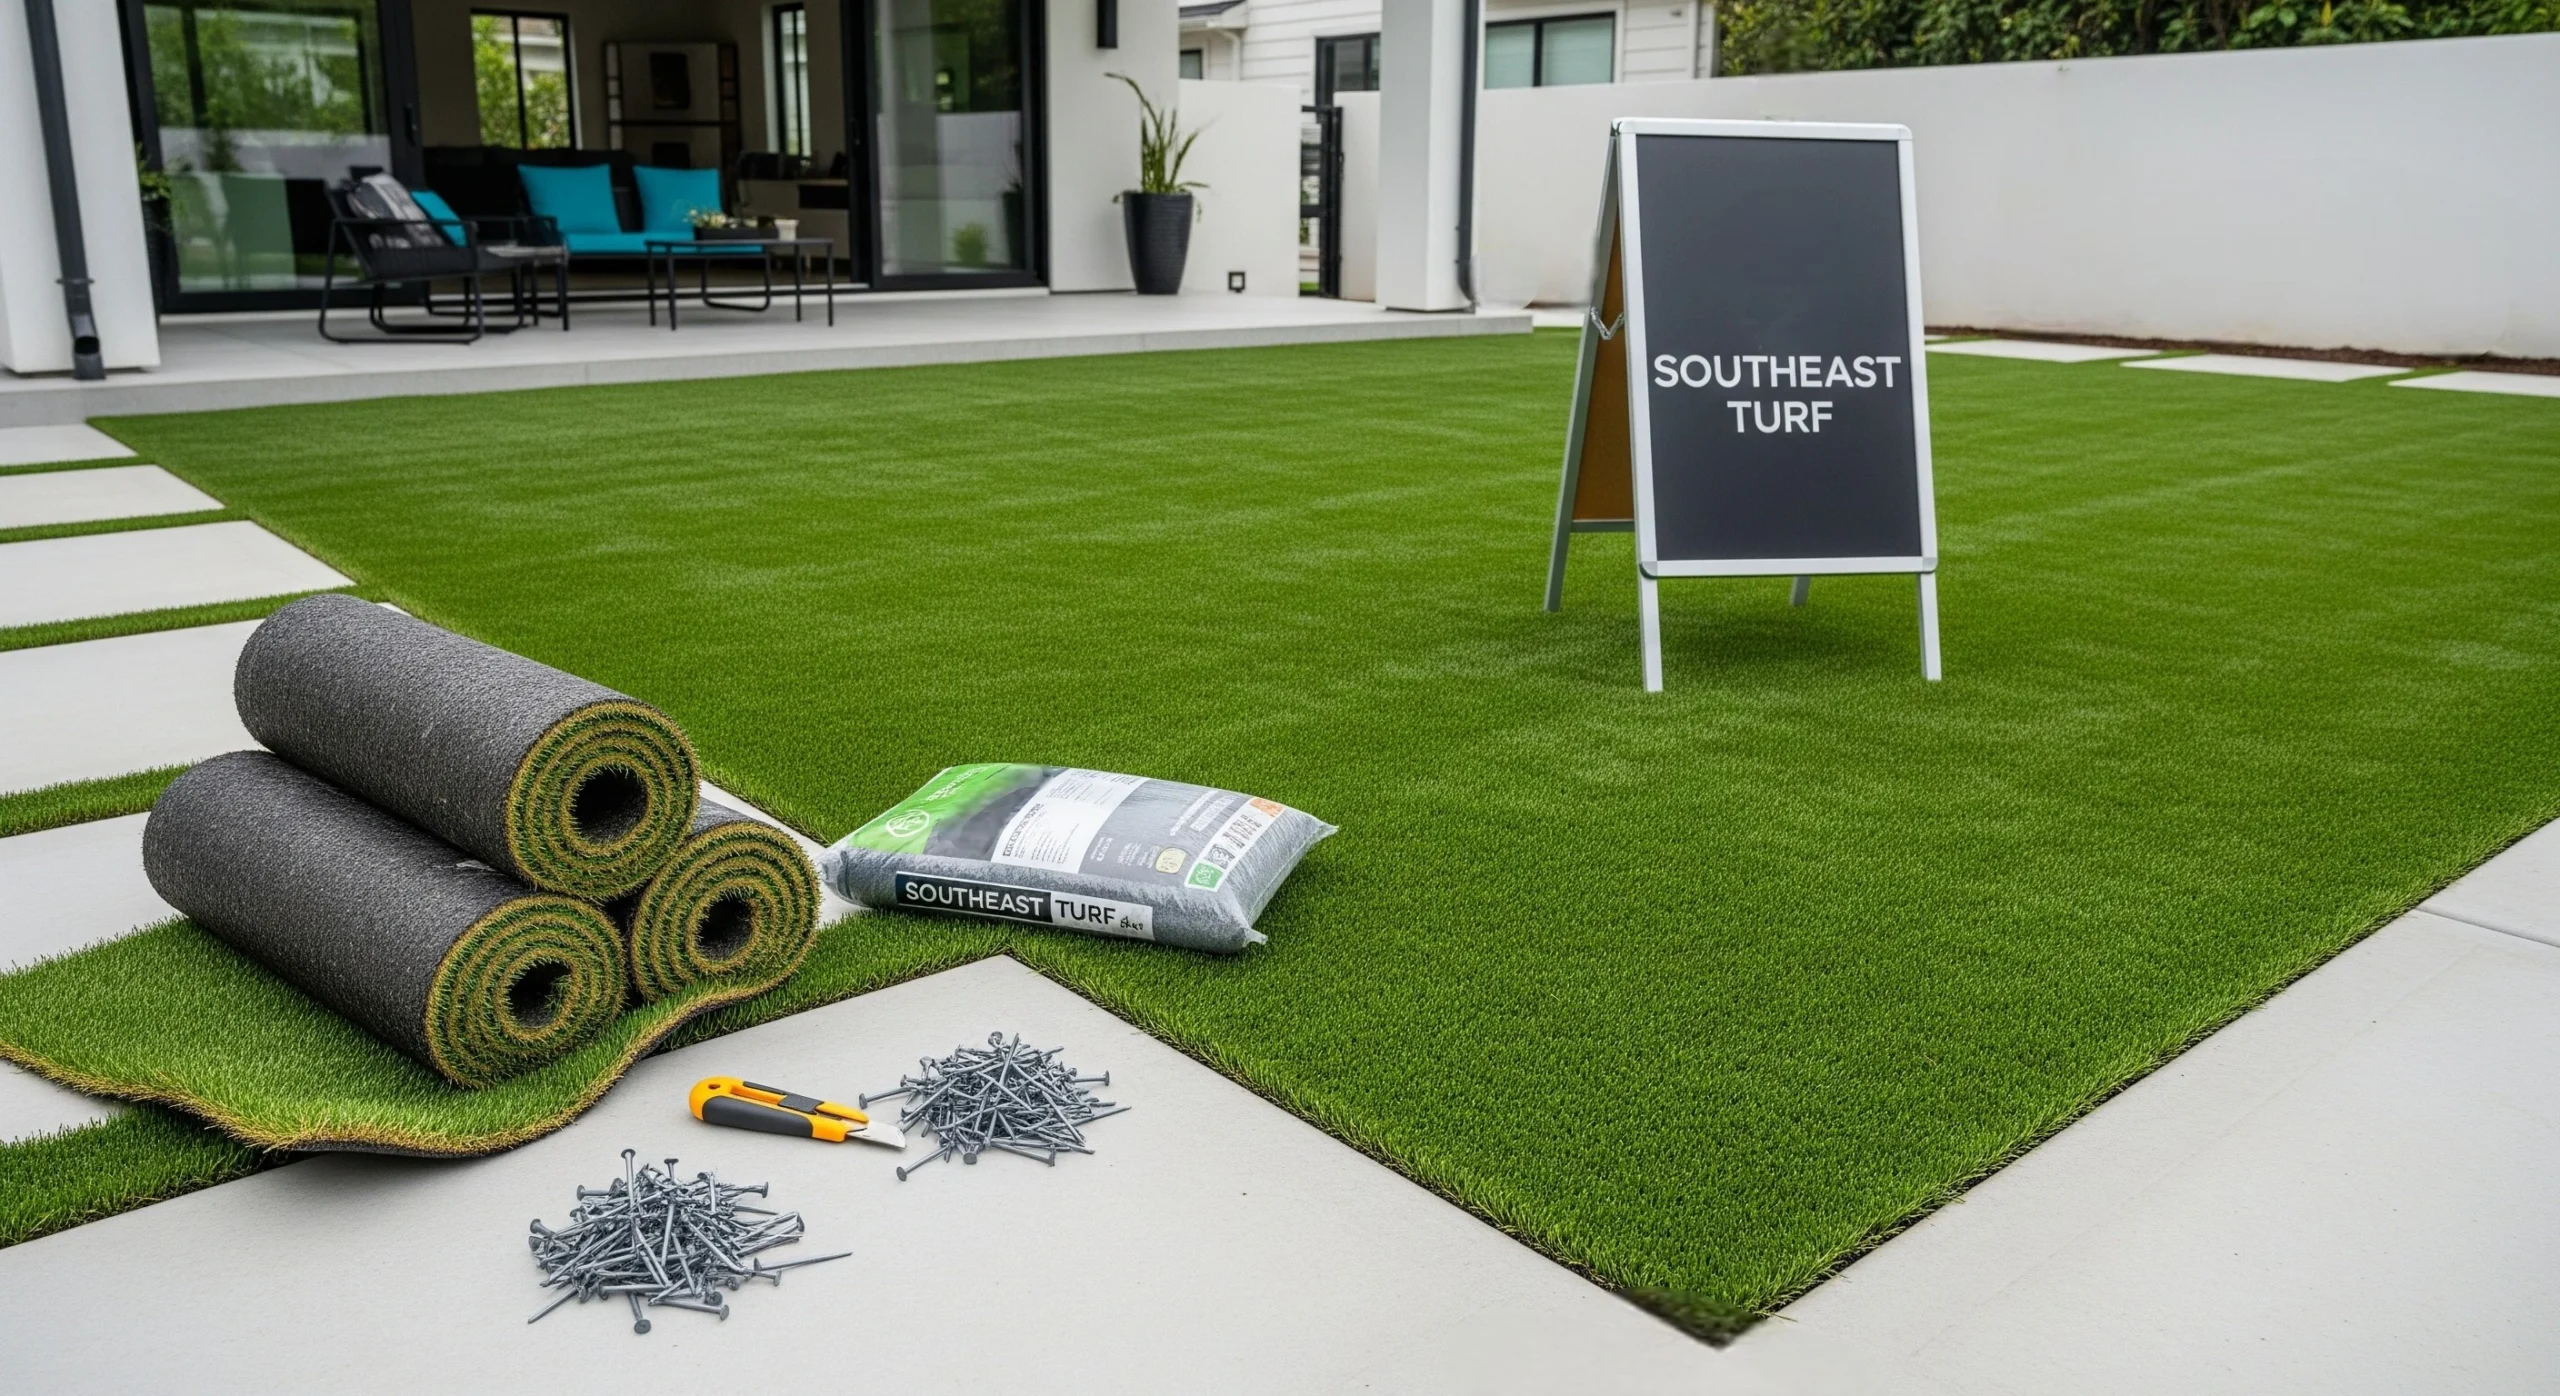
    A lot of this stuff might already be hanging out in the garage or tucked behind the broom in the laundry room. But here’s a quick list of what tends to come in handy:

    • A sturdy shovel or spade for digging out the old stuff.
    • A rake to smooth things over before and after the base goes down.
    • A plate compactor or tamper, depending on how fancy (or old-school) things get.
    • A sharp utility knife or carpet blade for trimming around corners and edges.
    • Measuring tape, because eyeballing works until it doesn’t.
    • Turf nails or staples to keep everything anchored at the edges.
    • Weed barrier fabric, totally optional but nice if you’re hoping for less maintenance later.
    • Crushed stone or decomposed granite to build that solid, level base.
    • Infill like silica sand or a pet-safe option to help the blades stay upright and soft.
    • Turf adhesive or seam tape, especially if you’re working with more than one roll.

    A Few Last Things to Keep in Mind

    There’s no need to overthink things, but a few extra details are worth keeping in mind:

    • Good drainage starts with a gentle slope and a well-packed base, especially if your yard gets hit with heavy rain now and then.
    • If seams are unavoidable, curved cuts tend to blend better than straight ones—nothing too perfect, just enough to keep things looking smooth.
    • Sharp blades mean real risks, so gloves help, and slow steady cuts always beat rushing through.
    • And if any part of the process starts to feel more confusing than creative, it’s totally okay to call in someone who’s done it before.

    No rush, no rules, just a yard that actually works for you.

  • Got an Ugly Backyard? How to Fake Curb Appeal on a Budget

    We’ve all been there, staring out the window at a backyard that’s more meh than a masterpiece. Whether you’re planning to sell or just want to stop cringing every time the neighbors peek over the fence, curb appeal doesn’t stop at the front yard. But here’s the good news: you don’t need to spend thousands or call in a landscaping crew to give your backyard a glow-up.

    Even with a tight budget, some clever and surprisingly easy tricks can make your backyard feel fresh, inviting, and even a little Instagram-worthy. No need to rip everything out or start from scratch. A few strategic changes can fake that high-end look for way less than you’d think.

    Source: unsplash.com

    Hide the Bad, Highlight the Good

    Sometimes it’s not about changing everything. It’s about hiding what doesn’t work and making the best parts pop. Did you get an old, stained patio slab? Try an outdoor rug or a few strategically placed potted plants to hide those imperfections. Is your chain-link fence bringing down the vibe? Cover it with reed fencing, privacy screens, or even outdoor curtains for a cozy cabana vibe.

    And don’t underestimate lighting. String lights, solar garden spikes, or lanterns can distract the eye from problem areas at night while creating a warm, cozy ambiance.

    If you’ve got an eyesore like an AC unit, garbage bins, or patchy grass, think in terms of disguise. Lattice panels, faux ivy, or even a handmade wood cover can go a long way without draining your wallet. You’re not renovating, you’re cleverly redecorating.

    Budget-Friendly Greenery That Fools the Eye

    Plants are powerful. Even the roughest yard can look polished with the right greenery. But if you’re not a green thumb (or on a strict budget), don’t rush to a nursery for expensive trees and shrubs.

    Start with container plants. Grouped in different sizes and heights, they give a lush look without a permanent commitment. Repurpose old buckets, crates, or even tires with a coat of spray paint to use as planters.

    Don’t forget about fake plants, either. Quality artificial greenery when mixed with real plants can pass for the real thing and add color and fullness year-round. Hang some faux ivy on a blank wall or drape a trellis with artificial vines. It’s a trick that works.

    Grass looking patchy? Inexpensive grass seed and some patience can help, but if you’re after a quick fix, roll out a strip of budget-friendly artificial turf or use mulch and stepping stones to create defined paths and distract from rough patches.

    DIY Decor That Looks Way More Expensive

    You don’t need to splurge on designer outdoor decor. You just need a few smart DIYs. Create a cozy seating area using pallets and cushions. Add outdoor curtains using a tension rod and cheap fabric or drop cloths. Build a fire pit with a few concrete blocks or stackable stones.

    Paint is your best friend here. Spray-paint mismatched furniture in a unifying color. Add a pattern to plain concrete using a stencil and patio paint. Refresh an old fence or shed with a new color to bring the whole space together and make it feel designed.

    Add a personal touch with homemade signs, string lights in jars, or a painted mural. A backyard doesn’t need to be massive to feel charming. It just needs a little personality.

    Smart Layout Tricks That Add Style

    Even small or awkward backyards can feel pulled together with a little layout magic. Define zones: dining, lounging, gardening, and maybe even a tiny play area if you have kids. You don’t need walls, just visual cues, like rugs, planters, or even a change in ground texture.

    Use vertical space to your advantage. Hanging planters, wall-mounted shelves, or a living plant wall draw the eye upward and away from the flaws at ground level.

    Even the illusion of symmetry can work wonders. Balance out lopsided areas with a few mirrored elements, like two chairs, matching planters, or lanterns. It brings a sense of calm and order that instantly upgrades your yard’s vibe.

    Where to Find the Best Budget Materials

    Thrift stores, flea markets, and garage sales are goldmines for outdoor upgrades. Old furniture can be upcycled into plant stands or seating. Keep an eye out for baskets, pots, and lighting fixtures you can repurpose.

    Don’t overlook online community marketplaces, people often give away bricks, wood, or even patio furniture for free if you’re willing to pick it up. Your city’s bulk trash days can be hidden treasure troves.

    Also, local garden centers sometimes offer discounts on imperfect or end-of-season plants. And for structure, look into reclaimed materials: pallets, old shutters, or leftover tiles. Cheap doesn’t mean cheap-looking if you get creative.

    Plan for the Future Without Spending Today

    Even if you’re doing the bare minimum right now, it helps to think a step ahead. If you’re hoping to eventually sell your home, a well-staged backyard can boost your property’s perceived value without massive renovation costs.

    That’s where working with companies like Stillwater Properties can help you understand which improvements add value. Sometimes a few visual upgrades today are all it takes to change a buyer’s perception tomorrow.

    If you’re not selling, that same long-term thinking helps you avoid wasting money on temporary fixes that won’t last through a single season.

    You Don’t Need a Designer Yard to Impress

    Backyards don’t have to be perfect to feel good. A fresh, clean, and cleverly staged space can be just as impactful as a professionally landscaped one; if your goal is curb appeal on a budget.

    Because curb appeal doesn’t stop at the front yard, and neither should your creativity. And when the potential is packaged in a clean, cozy, and welcoming space, that’s what people remember. So don’t stress about the weeds you haven’t pulled yet or the fence you still want to paint. Focus on what you can do today. A little effort goes a long way, and a few bucks spent the smart way can completely change how you (and others) feel about your backyard.

  • How to Choose the Best Fence for Your Child’s Outdoor Space

    For your kid’s outdoor play area, a fence does more than just mark boundaries—it keeps them safe, gives you privacy, and can even add some fun to your yard. The right fence can provide security, keep kids from wandering off, and depending on the design, it can even be part of the fun. With so many options available, how do you choose the best one?

    From choosing safe, nontoxic materials to durability and including interactive components, we’re going to cover everything you have to do to ensure a safe and enjoyable playground for your kids.

    1. Safety First: Choosing a Child-Friendly Fence

    The main purpose of your fence is to keep your child safe, so you’ll want to think about the material, height, and durability.

    • Height matters: A fence at least five feet tall helps prevent climbing and keeps little ones from wandering off.
    • Gaps should be small: Make sure there aren’t any spaces where kids could squeeze through or get stuck.
    • Weatherproof and sturdy materials: Pick a fence that holds up in any weather and doesn’t need a lot of maintenance.

    Consider Your Location

    In places like Odessa, Texas, where it gets really hot, make sure to pick a fence that won’t warp or fade in extreme heat. Also, check HOA rules and choose materials that work well in the local climate. If you’re considering fence installation in Odessa, be sure to choose a durable option suited for the weather.

    2. Kid-Friendly Surfaces: Preventing Injuries

    Kids love to touch, lean on, and even put things in their mouths—including fences. That’s why the type of material and finish you choose is important.

    • Avoid rough edges and splinters: If you love the look of wood, make sure it’s sanded smooth and well-maintained.
    • Avoid fences with toxic coatings: Some have finishes full of chemicals that aren’t safe for kids. Choose non-toxic, kid-safe paints and stains.
    • Cushioned panels, like rubber ones, can help prevent bumps and bruises.

    Bonus safety tip: Keep things like chairs or planters away from the fence so kids can’t climb up. If kids can climb it, you bet they will. Go for solar-powered LED lights—they’re safer and don’t have any risk of electric shock.

    3. Secure Gates & Locks: Keeping Kids from Wandering Off

    Even the best fence won’t help if the gate isn’t secure. Make sure it’s designed to keep little escape artists from slipping out.

    • Self-closing gates – They automatically close behind you, so the gate never stays open by mistake.
    • Childproof locks – Easy for grown-ups, but impossible for toddlers.
    • Visible latch indicators – Some gates have a small window or color-coded latch so you can quickly see if it’s locked.

    Before you put up a fence, check local rules to make sure your gate and lock follow safety standards.

    4. Privacy & Noise Reduction: Creating a Peaceful Play Area

    Kids need a safe, private space to play where they can have fun without distractions. A privacy fence keeps prying eyes away and helps block noise.

    • If you live in the city, a tall, solid fence gives you both security and privacy.
    • Got a chain-link fence? Privacy slats can block the view while still letting air through.
    • In noisy areas, a sound-blocking fence can help cut down on traffic noise or loud neighbors.

    5. Adding Fun to Your Fence: Interactive Designs for Kids

    Fences don’t have to be boring! With a little creativity, your fence can be part of the fun too!

    • Chalkboard fence panels – Kids can draw and erase as much as they want.
    • Magnetic playboards – Kids can play with letters, numbers, or even small puzzles.
    • Activity panels & sensory boards – Add fun features like spinning wheels, textured surfaces, or puzzle pieces.
    • Go for bright, fun colors – UV-resistant paint helps them stay vibrant, even in the sun.

    6. Durable & Low-Maintenance Options: Less Work for Parents

    Let’s be real—no parent wants to waste weekends repainting or fixing a fence. The best fence is one that’s durable, weatherproof, and easy to take care of.

    • Vinyl – No splinters, no rust, and super easy to clean.
    • Aluminum – Rust-proof and tough enough for any weather.
    • Composite – A wood-plastic mix that lasts a long time and barely needs upkeep.

    Want extra safety? Add cushioned areas to soften falls.

    Investing in Safety & Fun

    Choosing the right fence isn’t just about security—it’s about making a fun and safe space where kids can play freely.

    Here’s what to keep in mind:

    • Tall, sturdy, child-proof fences
    • Non-toxic, smooth materials
    • Secure, self-closing gates with childproof locks
    • Privacy and noise reduction benefits
    • Interactive play features like chalkboards or sensory panels
    • Low-maintenance materials for long-term durability

    A good fence isn’t just a barrier—it helps create a space where kids can play, learn, and have fun. Choose the right fence, and you’ll have peace of mind knowing your child is playing in a safe space designed just for them.