Category: Home Maintenance Inspection

  • Emergency Home Repairs With Bad Credit

    Emergency repairs are part of homeownership. Whether it’s a burst pipe, roof damage, or a broken furnace, these issues need immediate attention, often before you’ve had time to save or plan. Even a small repair can run into the thousands. If you don’t have savings and your credit is poor, covering the cost becomes an emergency of its own.

    This guide explains how to prioritize repairs, find fast financing, and avoid long-term damage, even if your credit isn’t perfect.

    Start With the Most Urgent Repairs

    When multiple issues arise, focus first on anything that affects safety or structural integrity:

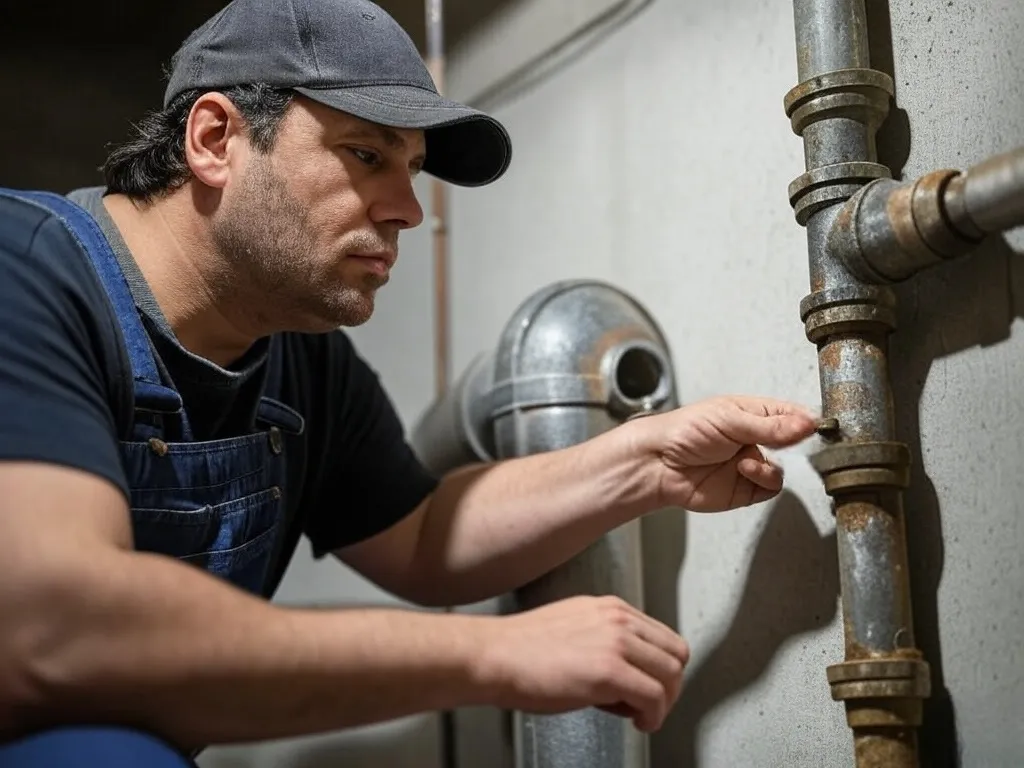
    • Water damage and leaks – Can lead to mold or rot. Example: A small leak under a sink might seem manageable, but in just a few days, it can warp cabinetry and create a mold risk that requires professional remediation.
    • Electrical issues – Risk of fire. Flickering lights or frequently tripped breakers may indicate a larger problem. Don’t ignore these signs!.
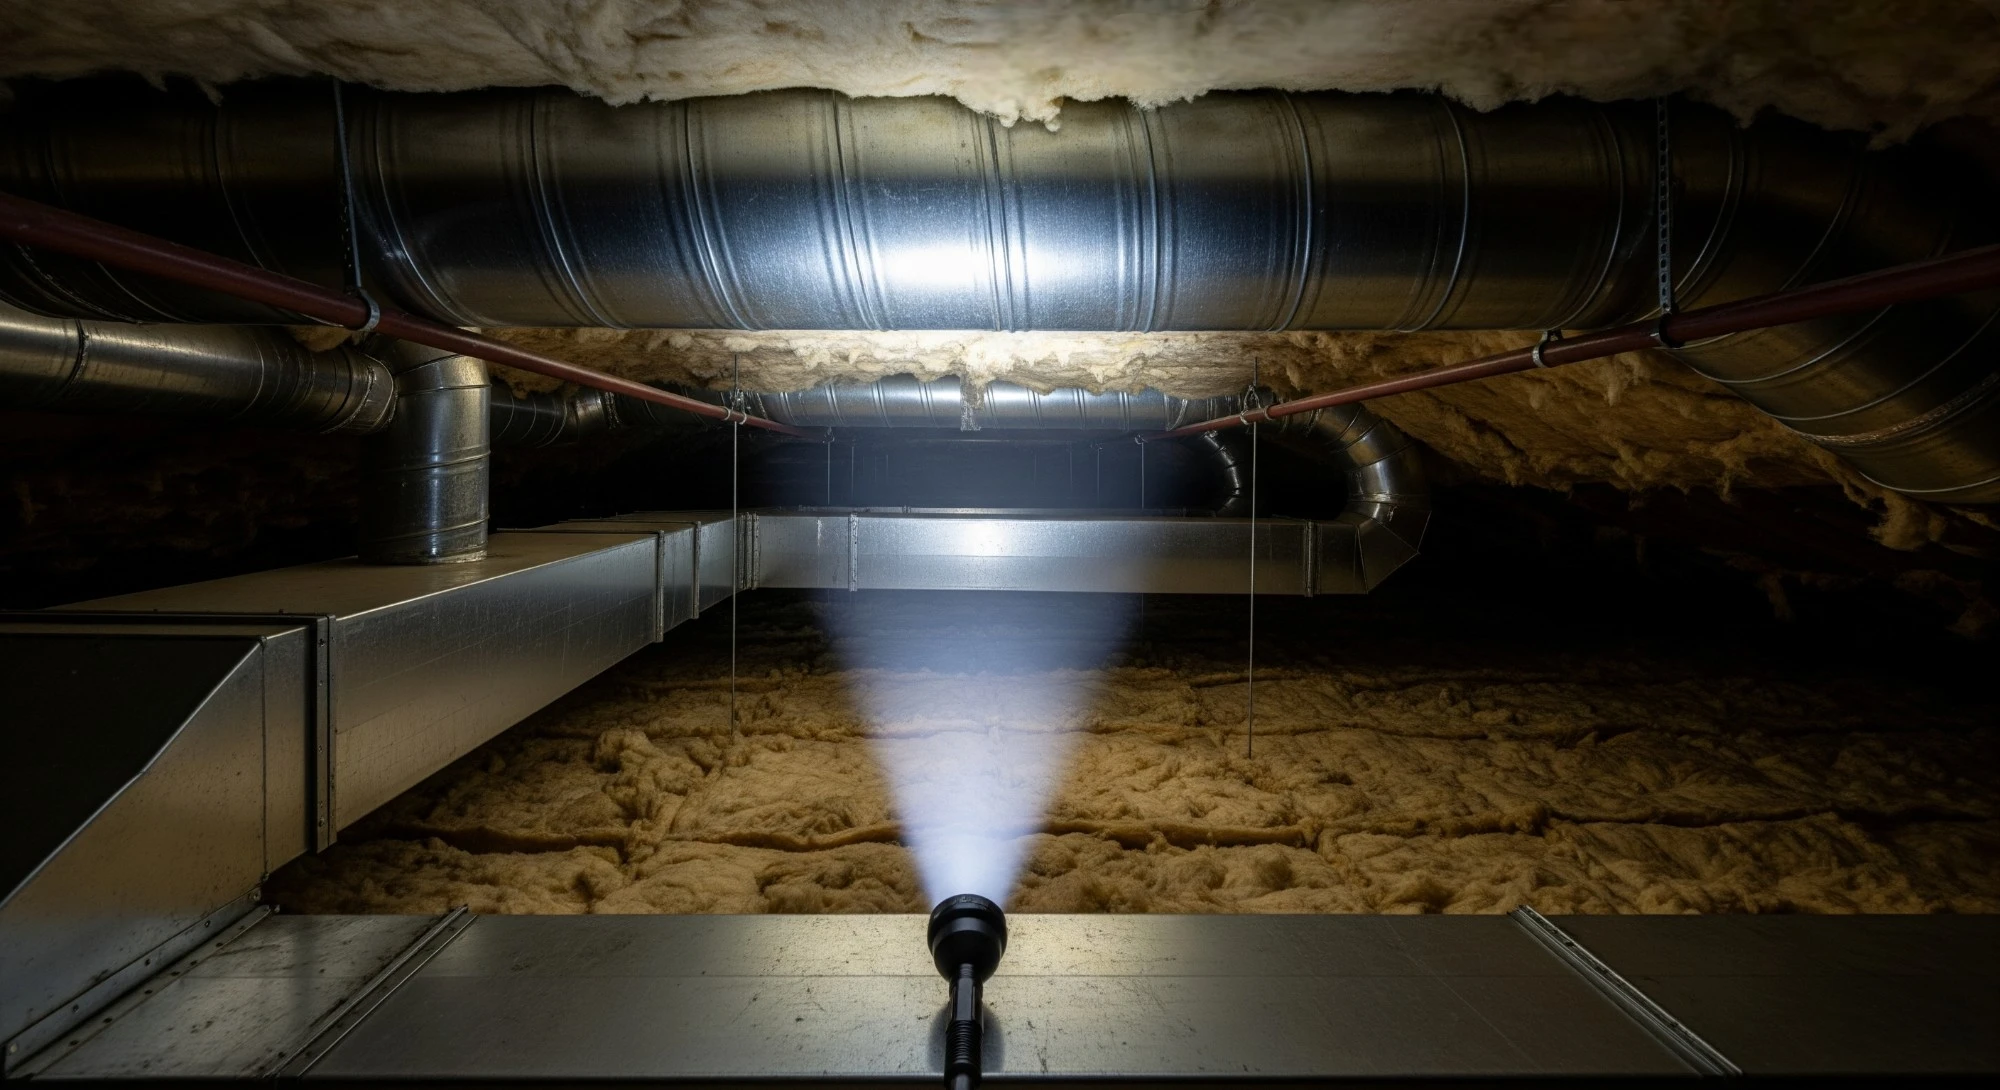
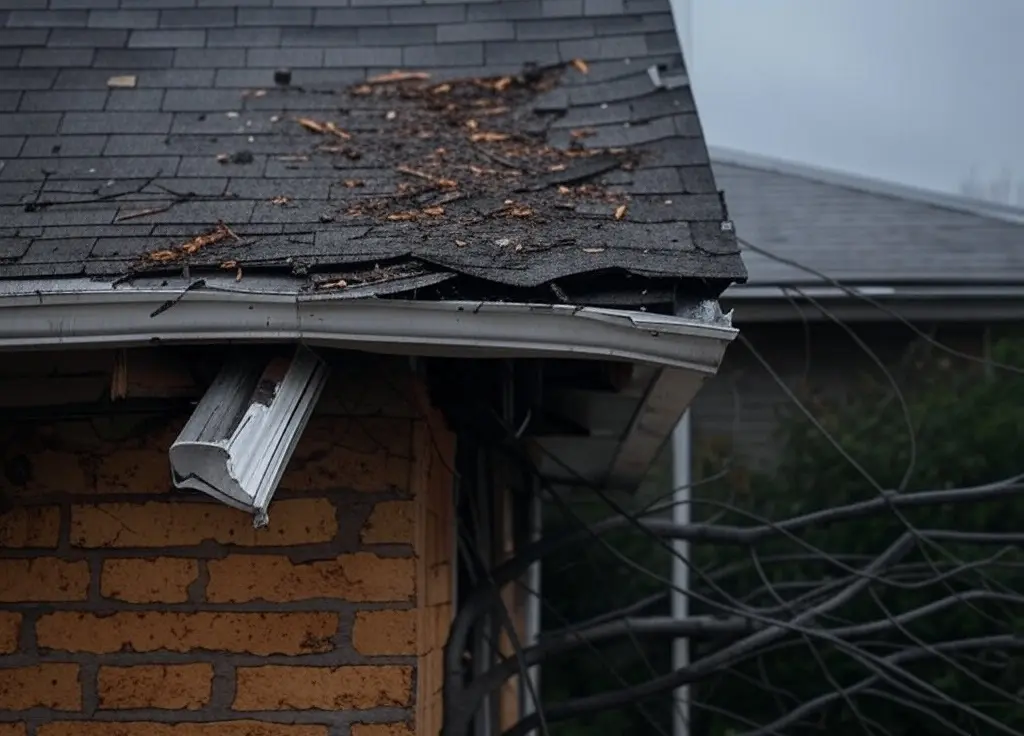
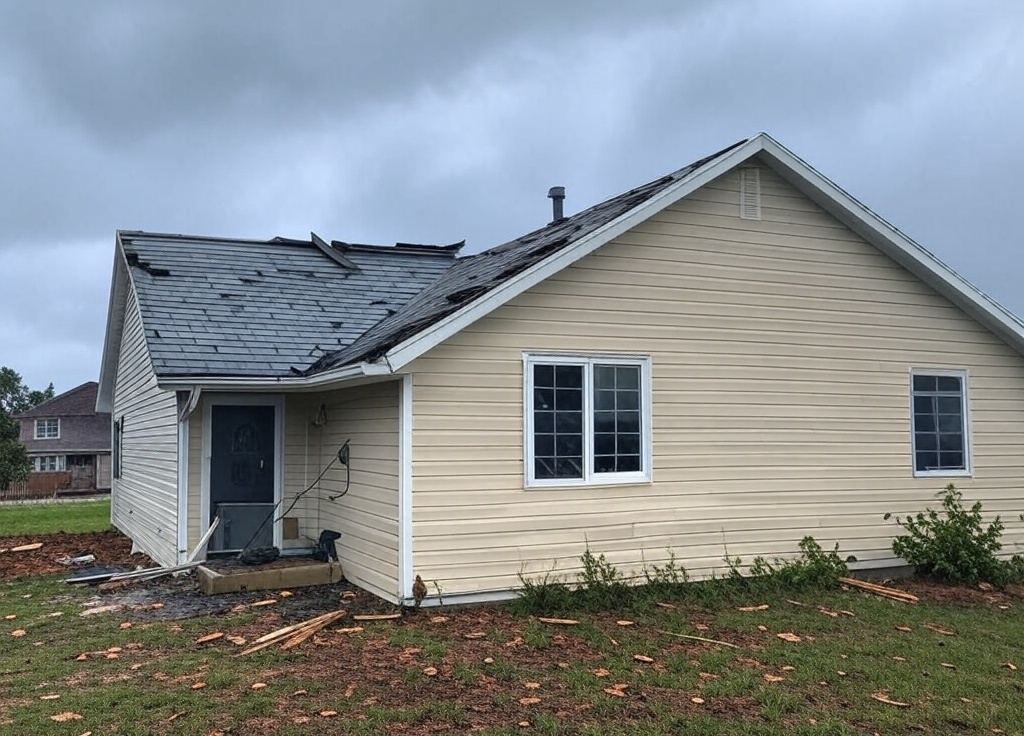
    • Roof damage – Can cause interior and insulation problems. Even a missing shingle in the wrong spot can lead to interior water leaks, which may cost upwards of $1,500 to repair.
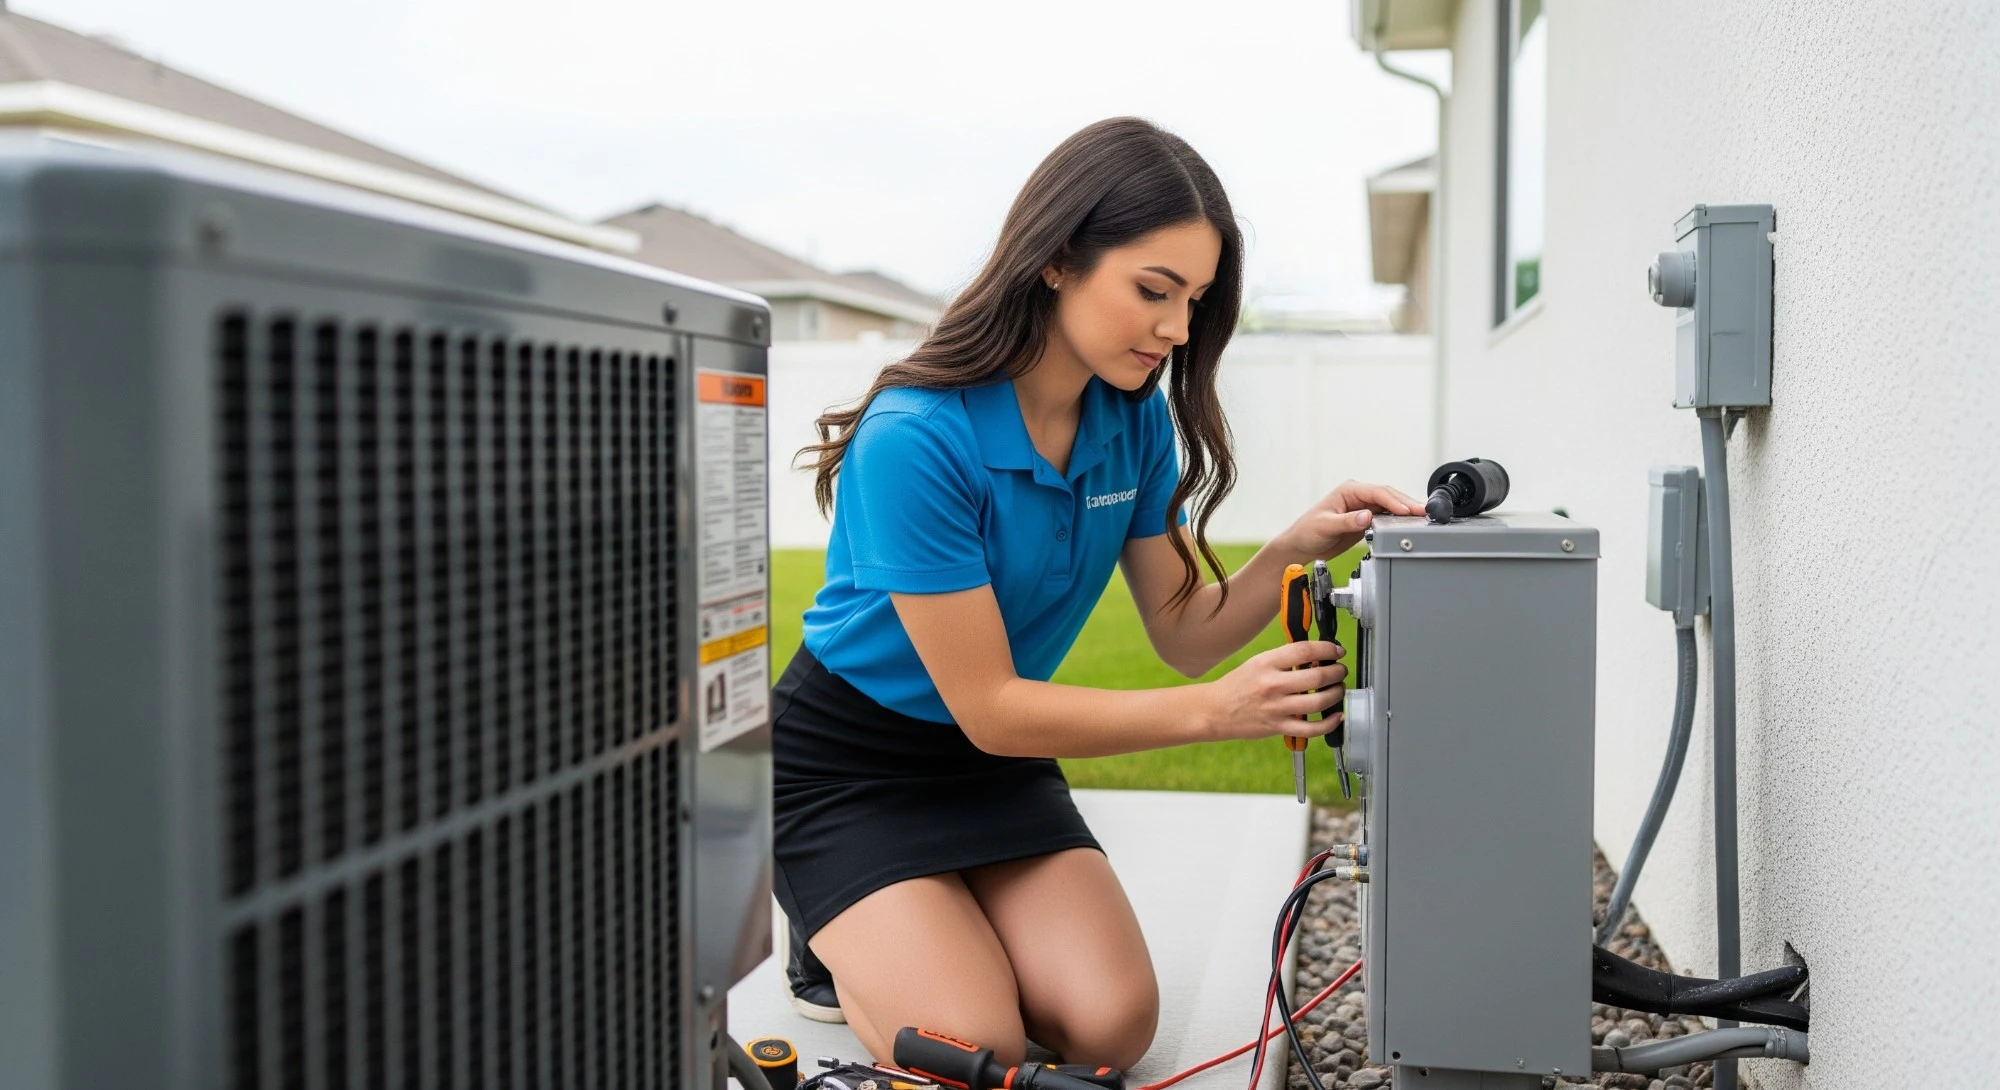
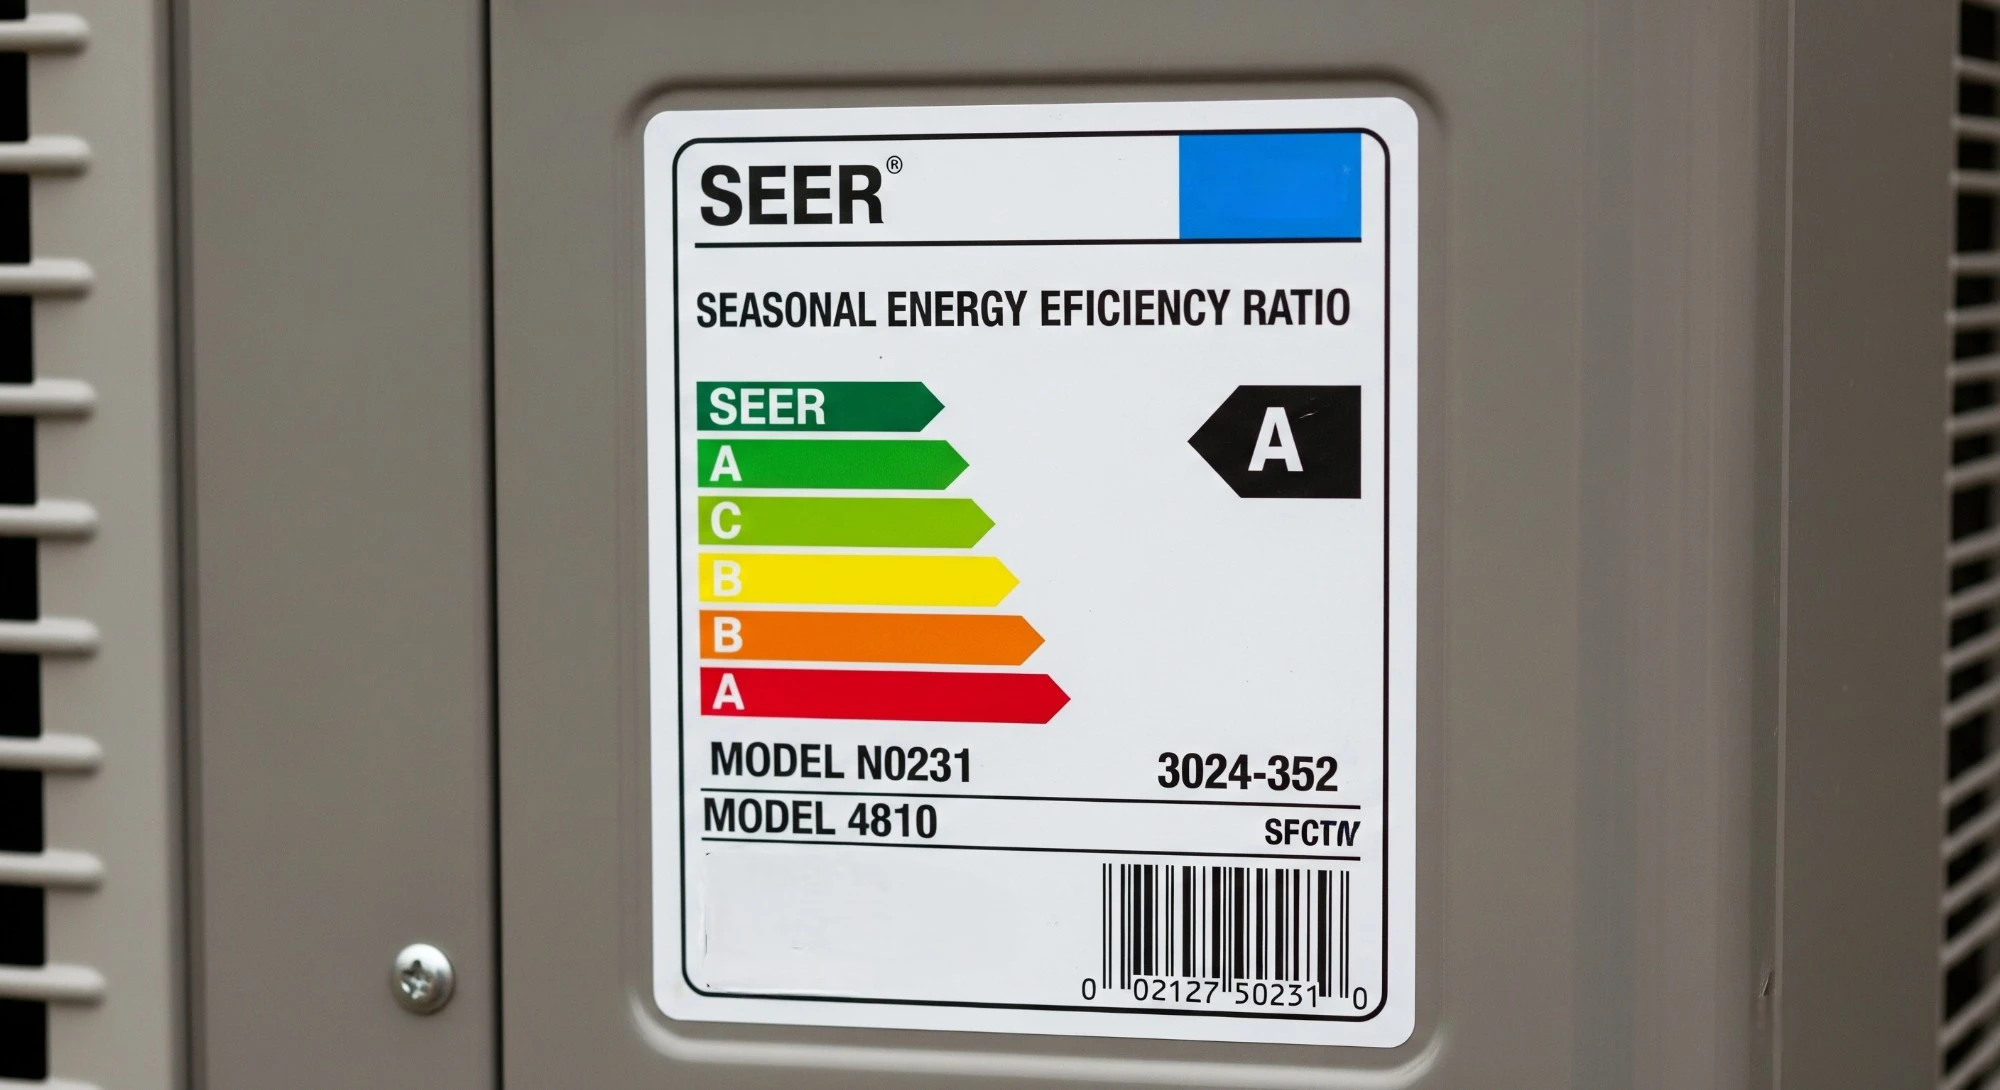
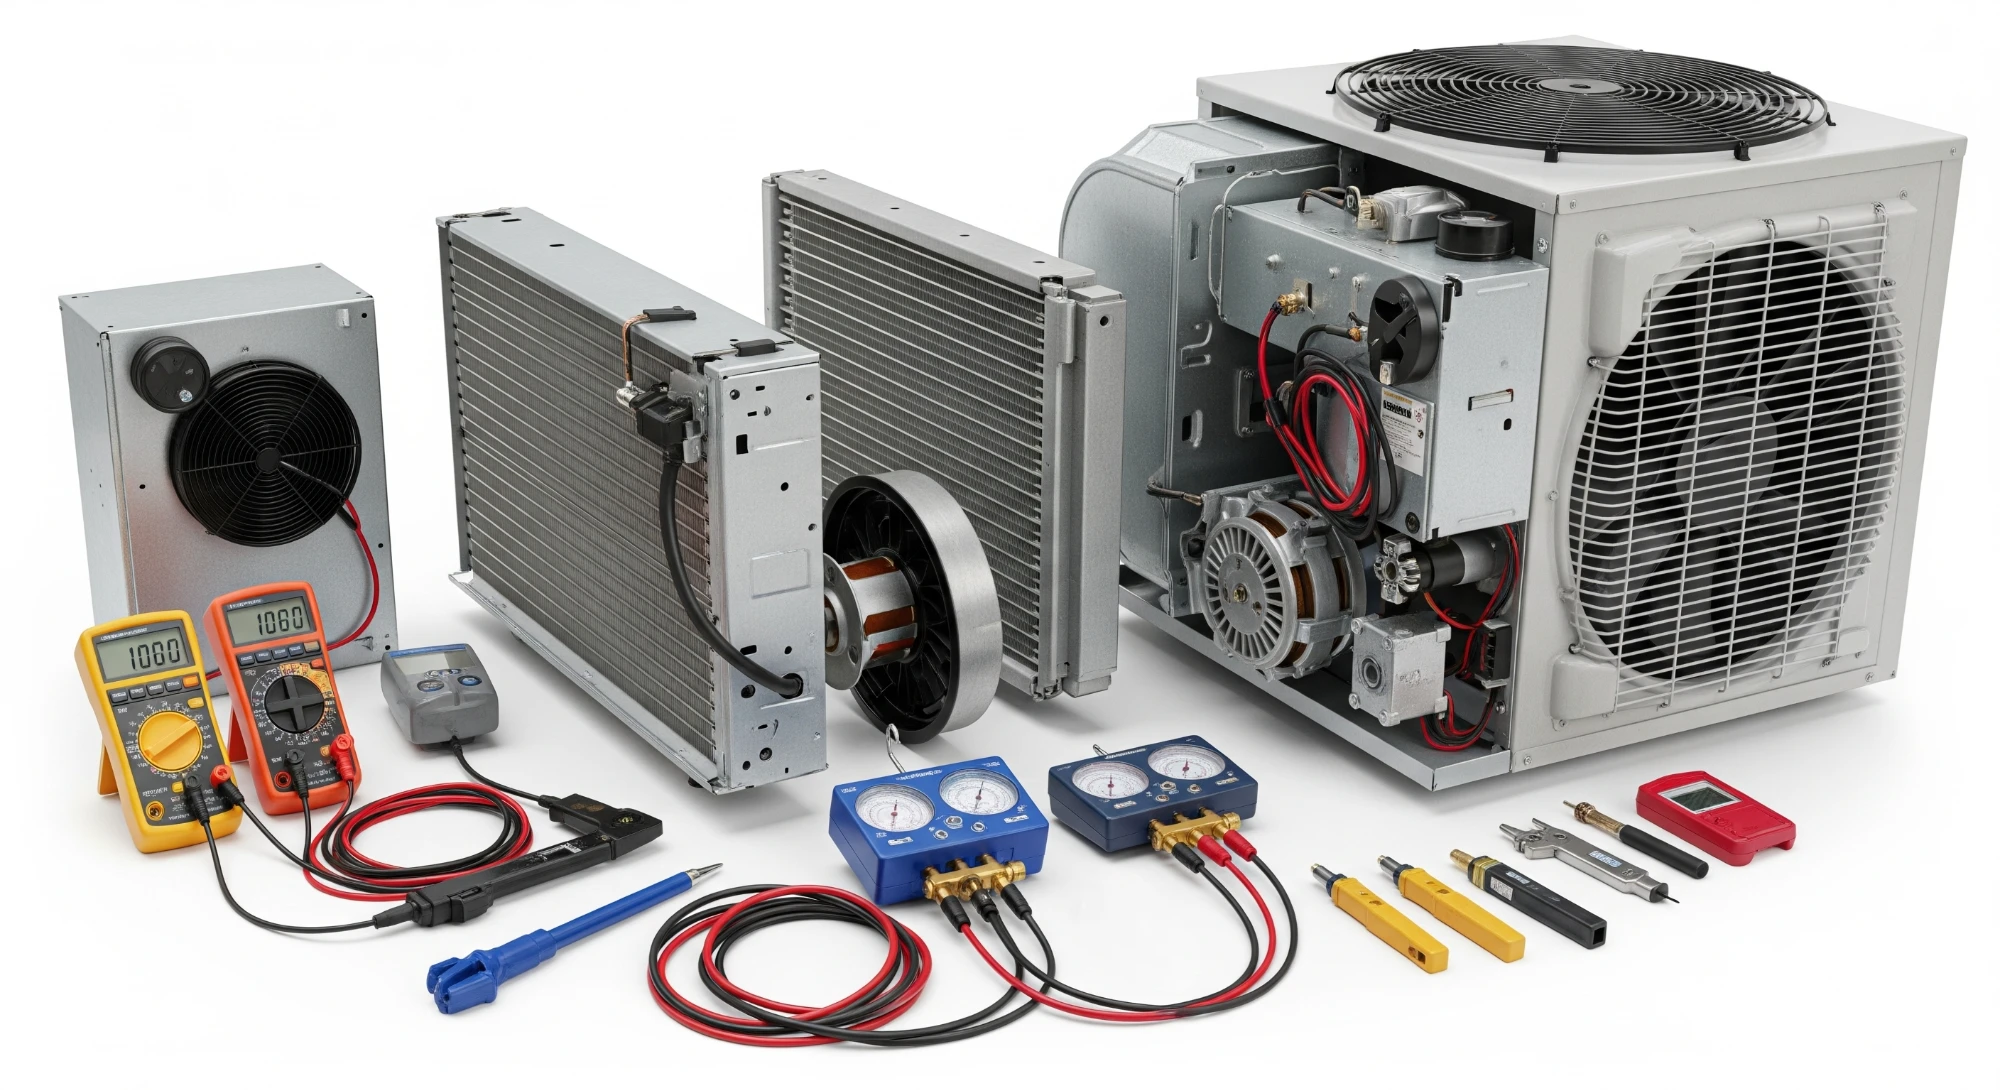
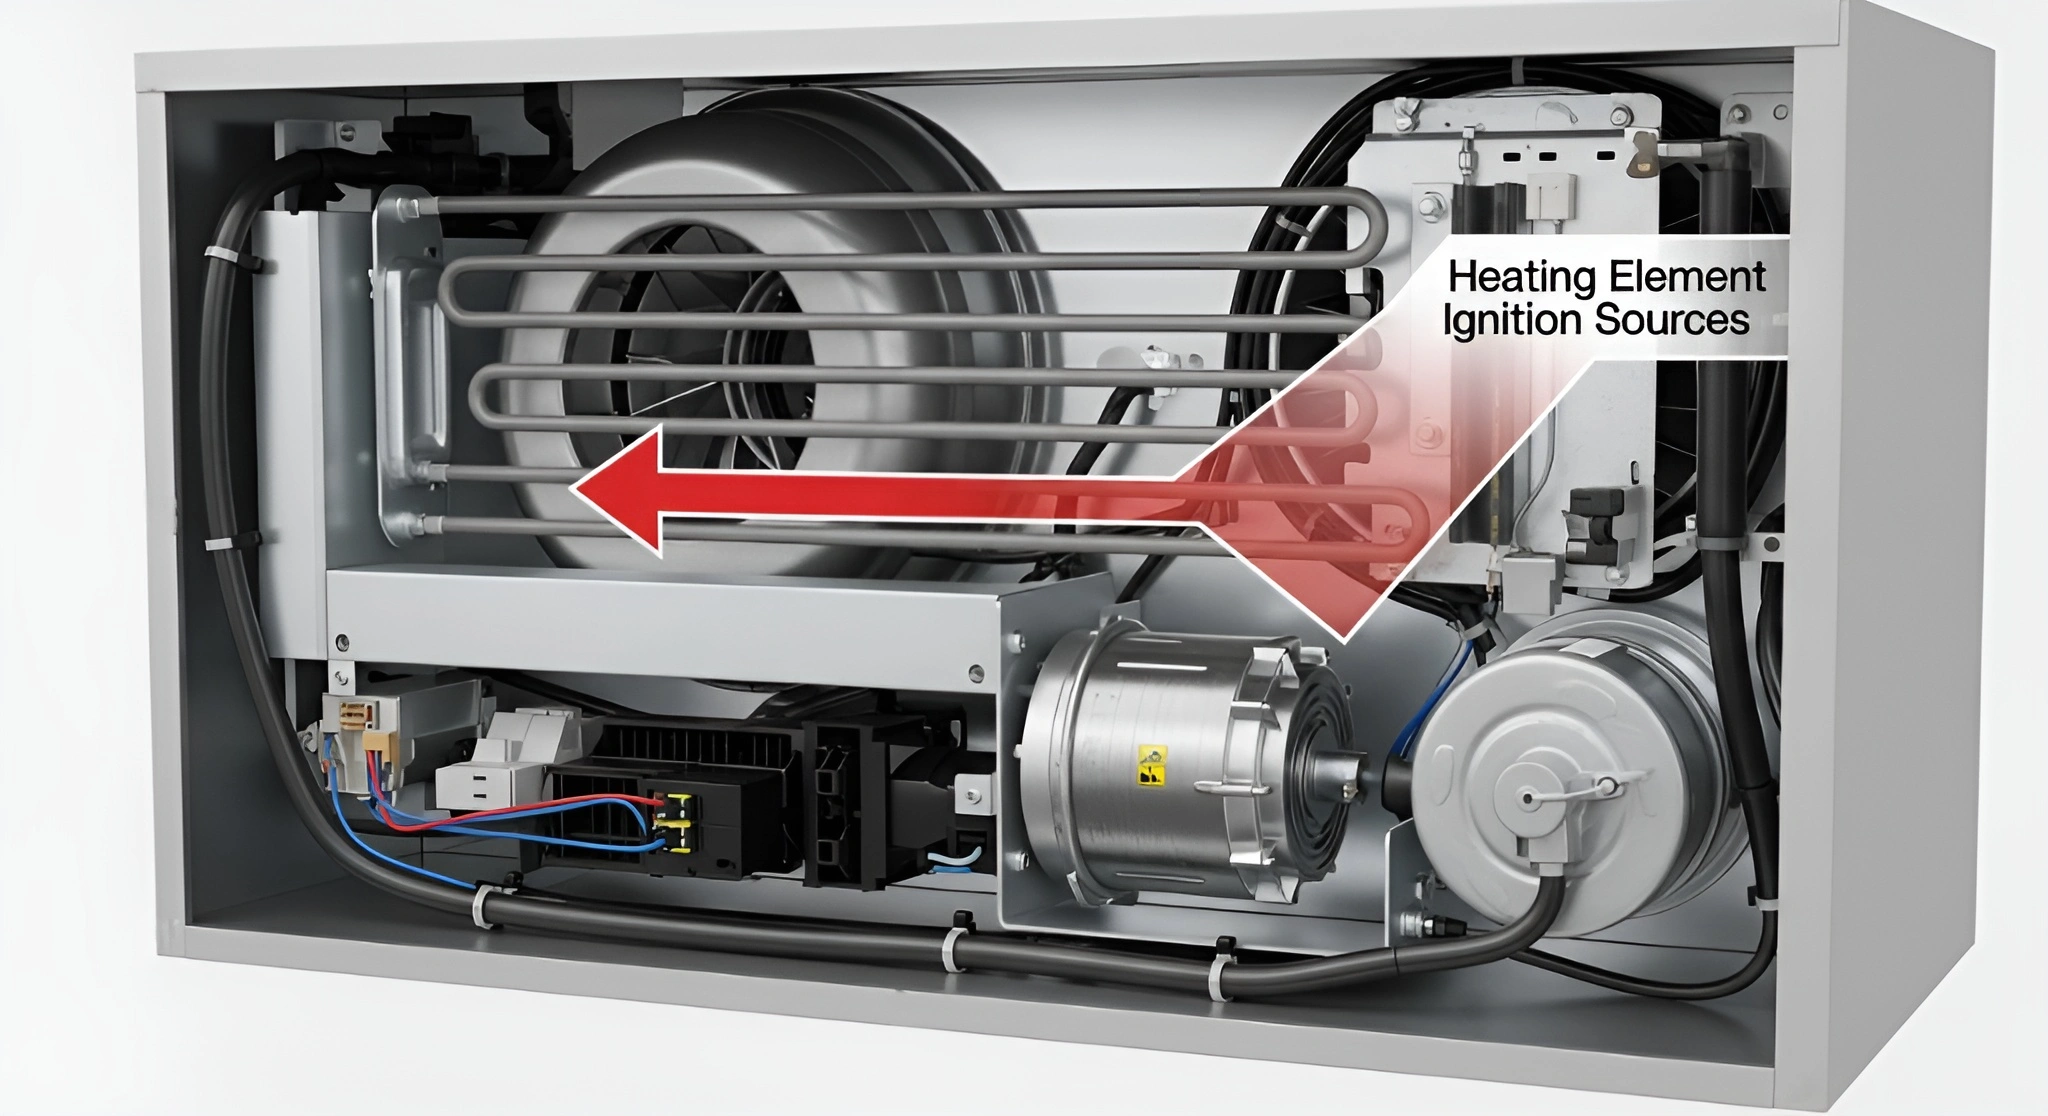
    • HVAC failure – Critical in extreme temperatures. In places like Dallas, losing HVAC in the summer can be dangerous. Luckily, many utility companies offer emergency repair programs or deferred payment options.

    Cosmetic issues or nonessential upgrades can wait until your finances are more stable.

    Know Your Financing Options With Bad Credit

    Most traditional lenders won’t offer personal loans to borrowers with poor credit. If your cards are maxed out and family help isn’t available, look into alternative lenders. Some specialize in offering a bad credit loan and may consider your income and recent payment history, not just your credit score.

    When comparing lenders, focus on those offering fixed rates, clear repayment terms, and funding within one to two business days. Avoid lenders that charge high origination fees or have unclear pricing.

    Some online platforms allow you to check potential rates without affecting your credit score, helping you compare options safely. Local credit unions or community banks may also offer small emergency loans with more flexible terms than many online lenders.

    Why Fast Repairs Save Money

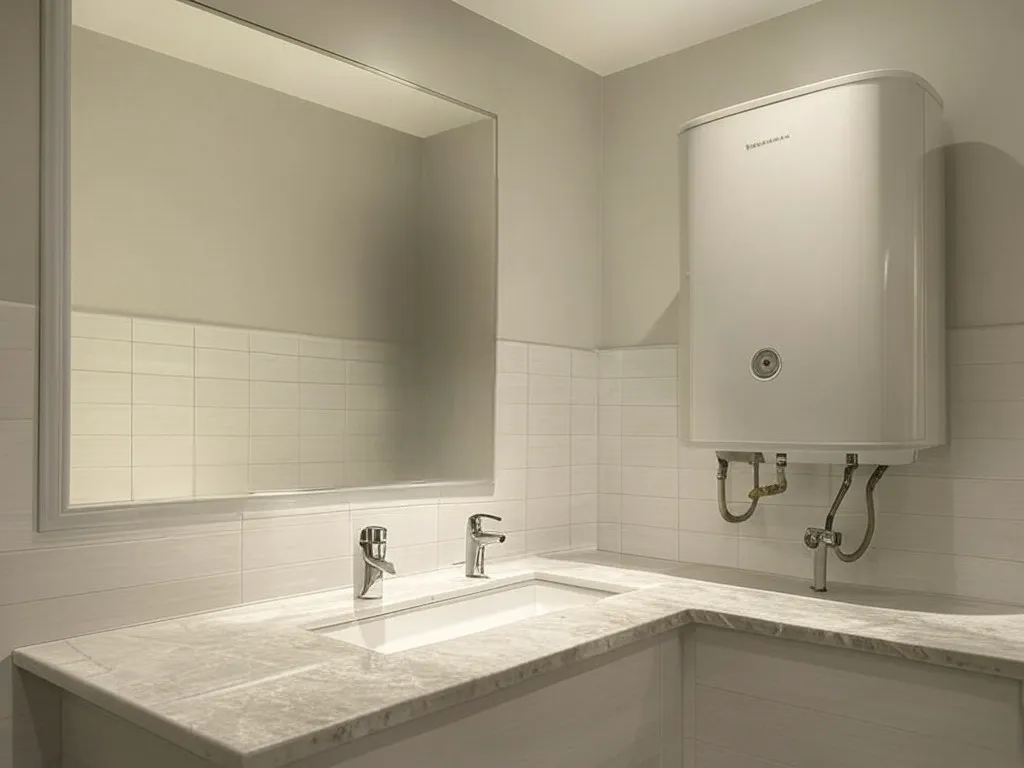
    Delaying urgent repairs almost always leads to higher costs. For instance, a $600 roof patch left untreated could result in a $6,000 ceiling replacement after a few weeks of rain. A faulty water heater, if ignored, could rupture and flood a finished basement, leading to thousands in cleanup and flooring replacement.

    Timely repairs also help maintain home value and may be required by your insurance policy to prevent additional damage. Most policies include a clause that obligates homeowners to act quickly to minimize loss.

    How to Evaluate Emergency Financing

    Before accepting a loan, review the following:

    • Rates and terms – Fixed monthly payments are easier to budget for.
    • Lender reputation – Avoid high-fee payday lenders or unlicensed companies.
    • Repayment fit – Choose a loan that works with your current budget.

    Stick with licensed lenders who are transparent about costs and avoid payday loan companies that charge excessive fees. Some emergency lenders report to credit bureaus, so staying on top of payments could actually help rebuild your credit over time.

    Plan Ahead for the Next Emergency

    A bad credit loan may help in a crisis, but it shouldn’t be your only strategy. Once the immediate problem is solved, begin setting aside a small monthly amount for future repairs—$50 to $100 per month can create a helpful cushion over time.

    If your systems are older, consider a home warranty. While coverage varies, it can help with repair costs for major appliances, plumbing, or electrical failures. Costs typically range from $30 to $60 per month depending on the level of coverage.

    Also, check with your local housing office or state agency. Many areas offer grants, rebates, or low-interest loans to help with essential repairs, especially for low- to moderate-income homeowners. Federal programs like the USDA Single Family Housing Repair Loans and Grants (Section 504) may be an option in rural areas.

    Final Takeaway

    Emergency repairs don’t wait and neither should you. Even if your credit is less than ideal, there are financing options that can help you cover critical fixes and prevent long-term damage. The key is to act quickly, choose financing that fits your situation, and avoid high-risk lenders. Once the immediate repair is handled, take steps to prepare for the next one—because emergencies are part of homeownership, but they don’t have to derail your finances.

  • 7 HVAC Questions Every Texas Homebuyer Needs to Ask Before Saying Yes

    Texas heat doesn’t wait. It presses in early and lingers late. The air gets heavy, the windows stay sealed, and ceiling fans do their best but fall short. That’s when HVAC systems quietly takes over, often overlooked, but always essential.

    Comfort in Texas starts here. A home that cools quickly and stays consistent through the day becomes more than just comfortable. It becomes functional. It supports sleep, productivity, and every small routine that makes a house feel right.

    This isn’t just about temperature. It’s about inspections. It’s about rising utility costs. It’s about making sure the biggest system in the house is one that won’t fail when it matters most. For buyers, that means asking smart, specific questions. For sellers, that means being ready with answers that show the system has been taken seriously.

    1. How Old Is the HVAC System and What’s Its Maintenance History?

    Most systems in the U.S. last between 10 and 15 years. In Texas, constant use can shorten that window, especially if the system hasn’t been serviced regularly.

    Service records speak louder than words. A 12-year-old system with annual maintenance checks and clean filters can run better than a five-year-old one that’s been ignored. Documentation from licensed professionals provides confidence and clarity, whether you’re buying or renting a house. Not just for buyers, but for inspectors and lenders too.

    2. How Efficient Is the System According to SEER, SEER2, AFUE, or HSPF

    These ratings matter more than ever. Newer systems often come with higher efficiency scores, and that translates directly into lower monthly energy bills. In 2023, federal minimums for SEER ratings in the South moved up to SEER2 14.3, making older systems easier to spot.

    SEER (Seasonal Energy Efficiency Ratio) is used for air conditioners, while AFUE (Annual Fuel Utilization Efficiency) measures furnace efficiency. HSPF applies to heat pumps.

    3. Has the System Been Regularly Serviced?

    Consistent maintenance keeps systems efficient and safe. Tune-ups usually include filter replacements, refrigerant checks, thermostat calibration, and cleaning of internal parts like coils and blowers.

    Without regular care, HVAC systems lose efficiency and break down faster. According to the Building Performance Institute, neglected systems can lose up to 15 percent of their efficiency. That’s not just a number. That’s money on the table every month.

    Certified HVAC pros log service details that professionals show a system has been respected and cared for. Buyers will notice. So will inspectors.

    4. Are There Any Known Issues Like Leaks, Compressor Failures, or Electrical Flaws?

    HVAC systems are complex and expensive to repair. Be sure to ask the seller directly if they’ve experienced any major issues, such as refrigerant leaks, electrical problems, or compressor failures. 

    These types of repairs can be expensive and are often signs of larger problems. A recent repair might not be a dealbreaker, but if there’s a history of recurring issues, you should investigate further. 

    Asking for repair history helps identify systems that look fine on the surface but may be hiding deeper issues behind the vent covers.

    5. What’s the Condition and Layout of the Ductwork?

    Ducts are the delivery system. If they’re disconnected, kinked, or poorly insulated, the result is uneven temperatures from room to room and higher utility bills across the board.

    According to ENERGY STAR, as much as 20 percent of the air moving through a duct system can be lost due to leaks, holes, or poorly connected ducts. That’s not something visible on a walkthrough. It shows up later as discomfort and wasted energy.

    Duct layout also affects how air flows through each floor. In multi-story homes, poor design can create hot upstairs zones and frigid downstairs rooms. A balanced design and sealed ducts change that completely.

    6. Is the Home Zoned or Are Multiple Units Installed

    Zoning makes life easier. Especially in large homes or multi-level floor plans, separate zones or multiple systems help keep temperatures consistent without overworking the entire setup.

    In newer builds, zoning systems are becoming more common. One thermostat controls upstairs. Another handles downstairs. Each space receives attention based on use and time of day. This improves comfort and efficiency without driving up the bill.

    Older homes may have one system working overtime for the entire layout. That doesn’t always mean bad performance. But it does mean extra evaluation.

    7. Was the HVAC System Installed by a Licensed Pro and Properly Permitted

    A quick test during a walkthrough won’t tell the full story. For that, a deeper look from a licensed HVAC technician helps. They know what to check. Airflow measurements. Code compliance. Electrical safety. Refrigerant pressure.

    When a new system was installed, permits should have been pulled. Inspections should have been passed. This confirms that the work meets state and municipal standards.

    Having this documentation on hand makes the process smoother for everyone involved—from lender to buyer to appraiser.

    Quick Tips for Buyers and Sellers

    HVAC is a consideration when buying or selling a home that often remains hidden. But don’t sleep on it – here are some quick tips to follow to get clarity around your home’s HVAC:

    Buyers

    An older system isn’t always a dealbreaker. But when inspections reveal outdated components or spotty maintenance, that becomes an opportunity. Leverage those findings to ask for credits, repairs, or price adjustments. Solid HVAC insight turns into negotiating power fast.

    Sellers

    Schedule a professional tune-up before listing your home. Having inspection paperwork and recent service records on hand can help build buyer confidence and make the transaction go smoothly.

    Final Thoughts

    HVAC systems are one of the most important and expensive components of a home, especially in climates like Texas! 

    Taking time to ask these questions and gather the right documents helps avoid the last-minute panic that often creeps up just before closing. It also shows that the home has been taken care of. Thoughtfully. Responsibly. Intentionally.

    Knowing how a system runs and confirming it’s up to standard means fewer surprises later and a lot more peace of mind. Especially once those triple-digit days start rolling in.

  • The Hidden Dangers of Dirty Air Ducts and How Cleaning Can Help

    C:\Users\Ravij\Downloads\Air Ducts.jpg

    Your home’s ductwork is the circulatory system for your heating and air conditioning, distributing air to every room. But when these hidden passageways get dirty, they can pose a risk to your family’s health, your home’s safety, and your wallet.

    Understanding the dangers of dirty air ducts is the first step to protecting your home and family. Regular air duct cleaning not only improves indoor air quality but also enhances HVAC efficiency, reduces allergens, and supports a healthier living environment overall.

    Health Risks of Dirty Ducts

    Microscopic view of allergens like dust mites and mold found in dirty air ducts.

    Clogged and dusty air ducts can become a breeding ground for allergens like pet dander, pollen, and mold spores. Each time your HVAC system kicks on, it circulates these particles throughout your home, where they are easily inhaled.

    This constant exposure can trigger or worsen allergies, asthma, and other respiratory issues. For sensitive individuals, including children and the elderly, dirty ducts can lead to persistent coughing, sneezing, and even respiratory infections from airborne mold and bacteria.

    Those with compromised immune systems are especially vulnerable. A professional duct cleaning removes these harmful contaminants, promoting better airflow and cleaner air throughout your home.

    Impact on HVAC Efficiency

    A dirty, clogged HVAC air filter compared to a new clean one, showing the cause of poor efficiency.

    When your air ducts are clogged with dust and debris, your HVAC system has to work harder to push air through. This strain leads to reduced efficiency and noticeably higher energy bills. Dirty ducts are also a common cause of uneven heating and cooling, creating uncomfortable hot and cold spots in your house.

    Over time, this excessive buildup can strain critical HVAC components, leading to expensive repairs or even premature system failure. By having your ducts cleaned, you restore proper airflow, lower energy consumption, and extend the life of your equipment—a smart investment that pays for itself.

    Fire Hazards

    While less common than other issues, a significant buildup of dust and debris in your ductwork can become a fire hazard. If your furnace malfunctions or an electrical issue creates a spark, this accumulated dust can act as tinder, allowing a fire to spread quickly through your home via the duct system.

    Regular cleaning removes this potential fuel source, adding a crucial layer of safety and peace of mind for you and your family.

    How to Tell If Your Air Ducts Need Cleaning

    Not sure if it’s time for a cleaning? Look for these common signs:

    • Visible dust and debris blowing out of your vents.
    • A persistent musty or unusual odor when the HVAC system runs.
    • A noticeable increase in allergy symptoms among family members.
    • Rising energy bills without a clear explanation.
    • Inconsistent temperatures from room to room.

    Experts recommend an inspection every three to five years. However, you should consider more frequent cleanings if you have pets, if anyone in the home smokes, or if you’ve recently completed a major home renovation.

    The Benefits of a Professional Air Duct Cleaning

    A professional cleaning service uses specialized tools to remove years of built-up dust, dirt, and contaminants from deep inside your ductwork. The results are immediate and tangible.

    Homeowners often report fresher-smelling air, a reduction in allergy symptoms, and lower monthly energy bills. It’s a proactive step that protects both your family’s health and your home’s infrastructure.

    Choosing a Professional Service

    When hiring a duct cleaning company, look for a licensed, insured provider with a solid reputation and positive customer reviews. Ask them to explain their cleaning process and ensure they use safe, effective equipment and cleaning agents.

    Be wary of companies that offer suspiciously low prices, as this can be a red flag for cutting corners or using subpar methods. A reputable professional will provide a clear inspection, explain their findings, and perform a thorough cleaning.

    Breathe Easier with Clean Ducts

    Clogged air ducts are more than just an inconvenience, they can directly impact on your health, drive up your energy bills, and create a potential fire risk. Regular cleaning can help improve indoor air quality, smooth HVAC performance, and keep your house healthy.

    Even if you aren’t noticing obvious problems, a routine inspection is a smart preventive measure. Contact a trusted professional to evaluate your ducts and breathe easier knowing your home is in good hands.

  • How to Prepare Your Plumbing for Changing Seasons

    The home’s plumbing is affected by seasonal changes. Pipes and outdoor fixtures can be easily damaged by sudden temperature swings, and even a small leak can eventually lead to serious water damage—especially if it’s not caught early.

    Winter can cause pipes to freeze, while the rainy season increases the risk of clogged drains. Therefore, it is important to routinely inspect parts of the plumbing system to ensure proper water flow and detect issues early.

    Here are some important steps homeowners can take to protect their plumbing system during seasonal changes.

    1. Inspect Pipes for Cracks and Weak Spots

    Temperature fluctuations can weaken pipes, causing cracks or leaks. A small leak can cost you hundreds of gallons of water per year, which can raise your utility bills. Make sure to inspect accessible plumbing lines—i.e., under sinks, crawl spaces, basements, and near the water heater.

    Look for telltale signs like water spots, accumulation of moisture, or mildewing, as they could be evidence of a leak. It is prudent to fix such problems early before they cause water damage,which effects could decrease your home value.

    2. Protect Outdoor Plumbing Fixtures

    Garden hoses, sprinkler systems, and outdoor faucets are vulnerable to weather changes. Standing water in winter can freeze, causing pipes to crack.

    Turn off outside water, drain hoses, and wrap exposed pipes with insulation. During the summer, make sure sprinklers work properly and hoses aren’t kinked or leaking.

    3. Keep Gutters and Downspouts Clear

    Clogged gutters and downspouts can cause water to back up and seep into your home’s foundation. This can lead to structural problems as well as mold growth. Make sure to clean out leaves and debris from these areas during the fall and spring seasons.

    Check inside your home as well; clogged drains can be indicated by standing water. Run hot water or a mild drain cleaner through drains on a regular basis to avoid allowing debris to build up.

    4. Schedule a Plumbing Inspection by a Licensed Technician

    Some issues hide beneath the surface. A professional inspection can uncover hidden leaks, low water pressure, or worn-out pipes. During a seasonal tune-up, a technician will evaluate the entire system, from your pipes right through to the water heater, and provide maintenance advice specific to the season.

    Regular tune-ups such as these can help prolong the lifespan of critical parts and reduce the risk of expensive repairs further down the line.

    5. Check Water Heater Performance

    Your water heater can have trouble providing consistent hot water as the temperature changes. When you notice low water pressure, temperature changes, or discolored water, it’s time for a tank flush or service.

    Flushing out built-up sediment a few times a year improves heating efficiency and extends the life of the unit. This is especially important for homes with hard water, as it can cause faster wear and reduce efficiency.

    Plumbing should be checked and maintained regularly, from inspecting for leaks inside the house to outdoor equipment. Use a professional inspection service to ensure everything is running smoothly. By doing this, you can prevent major damage and keep the water system in top shape, no matter when the season changes.

  • Appliance Repair Tips Every Home Buyer & Seller Should Know

    House hunting or getting ready to sell? Take a minute to check the appliances—seriously. People often get caught up in curb appeal and the layout, but a broken dishwasher or a dying fridge can cost you big after closing, not to mention the hassle of fixing appliances. Open the doors, run a quick cycle, and listen for weird noises. It only takes a few minutes and might save you hundreds later.

    Buyer Tips: How to Check Appliances Before Buying a Home

    While checking a property, don’t just focus on the design or décor but also appliances, as old or faulty appliances become a huge cost after you take possession. Here are some important issues to inspect prior to purchasing a property.

    • Test Major Kitchen Appliances: Begin in the kitchen, as the kitchen serves a central role in the house. Inspect the dishwasher, turn on the oven, and check the refrigerator’s cooling. If they make unusual sounds, operate sluggishly or leak, that’s a sign of malfunction.
    • Check the Washer and Dryer: Ask when the washer and dryer were last serviced. Keep an eye out for unusual noise or delayed drying during the tour. Some issues might be easy to fix, but it’s helpful to know ahead of time. Replacing these appliances can get expensive if you’re already on a tight budget.
    • Inspect the HVAC System: Turn on the heat and AC to make sure they’re working. Unusual odors, inconsistent heat, or clogged filters could be a sign that the system requires maintenance—or worse, replacement. Repairs to a faulty HVAC system can run into the thousands of dollars, so this test is essential, particularly in severe-weather states.
    • Verify Age & Warranty: Ask for the manuals and any warranty information that’s available. Some appliances, like refrigerators or HVAC equipment, can last a long time—up to 15 years or more—while others may be nearing the end of their useful life. Knowing how old they are helps you plan for future repairs or replacement and can assist in negotiating the selling price.

    For Sellers: Simple Repairs to Increase Home Value

    If you wish to sell your house, investing in appliance repairs will make your property more appealing. Here’s how minor repairs will translate into big returns:

    • Refresh the Kitchen Appliances: Home buyers are drawn to modern, well-maintained kitchens. A refrigerator door that won’t seal, or burners that don’t light easily on the stove, can leave a negative impression. Small problems such as replacing worn-out seals or burners can make a big difference in how the kitchen looks and how well it functions.
    • Fix the Laundry Room: A leaky washer or a dryer that leaves clothes still damp after a long time will be a red flag for buyers. These issues can be harbingers of greater maintenance problems later on, which will make buyers look elsewhere. Prevent this by keeping your washer and dryer in top working condition.
    • Address Small but Noticeable Issues: It’s the little things that have the biggest impact when it comes to affecting a buyer’s impression of your property. A noisy dishwasher, a refrigerator with a missing shelf, or a microwave with a spotty performance might not be significant issues, but they will have buyers questioning their decision.
    • Consider Energy Efficiency Upgrades: Replacing your old appliances with modern, energy-efficient appliances will not only make the property more appealing to buyers, but will lower the energy bills as well.

    Should You Repair or Replace Your Appliance?

    Knowing how to repair an appliance instead of replacing it can save both buyers and sellers time and money. A good rule of thumb:

    • Repair if the appliance is less than 10 years old and the repair costs less than 50% of a replacement.
    • Replace if it’s over 10–15 years old, has recurring issues, or lacks modern energy-efficient features.

    If you are not sure, hiring a professional appliance technician can help you decide the best option.

    Proactive appliance maintenance benefits both buyers and sellers. Buyers will avoid surprise expenses, and sellers will increase the worth of their property. Take the time prior to closing the transaction to inspect kitchen, laundry, and HVAC appliances you’ll be glad you did.

  • Soffits and Gutters: Keeping Your Home Protected

    Home maintenance does not entirely involve expensive repairs like roofs, walls, or foundations. Two important parts that often get forgotten when it comes to protecting the house from water and moisture damage are the soffits and gutters. We’ll explain what soffits and gutters are, why they’re important, and how to maintain them so the house stays solid for the long run.

    What Are Soffits and Gutters?

    Soffits

    A soffit is the underside of a roof that projects outward from the wall of a house. Apart from giving the house a neat look, soffits also play a significant role in ventilating the attic and protecting the house against pests and dampness.

    Gutters

    A gutter is a system installed along the edge of the roof to guide rainwater away from the house. If rainwater isn’t properly redirected, it can cause soil erosion, fascia rot, and even damage to the foundation.

    Why Soffits Are Important

    Soffits are more than just aesthetics—they’re an essential part of your home’s ventilation and protection system.

    • Prevent Excess Moisture: Soffits help prevent too much moisture, which can lead to mold and wood rot, by circulating air in your attic.
    • Lower Attic Temperature through Soffit Vents: Soffit vents reduce attic temperatures, easing the load on your AC during warmer months.
    • Preventing Pests: Without soffits, insects, birds, and rodents can easily get inside and make a home in your attic.

    If your soffits need repairs, don’t wait too long to fix them. Otherwise, you will end up paying more for larger repairs in the future.

    The Importance of Gutters in Protecting Your Home

    Gutters are crucial for managing rainwater. Here’s why:

    • Preventing Foundation Damage: Water that isn’t directed properly can seep into the soil around your home, leading to foundation shifts and wall cracks.
    • Protecting the Landscape: Water falling straight from your roof can erode soil and damage your garden or yard.
    • Preventing Fascia and Soffit Rot: Leaky or clogged gutters can cause water to overflow onto your fascia and soffits, speeding up wood rot.

    Types of Soffit and Gutters

    Types of Soffit

    • Aluminum Soffit: Strong, rust-resistant, and low-maintenance.
    • Vinyl Soffit: More affordable and moisture-resistant, but not as durable as aluminum.
    • Wood Soffit: Offers a classic look, but needs extra care to prevent rot or mold.

    Types of Gutters

    • Sectional Gutters: Made from multiple connected pieces. Less expensive but more likely to leak.
    • Seamless Gutters: Seamless gutters are custom-made to fit your home, with no joints, making them more durable and less prone to leaks.

    Signs of Problematic Soffits or Gutters

    Don’t ignore these signs that your soffit or gutter needs attention:

    • Soffits: Peeling paint, rotting wood, or holes from pests.
    • Gutters: Leaks, clogs, or overflowing during heavy rain.
    • Other signs: Mold or a musty smell in the attic, which could point to an issue with the soffit vents.

    Statistics and Facts about Soffits and Gutters in the US

    • According to the National Association of Home Builders (NAHB), about 85% of homes in the US have gutters, but many are not properly maintained.
    • A report from the EPA shows that moisture from poor drainage is a leading cause of mold growth in homes.
    • The average cost of gutter cleaning in the US is between $150 and $350 per visit, depending on the size of the home and how much debris needs to be cleared.
    • The cost of replacing gutters with seamless systems ranges from $3 to $30 per linear foot, depending on the material used.
    • Building codes in states like California and Florida require gutters to prevent erosion and damage from heavy rain.

    How to Care for Soffits and Gutters

    To keep your soffits and gutters in good shape, follow these maintenance tips:

    • Clean your gutters at least twice a year to prevent clogs from leaves or debris.
    • Regularly check your soffits for any damage or signs of rot.
    • Ensure your gutters have the right slope so water flows smoothly into the downspout.
    • Consider using gutter guards to minimize debris buildup.

    When to Replace or Repair?

    If you notice rotten wood in the soffit or big leaks in the gutters, it’s best to repair or replace those immediately. Leaving those alone will only cause more damage and costly repairs in the future.

    By regularly maintaining your soffits and gutters, you can avoid costly major repairs. Don’t wait until something goes wrong—start taking care of your soffits and gutters now!

  • Protect Your Home’s Roof and Gutters from Storm Damage

    Source: freepik.com

    Storms are known to be a menace especially when it comes to property damage. The roof and gutter system on a property are two things that are damaged by the storm. Heavy rain and debris from the storm can badly damage these two systems resulting in heavy maintenance costs.

    To prevent all of this from happening, it is important that property owners act proactively. Taking safety measures in advance helps to reduce storm-related issues and also extends the lifespan of both gutter and roof systems. In this guide, we will discuss the different strategies you can adopt to protect your gutter and from the storm.

    What is the Importance of Roof and Gutter Protection

    The roof and gutter are two parts of any property that work together to protect it from the elements. A good roof helps prevent leaks and damage to the structure. Meanwhile, a well-functioning gutter system directs water away from the foundation.

    If a property owner neglects these two systems, their property is likely to get damaged. Water damage, mold, and constant repairs are just a few ways it can affect your home.

    How Storms Damage Roofs and Gutters

    Roof Damage

    • High Winds: Strong winds can tear off shingles, leaving your home exposed to water infiltration.
    • Heavy Rain: Similarly, heavy rain can cause leaks if the shingles are damaged.
    • Hail: Hailstorms can significantly dent metal roofing and break asphalt shingles, leading to premature roof wear.
    • Debris Impact: Storms often bring heavy debris, like tree branches, which can damage or puncture roofing materials.

    Gutter Damage

    • Clogging: Leaves and other debris from the storm can clog the gutters, blocking water flow and potentially causing foundation damage.
    • Detachment: Strong winds from a storm can loosen or tear the gutter system.
    • Cracking and Rusting: Storms often bring high moisture, which can lead to rusting and cracks, causing leaks.

    How you can Storm-Proofing Your Roof and Gutters

    1. Regularly Maintain Your Roof

    It’s important to routinely check your roof for any damage. This will help keep it in great shape. Alternatively, you can schedule a professional roof cleaning in Beaverton. These professionals will remove any debris that could damage the shingles.

    Tips to protect your roof:

    • Inspect the shingles for damage or missing pieces before storm season.
    • Make sure all the flashing around chimneys, skylights, and vents is secure.
    • Trim or remove any overhanging branches to minimize debris impact.
    • Fix small issues before they turn into bigger problems.

    2. Maintaining and Upgrading the Gutter System

    A properly functioning gutter system directs water away from the property’s foundation. If your system is old or damaged, you might want to invest in a new gutter installation in Beaverton. Regular maintenance helps protect your foundation in the long run.

    Tips to Protect Your Gutter:

    • Regularly clean your gutters or hire professionals to prevent clogging and overflow.
    • Install gutter guards to reduce debris buildup.
    • Check for leaks, rust, or loose fasteners regularly.
    • Make sure the downspouts direct water away from the foundation.

    3. Reinforcing Your Roof

    If you live in a storm-prone area, it’s a good idea to upgrade your roof. You can choose wind-resistant shingles or metal roofing. Investing in impact-resistant materials is a smart move that helps reduce storm damage costs.

    Additional Reinforcement Options:

    • Apply a waterproof underlayment beneath the shingles.
    • Use hurricane straps to secure the roof structure.
    • Reinforce soffits and fascia to withstand strong storm winds.

    4. Installing a Proper Drainage System

    Water pooling on the roof is a bad sign, as it can cause structural damage. That’s why it’s important to make sure your property’s drainage system is working efficiently. To do this, maintain your gutter system and consider adding extra downspouts.

    Effective Drainage Strategies:

    • Ensure the gutter slope is correct so that it directs water away from the foundation, not toward it.
    • Install French drains or rain barrels to manage excess water.
    • Check attic ventilation to prevent moisture buildup.

    5. Schedule Professional Inspections

    If you can’t perform regular inspections yourself, it’s important to hire a professional. They can spot issues before they turn into major problems. Experts can also assess your roof and gutters, recommend any necessary repairs, and help with cleaning.

    Conclusion

    Storm damage is real, and it can seriously impact your home’s roof and gutter systems. Keeping these two in good shape is crucial if you want your house to maintain a solid foundation. Regular roof and gutter maintenance also helps avoid expensive repairs down the line.

    Scheduling routine cleaning and maintenance by a professional is highly recommended. By investing in these services, you’re safeguarding your home from storm-related damage. Taking proactive steps now ensures your home will be ready to face the next storm season.

  • The Best Cleaning Checklist for Dallas Renters

    New to an apartment in Dallas? Giving it a deep clean before moving in not only keeps it fresh and clean but also helps it feel more like home. Dallas renters often deal with issues like mineral buildup on faucets and shower doors due to the city’s water quality, as well as seasonal dust. The region’s high humidity at certain times of the year can cause mold and mildew to develop in kitchens and bathrooms.

    Cleaning before unpacking helps your space feel fresh and healthy for you and your family. This guide includes a handy checklist of must-have cleaning supplies and simple tasks to help you settle in.

    Pro Tips for Renters

    1. Clean Before Unpacking

    Even if the previous tenant or landlord cleaned the apartment, doing your own deep clean ensures it meets your standards. Focus on disinfecting high-touch areas like door handles, light switches, and cabinet knobs.

    Start with the kitchen and bathroom since they tend to get dirty the quickest. Wipe down the kitchen sink and appliances before using them, and clean the fridge shelves to get rid of any leftover germs. To get rid of hard water stains, try store-bought cleaners or a vinegar solution.

    2. Take Photos of Any Damage Before Unpacking

    Before you start unpacking, take pictures and videos of any scratches, stains, or damage you spot while cleaning. These can help you get your security deposit back when you move out.

    Let your landlord know about any problems, like a leaky pipe, broken appliances, or outlets that don’t work. Taking care of these issues early can save you a lot of hassle later.

    3. Create a Simple Cleaning Routine

    Keeping your apartment clean after you move in is easier with a regular cleaning routine. Here’s a simple schedule to follow:

    • Daily: Wipe down kitchen counters, sinks, and dining areas. Wash dishes right away to keep your kitchen tidy and avoid pests.
    • Weekly: Mop floors, dust furniture, and wipe down appliances like the microwave and stovetop. Vacuum carpets to remove dust and allergens.
    • Monthly: Deep clean the oven, wash the windows, and check for mold in humid spots like the bathroom.
    • Every Few Months: Steam-clean carpets and fabric furniture to get rid of built-up dirt.

    Cleaning Tips for Dallas’s Changing Seasons

    Dallas’ climate can affect how clean your apartment stays. Here’s how to tweak your cleaning routine by season:

    • Spring & Fall: Storms and pollen can make dust levels rise. Keep surfaces, air vents, and shelves dust-free to cut down on allergens.
    • Summer: Dallas summers can get really humid, which can cause mold, especially in bathrooms and under sinks. Keep the air flowing by using exhaust fans and a dehumidifier.
    • Winter: Heating systems can mess with the air quality inside. Clean heating vents and air filters before winter hits to prevent dust buildup and bad smells.

    Must-Have Cleaning Supplies

    To clean more efficiently, gather all your supplies before you start. Interruptions can slow you down, so be prepared with:

    • Basic Cleaning Supplies: Cloths, sponges, all-purpose cleaner, and disinfectant wipes.
    • Kitchen: Degreaser, vinegar, baking soda, and dish soap.
    • Bathroom: Hard water remover, toilet cleaner, and a brush for grout.
    • Floors & Carpets: Mop, vacuum, and a steam cleaner for deep cleaning.
    • Other: Duster, glass cleaner, trash bags, and gloves.

    Dallas water contains a lot of minerals, so using a hard water remover or vinegar helps keep sinks and bathroom fixtures clean.

    Deep Clean These Important Areas in Your Apartment

    Kitchen

    The kitchen should be one of the first places to clean the house before moving in. Here’s how to do it:

    • Refrigerator: Take out the shelves and drawers, clean them with vinegar, and let them dry before putting your food back in.
    • Stovetop & Oven: Spray degreaser on the stovetop and oven, then wipe it down. For microwaves, heat a bowl of water with lemon juice to help loosen any stuck-on food, making it easier to wipe off.
    • Dishwasher: Place a cup of vinegar on the top rack and run a cleaning cycle. Then, sprinkle some baking soda and run another short cycle to help get rid of any smells and buildup.
    • Cabinets & Countertops: Wipe down drawers and shelves before putting away your kitchen stuff. Make sure to wipe down countertops before cooking.

    Bathrooms

    Bathrooms tend to get hard water stains and mildew, so deep cleaning them before using them:

    1. Toilet: Give it a good scrub, and if you want it to feel brand new, consider replacing the toilet seat.
    2. Shower & Bathtub: Use vinegar and baking soda to get rid of soap scum and hard water stains.
    3. Grout & Sink Areas: Scrub grout lines with a good cleaner and wipe down sinks to keep water stains away.
    4. Mirrors & Fixtures: Wipe them down with a streak-free glass cleaner to keep them shiny and streak-free.

    Living Room

    Since the living room gets a lot of use, it can collect dust and allergens. Here’s how to keep it clean:

    1. Floors: Vacuum carpets and mop hard floors to remove dirt and dust.
    2. Furniture: Dust shelves, coffee tables, and window sills with a cloth.
    3. Ceiling Fans: Wipe fan blades to clear off dust.
    4. Upholstery: Vacuum couch cushions and use a fabric cleaner to keep them fresh.

    Bedrooms

    Keeping your bedroom clean helps you sleep better and keeps the air fresh:

    1. Floors & Under-Bed Cleaning: Vacuum and sweep—don’t forget to clean under the bed and other furniture.
    2. Dusting: Dust nightstands, window sills, and ceiling fans.
    3. Bedding & Curtains: Wash sheets, pillowcases, and curtains to keep them fresh and free of dust.
    4. Closet Organization: Clean shelves before putting your clothes away, and use drawer liners to keep things tidy.

    Final Check Before Unpacking

    Before you start unpacking, do a final check to make sure nothing was overlooked:

    • Give door handles, light switches, and remotes a quick wipe.
    • Mop hard floors and vacuum carpets for a finishing touch.
    • Make sure kitchen and bathroom surfaces are disinfected.

    Once you’re done, your apartment will be fresh and ready to enjoy. A good cleaning routine will make it easy to keep your place fresh and clean over time.

  • Why You Should Hire a Professional Squirrel Exterminator

    Squirrels are cute when they’re running around the yard, but when they’re running around your attic or walls, they can really make some noise. Along with other creepy crawlies, they can turn your home into a nightmare. Not only are they chewing on wires, but they’re also spreading diseases.

    Here is why hiring a professional squirrel exterminator is a good idea.

    Spotting the Problem Early

    Catching a squirrel problem early can save you a heap of trouble. These critters are real good at worming their way into attics, basements, and even your walls. Once they’re in, they’ll start chewing up your insulation, wooden beams, and worst of all, your electrical wiring.

    That’s just a disaster waiting to happen; it could even spark a serious fire. A squirrel exterminator can spot these signs early and handle them before things get out of hand.

    Keeping Your Family Safe

    Even though squirrels might not seem dangerous, they can get aggressive if they feel cornered. They have sharp claws and teeth that can cause nasty injuries.

    Plus, they can carry diseases like rabies and leptospirosis, which can put your family and pets at risk. A trained exterminator knows how to remove squirrels safely without putting anyone in danger.

    Stopping Them from Coming Back

    When you’re handling squirrel removal, you gotta make sure they don’t find their way back in. A good exterminator won’t just remove them; they’ll also find out how they got in and seal up any entry points.

    This prevents future infestations and saves you from dealing with the same problem over and over again.

    Why DIY Methods Don’t Work

    A lot of homeowners try to handle a squirrel problem on their own, but that can just make things worse. You might overlook critical warning signs, like chewed-up wires or hidden nests, leading to expensive repairs or health risks. And if you don’t get all the squirrels out, they’ll just keep coming back.

    A pro knows exactly where to look and how to deal with the situation the right way, saving you both time and money down the road

    Using Humane and Legal Methods

    A professional exterminator will use humane methods to remove squirrels, often using live traps and relocating them to a safe area. They also make sure everything is done according to local wildlife laws, so you won’t have to worry about any legal trouble.

    Choosing the Right Local Expert

    Not all exterminators are the same. It’s best to hire someone who knows the local area and the specific wildlife in your region. Local experts understand the behavior of squirrels in your area and follow all state and city regulations for removing them. That means you get faster, more effective results.

    Get Rid of That Squirrel

    If you’ve got squirrels in your home, don’t wait until the damage gets out of control. A professional exterminator will handle the problem safely and efficiently, making sure your home stays squirrel-free for good.

    They’ll inspect your property, remove the pests, seal up entry points, and even repair any damage. Investing in a pro is the best way to keep your home safe and avoid expensive repairs down the road.

  • Lawn Mower Belt Replacement: Where to Find Quality Lawn Mower Belts

    If you want your lawn mower to perform at its best, you can’t ignore the belt. It’s the powerhouse that transfers energy from the engine to the blades. Over time, heat, friction, and yard wear and tear can do a number on it. So, when is it time to replace it? Let’s find out.

    When to Replace Your Lawn Mower Belt

    Keep an eye out for these signs that your mower belt’s calling it quits:

    • Cracks, Frays, or Damage: Give the belt a quick check. If you see visible damage, it’s time for a replacement.
    • Slipping or Power Loss: Struggling to cut grass or noticing the blades aren’t engaging? Your belt might be stretched or worn out.
    • Weird Noises: Squealing or grinding sounds during mowing could be your belt’s way of saying, “Help!”

    If you catch any of these signs, don’t wait.. replace that belt before things get worse.

    Where to Find Quality Lawn Mower Belts

    When searching for lawn mower belts for sale, it’s important to consider quality and compatibility. Here’s where you can score a good belt that fits your mower:

    1. Local Hardware Stores: Stores like Ace Hardware and Home Depot often carry a variety of belts, and their staff can help you find the right size
    2. Online Retailers: Websites like Amazon and eBay are great, but be sure to check reviews to avoid duds.
    3. Manufacturer Websites: Got a specific mower brand like MTD, Gravely, or Simplicity? Check their site for OEM (original parts) to guarantee compatibility.
    4. Auto Parts Stores: Some stores like AutoZone carry mower belts, especially if they serve small engine repair customers.

    By sticking with trusted retailers, you’ll get a belt that lasts and performs like it should.

    How to Replace Your Lawn Mower Belt

    Got your new belt? Awesome! Here’s how to replace it out step-by-step:

    1. Turn Off the Mower: Safety first—make sure the mower is off and can’t accidentally start.
    2. Clear Debris: Clean the area around the pulleys. Grass clippings can get in the way.
    3. Remove the Old Belt: Depending on your mower, you may need to remove the deck or open a cover to access it.
    4. Install the New Belt: Use a belt designed for your mower (no DIY cutting needed). Thread it along the pulleys, following any guide arrows. If no arrows, match how the old belt was positioned.
    5. Secure and Test: Once it’s wound properly, make sure everything’s snug and reassemble the mower. Start it up and let it run briefly at idle to make sure the belt moves smoothly.

    Pro Tip for Longevity

    After installing your new belt, regular checks will help keep it in its best working condition. Monitor for wear a several times during use, and most importantly during high mowing times.

    By following these tips and buying high-quality belts, your mower will have a mower that will work for your lawn for the whole growing season!