Personalizing your home can seem daunting, but it doesn’t have to be.
Paint-by-numbers kits are a fun, affordable way to bring unique art into your space without needing years of artistic training.
These kits, often referred to as numbered paintings, are accessible, customizable, and can completely change the way your walls look.
Whether you’re sprucing up a dull corner or designing a gallery wall, they’re an easy and creative way to make your space feel like home.
Why Paint-by-Numbers Is Perfect for Home Decor
For those seeking a simple way to produce polished artwork, paint-by-numbers can be perfect.
This art form is particularly well suited to home decoration because it enables you to fashion unique designs that suit your interior theme – whether that’s modern abstracts, tranquil scenes or floral extravaganzas.
Plus, paint-by-numbers art or numbered painting adds a personal story to your space.
By personalising your space in this manner, you’ll not only imbue it with individuality but also enjoy a satisfying sense of achievement.
Moreover, since such kits are both affordable and adaptable, they represent an economical means of refreshing your surroundings whenever trends or seasons dictate.
Choosing the Right Paint-by-Numbers Kit for Your Space
If you’re aiming for a cohesive look throughout your home, try matching colours with existing decor; earthy tones work well within boho schemes while minimalist interiors benefit from black-and-white designs.
Consider proportions: larger canvases are great at filling blank walls (or creating focal points above furniture) whereas smaller sizes lend themselves beautifully to creating clusters on gallery-style displays or arranging atop shelving units… Next it’s time to consider subject matter – after all there’s no point investing hours upon end into something that doesn’t resonate personally!.
There are endless options, and brands like Art by Maudsch offer unique designs that suit various tastes. It’s all about finding something that feels like you and fits into your home’s overall vibe.
Step-by-Step Guide to Creating Your Paint-by-Numbers Artwork
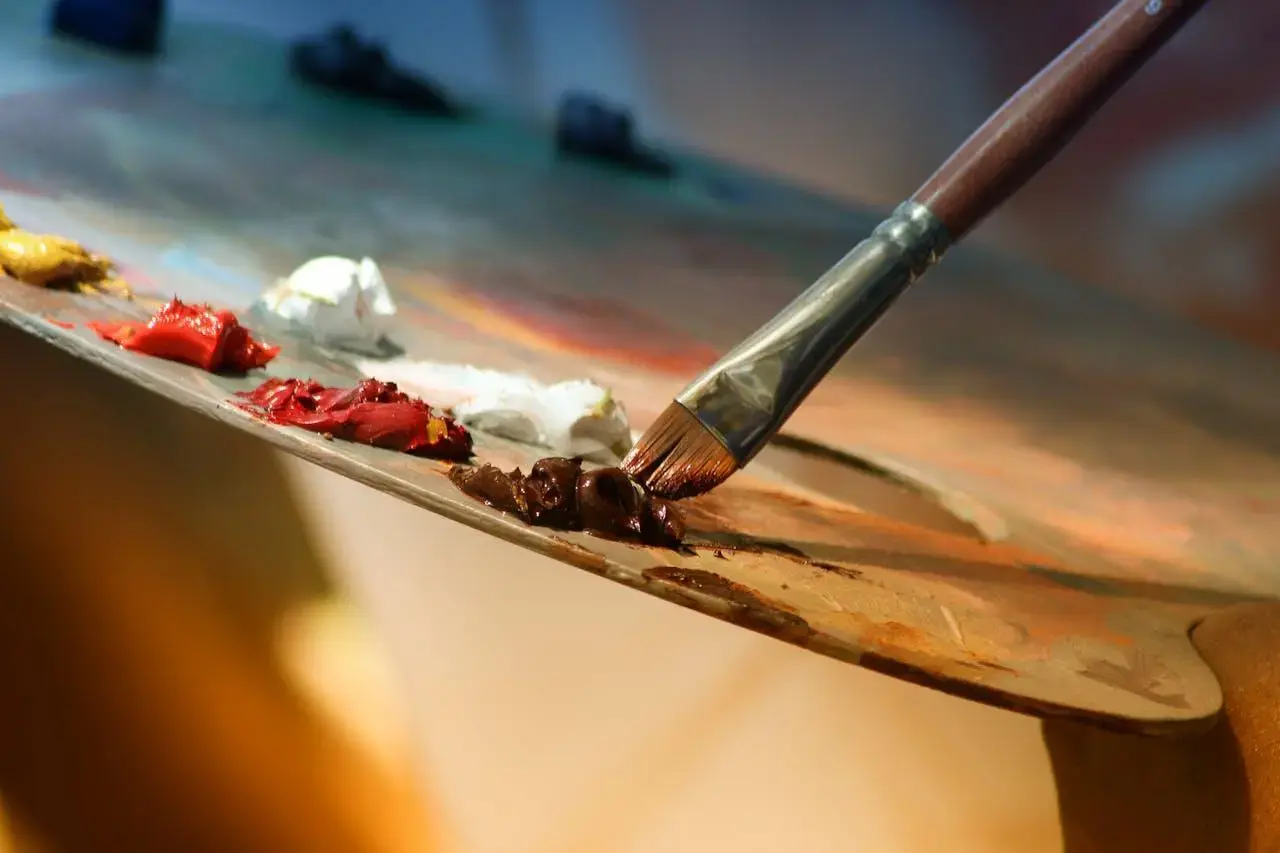
Beginners will easily get the hang of paint-by-numbers, but there are several pointers that can facilitate the process.
Initially, make sure you have everything necessary on hand: your kit (complete with paints and brushes), a brush-cleaning water cup and an adequately illuminated, cozy workspace.
While certain individuals opt for a methodical top-to-bottom approach, others favor concentrating solely on one shade before proceeding to another—rest assured though: there isn’t any ‘right’ or ‘wrong’ procedure here, so simply go with whatever feels most instinctive to you.
When you’re painting, use small, steady strokes to fill each section.
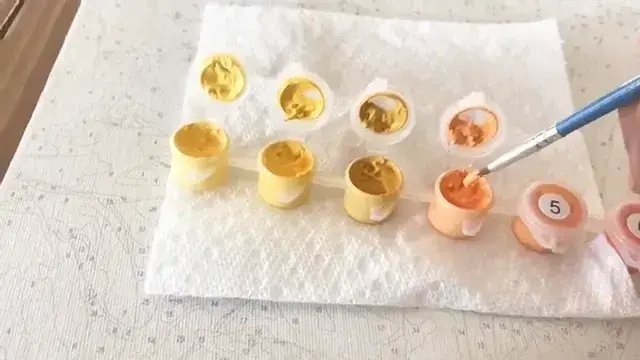
Don’t rush; the slower you go, the neater your lines will be. If a number shows through the paint, apply a second coat after the first one dries.
Blending colors can add depth and make the piece feel more professional, so don’t be afraid to experiment once you’re comfortable.
Mistakes happen, and that’s okay. Keep a damp cloth nearby to quickly clean up stray paint.
The beauty of this project is that even with small imperfections, the final result will still look impressive.

Displaying Your Finished Artwork
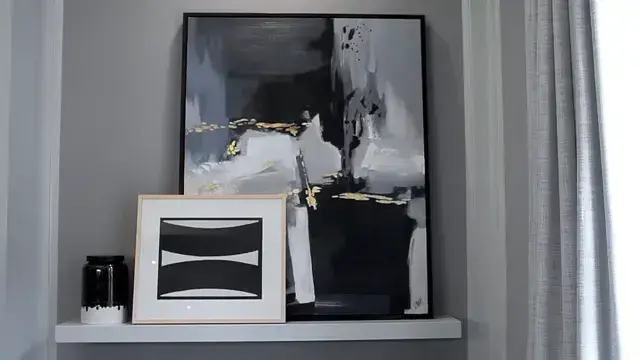
Most paint-by-numbers art can be enhanced by basic black or white frames, although ornate frames may lend a more classic feel.
To further emphasize the artwork, consider using floating frames for a gallery-like effect. Where you position pieces matters—hanging them above furniture is an easy way to create focal points; combining works with photographs and mirrors makes for balanced gallery walls.
Shelves provide casual alternatives; try leaning art against a floating shelf amid books and plants to introduce depth. Assemble and reassemble until you find the perfect display arrangement.
How DIY Art Can Transform Your Home
The art you create yourself has the power to turn your home into a place that feels truly yours, welcoming visitors with open arms and telling the story of who you are.
It’s not just about style or taste – it can be an escape from screens, a chance for relaxation and meditation; displaying what we’ve made gives our efforts extra meaning because now they’re memories too.
And when those homemade artworks are one-of-a-kind conversation starters? Well then everyone gets to join in on these little acts of self-expression which connect us all together.
Tips for Keeping Your Artwork Looking Great
Prevent exposure to sunlight directly as this can lead to color fade; for rooms that receive ample sunshine, employ UV-resistant glass or film. In spaces where humidity is an issue, safeguard against moisture damage by spritzing safeguarding spray.
By taking these measures, you’ll ensure long-lasting vibrancy in your artwork—should time ever feel like it’s taking its toll on certain pieces simply create new ones thereby enabling rotation within collections!.
Plus not only does engaging with paint-by-number provide satisfaction through honing artistic skills but also lets individuals personalize their living spaces since designs catering all tastes exist – so why wait? Embark upon this gratifying endeavor today by purchasing kit!.


