Author: Shannon Stupay

  • Top Tips on How to Choose the Best Radiator for Your Home

    Image from UK Radiators

    Creating a comfortable home is not just about furniture or paint because the right radiator keeps every room warm without wasting energy. With so many models out there, the smartest way to start is to match the radiator to your room size, your climate, and how you like your space to look.

    This guide covers room size, heat output, materials, style, and controls so you can find a radiator for your living room, kitchen, or bathroom that balances comfort, style, and long‑term efficiency.

    1. Understand Your Heating Needs

    Before you shop, figure out how much heat each room actually needs because the right size radiator is what keeps you comfortable and keeps bills in check.

    Heat demand depends on room dimensions, insulation, window area, ceiling height, and local climate. A quick rule of thumb is to aim for 20 to 30 BTU per square foot in a well‑insulated home in a mild climate, or 40 to 50 (or more) BTU per square foot in colder regions. If you prefer watts, the conversion is simple: 1 watt equals 3.412 BTU per hour.

    If you are upgrading old radiators or a boiler, use a reputable BTU calculator or ask a pro to do a heat loss calculation so you get the right output for each room.

    If you heat with a heat pump or plan to in the future, choose radiators that work well at lower water temperatures, as this helps the whole system run efficiently.

    2. Consider Room Size and Layout

    Room size and layout drive the size and placement of your radiator. Bigger living rooms usually need a higher output unit to push heat evenly across the space.

    For a large living room, look for a model with enough BTUs and place it where air can flow freely so warmth spreads without cold corners.

    Smaller rooms like bathrooms often do best with compact units or towel warmers that provide focused heat and give you a handy spot to dry towels.

    Placement matters. Units under windows or on exterior walls help counter drafts, while vertical radiators can save wall space when furniture blocks a long wall.

    If a room struggles to warm up, consider double panel or models with convector fins because they pack more surface area into the same footprint and move heat faster.

    3. Choose the Right Radiator Material

    Material affects how fast a radiator warms up and how long it holds heat. However, proper sizing still does the heavy lifting for comfort and efficiency.

    Common radiator materials include the following:

    • Steel is durable, widely available, and warms up quickly, and it is a solid all‑round choice for most rooms.
    • Aluminum is lightweight and heats up very fast, making it great for rooms you use on and off, like kitchens or home offices.
    • Cast iron holds heat for a long time after the system shuts off, and that steady warmth suits older homes or rooms where you want an even, gentle heat.
    • Stainless steel resists corrosion in humid spaces like bathrooms and offers a clean, modern look with low maintenance.

    Whatever you decide on, make sure the output fits the room because even the best material cannot make up for an undersized radiator.

    4. Look for Energy‑Efficient Options

    Efficiency is not only about the radiator because it is about the whole system working together with the right controls and temperatures.

    Electric radiators convert electricity to heat at the point of use with essentially no losses, but the operating cost still depends on your local power rates. That’s why in many homes, a central hot‑water system or a heat pump feeding low‑temperature radiators is cheaper to run.

    If you already have central heating, opt for radiators with the right output at your system’s typical water temperature because lower temperature operation saves energy and pairs nicely with heat pumps and condensing boilers.

    Add thermostatic radiator valves for room‑by‑room control. Bleed and balance the system at the start of the heating season, and avoid deep covers that can cut output.

    Electric units can be a smart choice for small rooms or spaces far from pipe runs, but you should still size them correctly to avoid excess runtime and higher bills. Leading suppliers like ukradiators offer a wide range of efficient models, from standard hydronic to electric, ensuring you can find an option that works with your home’s setup without wasting energy.

    5. Select the Right Radiator Style for Your Home

    Radiators are now part of your decor, so find a look that fits your space and your cleaning routine.

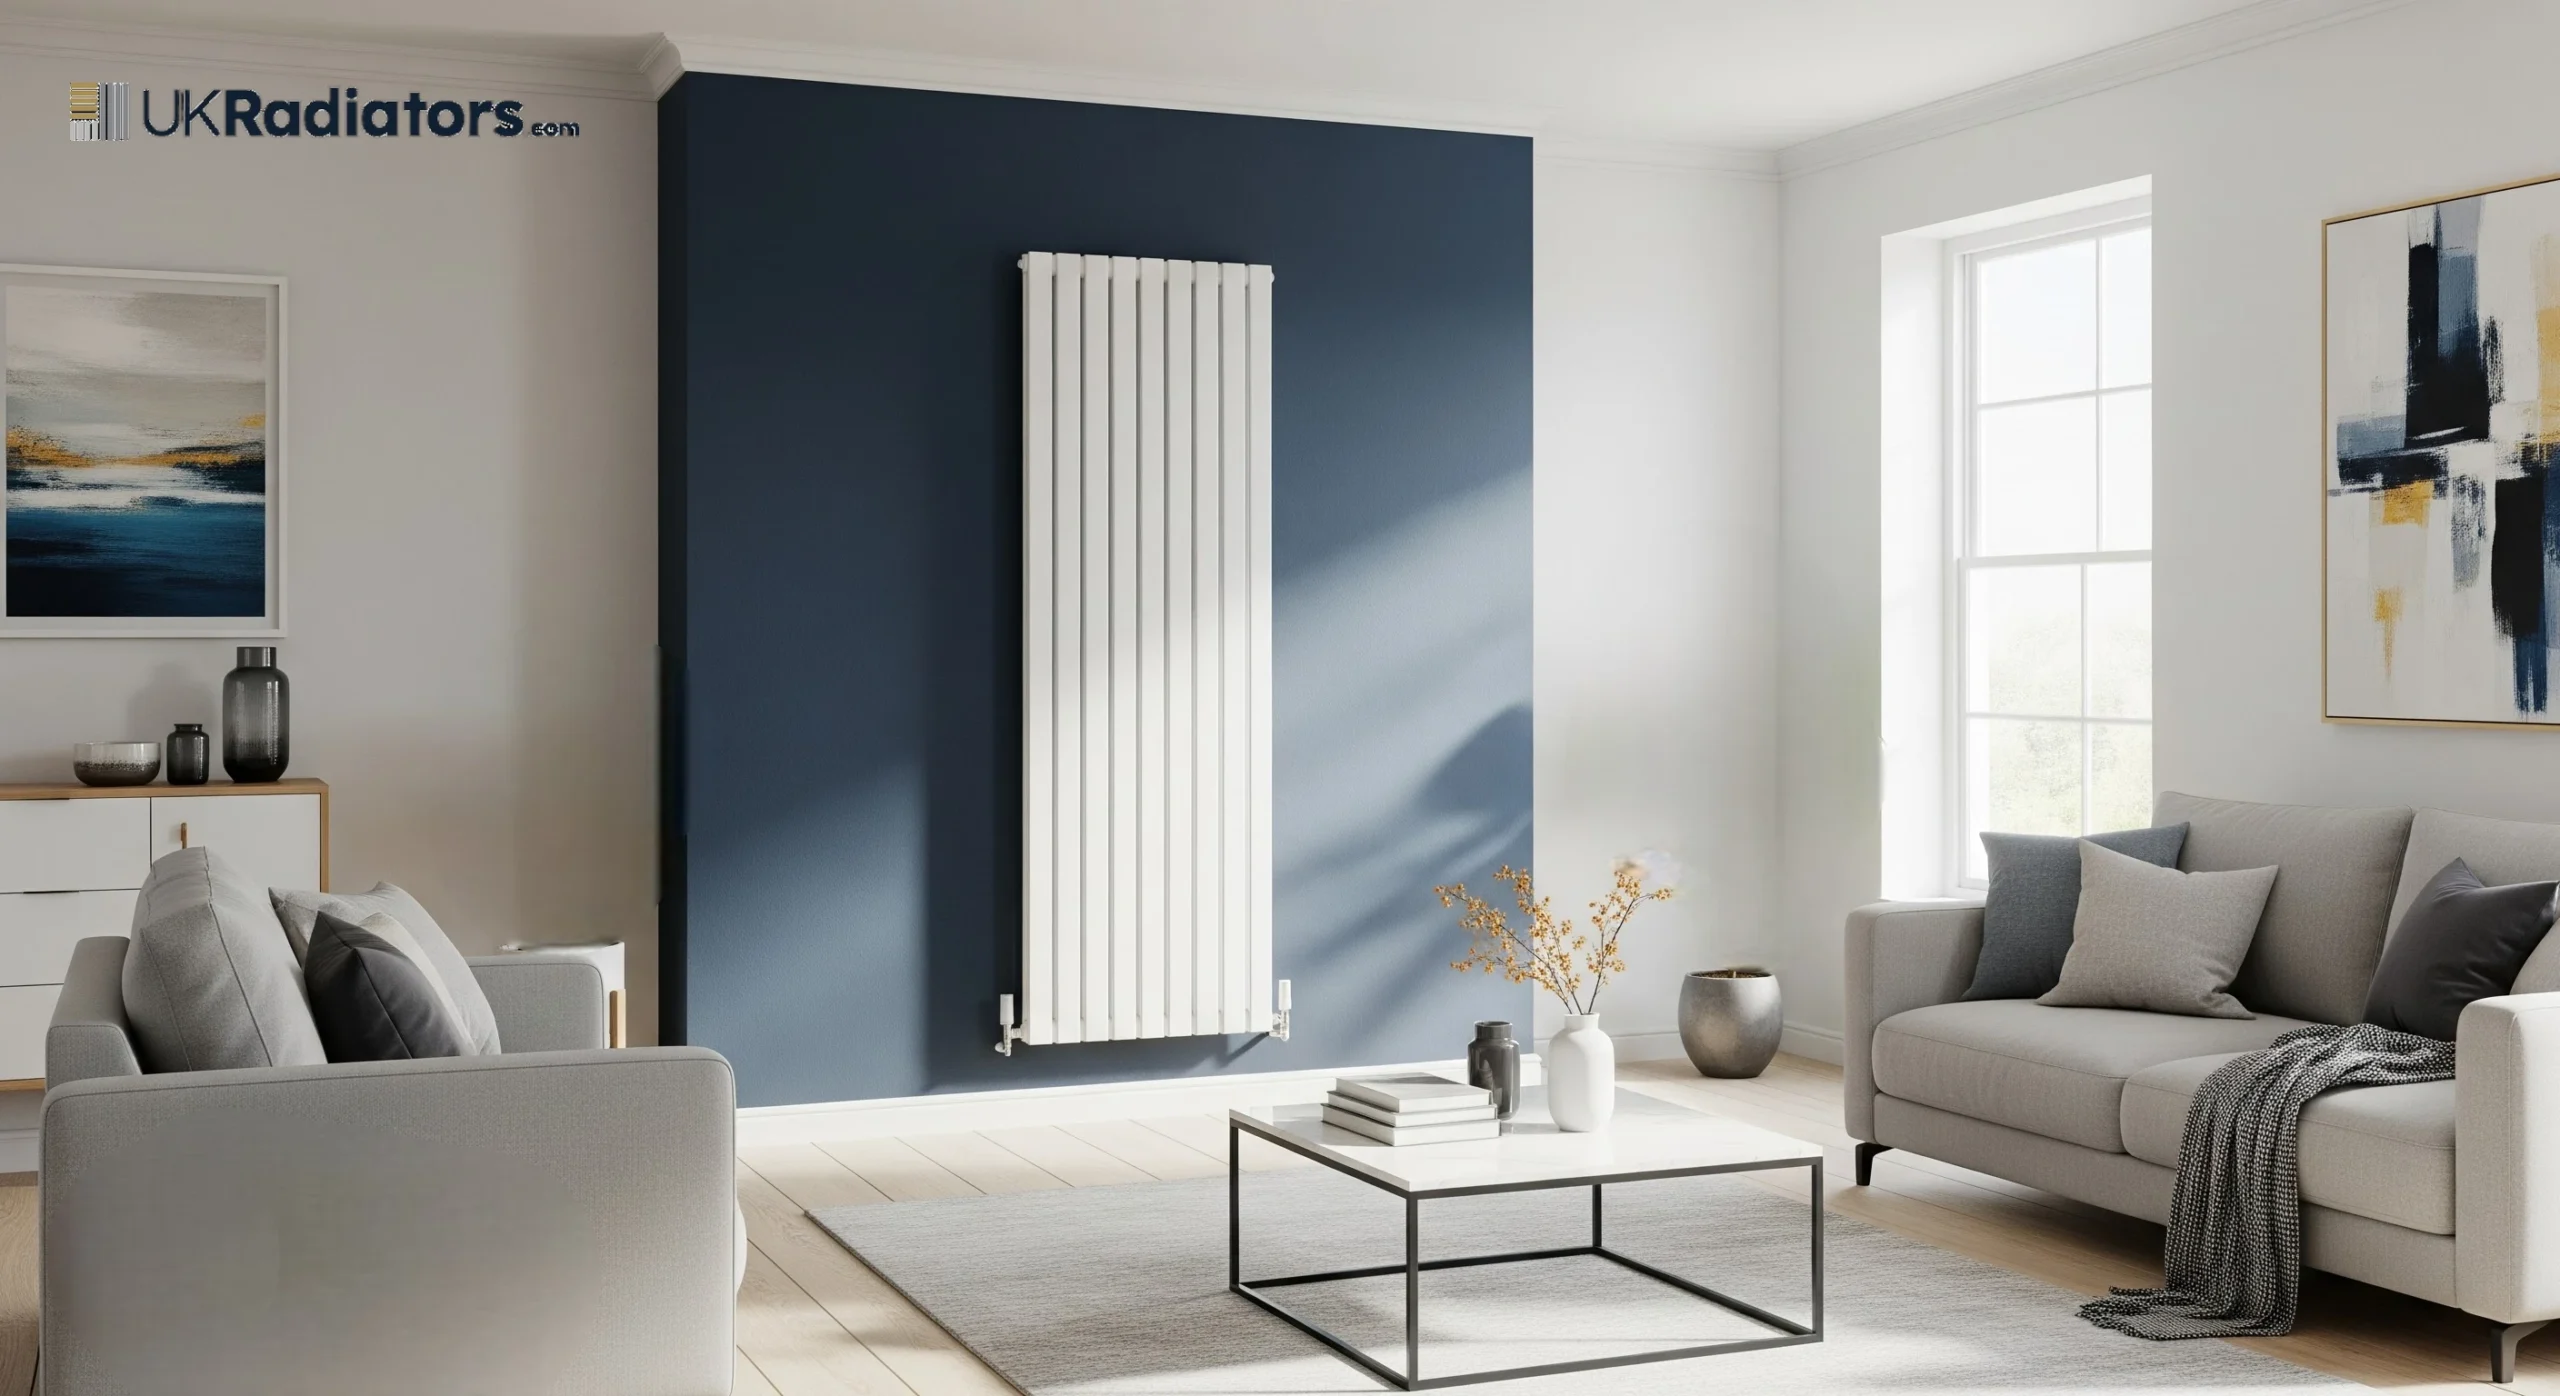
    • Modern radiator styles work well in contemporary rooms and flat panel steel and slim column designs blend in cleanly without feeling bulky.
    • Traditional radiator styles, like cast iron columns, add character. They also hold heat longer, which keeps the room cozy even after the system cycles off.

    If wall space is tight, consider a tall vertical model that tucks into a narrow spot, and in bathrooms a dual fuel towel warmer can run with your central heat in winter and on electric alone in summer.

    6. Consider Smart Heating Controls for Greater Efficiency

    Smart controls help most when they let your system run at the lowest temperature that still keeps you comfortable, and weather compensation or outdoor reset controls are especially effective because they match water temperature to outdoor conditions.

    Room thermostats and smart valves let you set different schedules by space. Features like occupancy sensing and geofencing also prevent you from heating empty rooms.

    Not every “smart” gadget saves energy on its own, so pair your controls with good zoning, proper radiator sizing, and reasonable setpoints for the best results.

    Conclusion

    Finding the best radiator is much easier once you size each room correctly, match the material and style to how you live, and set up simple controls that keep heat steady without waste.

    If you want radiators for kitchens, bathrooms, or living rooms, work with a supplier that publishes honest heat outputs and reliable build quality. Reputable brands offer a wide range of styles and sizes so you can find a clean fit for your home.

    Keep these tips in mind and you’ll build a comfortable and efficient setup that looks good and feels right all season long.

  • How to Troubleshoot Uneven Heating in Multi-Story Homes

    A woman fanning herself due to the uncomfortable temperature of her home.

    Image Source: dreamstime.com

    If you live in a two or three-story home, you probably know how tricky it can be to keep every floor at the same comfortable temperature. It’s one of those things about home ownership that quietly drives you nuts, right?

    Now, uneven heating can be caused by a bunch of things, some simple and some not so obvious. But before you call in the pros for full HVAC or electrical services, it helps to know what might be going on. Let’s walk through how you can troubleshoot the problem and what steps you can take to make your indoor temperature balanced again.

    Why Multi-Story Homes Heat Unevenly

    A man insulating a window frame with rubber insulation

    Image Source: dreamstime.com

    Believe it or not, it’s a simple science. Heat rises. That’s it.

    So in a two-story or three-story home, warm air from your heater tends to naturally move upward. And that’s why upstairs often ends up warmer, while your downstairs might feel chilly, especially if your heating system isn’t distributing air evenly.

    But there are other reasons too, such as:

    1. Poor Airflow or Blocked Vents – Sometimes the issue is as simple as a blocked vent or a dirty air filter. If air can’t move freely through your ducts, it can’t spread heat evenly.
    2. Leaky Ductwork – If your ducts have gaps or cracks, warm air might escape before it reaches certain rooms. 
    3. Insulation Problems – Older homes often have poor insulation, especially in the attic or around windows. That means heat can escape easily, and rooms farther from your heating unit will feel it first.
    4. Thermostat Placement – If your thermostat sits near a warm area, like a kitchen or sunny window, it might think the whole house is warmer than it really is.
    5. Old or Inefficient Heating System – Sometimes, your heating unit just can’t keep up anymore. If your furnace or heat pump is over 10 to 15 years old, it might not be distributing air efficiently anymore.

    Step-by-Step: How to Troubleshoot Uneven Heating

    A homeowner adjusting her thermostat

    Image Source: dreamstime.com

    Step 1: Check the Simple Stuff First

    Go around your home and make sure all vents are open and not blocked by furniture, curtains, or rugs. You’d be surprised how often that’s the problem.

    Next, check your air filter. If it’s clogged, replace it. A dirty filter makes it harder for your system to push warm air through, and that alone can mess with airflow between floors.

    Step 2: Look at Your Thermostat

    Where your thermostat is placed really matters. If it’s in a warm part of your house, like near a big window, it might shut your system off too soon. That leaves other rooms colder than they should be.

    Try relocating it to a more central area. Or, if you have a large home, think about upgrading to a smart thermostat that can read temperatures in more than one zone.

    Step 3: Inspect Your Ductwork (or Have Someone Do It)

    Ductwork leaks are sneaky. You can’t always see them, but you can often feel them.

    If you have access to your basement or attic, turn your heat on and see if you feel warm air escaping from any ducts. If you do, sealing those leaks can help a lot.

    There’s special duct tape or mastic sealant you can use.

    But if it’s more than a few small spots, it’s better to call a pro to inspect, seal, and balance your ducts properly.

    Step 4: Add or Adjust Zoning

    Zoning means different areas of your home have their own temperature control. So instead of one thermostat for everything, each floor (or area) can have its own.

    That way, you can keep your upstairs cooler and your downstairs warmer without constantly fighting with one system.

    If you don’t already have a zoning setup, it’s a bit of an upgrade. But it’s one of the best long-term fixes for uneven heating.

    Step 5: Check Insulation and Windows

    Cold air likes to sneak in through weak spots like old windows, unsealed doors, or thin insulation. Walk around and see if you feel drafts, especially near windows and room corners.

    You can use weather stripping or draft stoppers to help.

    Attic insulation also makes a big difference since that’s where most heat escapes. Adding more insulation there can make your whole home feel more balanced and save on energy bills.

    When It Might Be More Than Just Airflow

    An electrical technician rewiring an outdoor HVAC unit

    Image Source: dreamstime.com

    Sometimes the issue isn’t about air at all. Heating systems rely on electrical parts like the thermostat, blower motor, and control boards.

    If any of those stop working right, your system might turn on and off unevenly or fail to push air to certain areas. That’s when it’s smart to bring in help.

    A skilled HVAC technician who also provides electrical services can test connections, wiring, and voltage to make sure everything is safe and working as it should.

    Companies like A-One Air do both, which makes troubleshooting easier because they can check the whole system in one visit.

    Quick Fixes You Can Try Right Away

    If you want to make things a bit better today, here are a few simple things that can help even out the heat:

    • Open doors between rooms so air can move around better.
    • Flip your ceiling fans to reverse mode (most have a small switch). This helps push warm air down in the winter.
    • Close vents slightly in the warmer rooms upstairs to push more air to the cooler rooms below.
    • Use thicker curtains to keep heat in at night, then open them during the day to let sunlight help.

    These small tweaks might not solve everything, but they can make your home a lot more comfortable while you plan for bigger fixes.

    When to Call in the Pros

    Two electrical technicians showing thumbs up against their service truck

    Image Source: dreamstime.com

    If you’ve tried all the easy fixes and your home still feels uneven, it’s probably time to bring in professionals. They can test air pressure, inspect ductwork, and make sure your system is running like it should.

    They can even use thermal cameras to spot where heat is escaping or where airflow is weak. It’s actually kind of cool to see, and it helps you understand where the problem really is.

    Getting things fixed properly doesn’t just make your home feel better. It can also lower your energy bills and keep your system running longer.

    Final Thoughts

    Uneven heating in multi-story homes doesn’t have to be a mystery. Most of the time, it comes down to airflow, insulation, or thermostat placement.

    Start with the easy stuff. Test vents and filters. Check your thermostat. Then move up to inspecting ducts or insulation if needed.

    And if it turns out to be more complicated, don’t stress. Whether it’s adjusting your duct system or calling for professional HVAC and electrical technicians like A-One Air, there’s always a solution.

  • Hidden Plumbing Problems That Can Derail a Home Sale in Ottawa, Canada

    When you get ready to sell your home in Ottawa, fresh paint and shiny floors help, but what sits inside the walls can make or break your deal. Plumbing problems are among the most common hidden issues that scare buyers once the inspection report lands.

    Whether you are listing your own place or advising a client, knowing the common plumbing pitfalls and fixing them early saves time, money, and stress.

    1. The Sneaky Drip That Costs More Than Water

    A slow leak looks small, yet over time it stains drywall, swells cabinets, rots framing, and feeds mold. When an inspector detects moisture or mildew, buyers tend to assume bigger issues and question overall care. One drip can read as deferred maintenance and push offers down or drive repair credits up.

    Pro Tip

    Do a quick walk‑through of the house and check every visible line under the sink, behind the toilet, and around tubs and showers. Look for corrosion, damp rings, bubbling paint, and soft floors, then fix anything you find right away. Ask a pro to run a moisture test or a camera inspection if you suspect a hidden leak, and upgrade old supply lines to braided stainless steel with fresh shutoff valves.

    2. Outdated or Failing Plumbing Materials

    Homes built before the mid-1990s may still have galvanized steel or polybutylene piping, both of which are known to corrode, scale up, crack, or fail. Inspectors call these materials out and many buyers and insurers expect a plan to replace them. Older neighborhoods can also have lead service lines or older brass fixtures with higher lead content that are worth checking.

    Pro Tip

    If the system is about 30 years old, plan a partial or full repipe with modern PEX or copper to improve reliability and water quality. Replace any gray polybutylene you find and keep permits, invoices, and photos to show buyers. If you have a lead service line, ask your utility or a licensed plumber about replacement programs and documentation.

    3. Weak Water Pressure and Slow Drains

    Low pressure and sluggish drains raise red flags because they hint at mineral buildup, pipe corrosion, or a sewer issue. Even if the fix is minor, buyers remember the first impression during a showing and the inspection.

    Pro Tip

    Clean faucet aerators and showerheads to clear mineral grit. Flush the water heater each year to remove sediment. Check that your pressure is around 40–60 psi and ensure the pressure regulator is working correctly. Have slow drains professionally cleared and make sure traps hold water and block odors.

    4. Undiagnosed Sewer Line Trouble

    A damaged or blocked main line is expensive and one of the top reasons buyers walk away. Tree roots, collapsed sections, and low spots can cause backups, bad odors, or even basement flooding.

    Pro Tip

    Schedule a sewer camera scope before you list and fix any issues the video shows. The report and clip give buyers peace of mind and can be a strong selling point. Make sure there is an accessible cleanout and note its location for the inspector.

    5. Skipped Water Heater Care

    Older water heaters can leak, rust, or deliver uneven temperatures, and inspectors always note the age and condition. Once a tank gets close to ten years, buyers start pricing replacement in their heads.

    Pro Tip

    Drain and flush the tank yearly to clear sediment and extend its life. If the tank is rusty or near the end, replace it with an energy‑efficient model or a heat pump water heater and save the receipt. Confirm the drip pan, the temperature‑and‑pressure (T&P) relief valve discharge line, required seismic straps, where applicable, and an expansion tank are in good order.

    6. Small Fixtures That Leave Big Impressions

    A dripping faucet or a toilet that runs nonstop signals poor upkeep and makes buyers wonder what they can’t see.

    Pro Tip

    Swap worn washers, flappers, and fill valves, and replace brittle supply lines and sticky shutoffs. Test every sink, tub, and toilet for smooth operation and leaks. These low‑cost fixes show real care and build confidence.

    7. Venting and Drainage Mistakes

    Poor venting leads to gurgling sounds, sewer smells, and slow drainage, and poor exterior drainage can create damp basements and foundation concerns. Both problems worry buyers and both show up on inspection reports.

    Pro Tip

    Have a plumber verify that vents are clear and that each fixture has a proper P‑trap, since old S‑traps are often not allowed. Where code allows, use an air admittance valve to solve short vent runs. Keep gutters clean, extend downspouts, and grade the soil so water flows away from the house, and add a sump pump with a battery backup if your area is wet.

    8. The Value of a Pre Listing Plumbing Inspection

    A pre‑listing plumbing inspection is one of the smartest prep steps because it finds hidden issues before buyers do and lets you fix them on your timeline. Sharing a clean report helps prove the home is move‑in ready.

    Pro Tip

    Ask for a detailed write‑up that covers fixtures, drains, water pressure, the water heater, and the main sewer line with photos. Keep receipts and warranties for any repairs and place a simple summary in your listing packet. This preparation makes negotiations faster and cuts down on the back‑and‑forth over credits.

    The Bottom Line on Preparation and Buyer Trust

    Plumbing doesn’t need to be visible to shape a sale, it just needs to work without drama. Buyers want to know they won’t inherit surprise repairs, and clean documentation goes a long way.

    Note:

    If you’re unsure where to start, consulting qualified plumbing technicians is the best move. A trusted plumbing service can perform detailed inspections, handle repairs, and provide the peace of mind that your home’s hidden systems are in excellent shape.

    Final Thoughts

    When buyers see clean fixtures, steady pressure, and no signs of moisture or corrosion, they read the home as well cared for. Plumbing may run quietly in the background, yet it strongly shapes how buyers feel about risk.

    Find issues early and take care of them before you list, and you will avoid last minute surprises and present a solid, worry free home that feels ready on day one.