Author: Sandy Maltese

  • Moving Checklist: The Definitive Guide for Any Situation

    Source: pexels.com

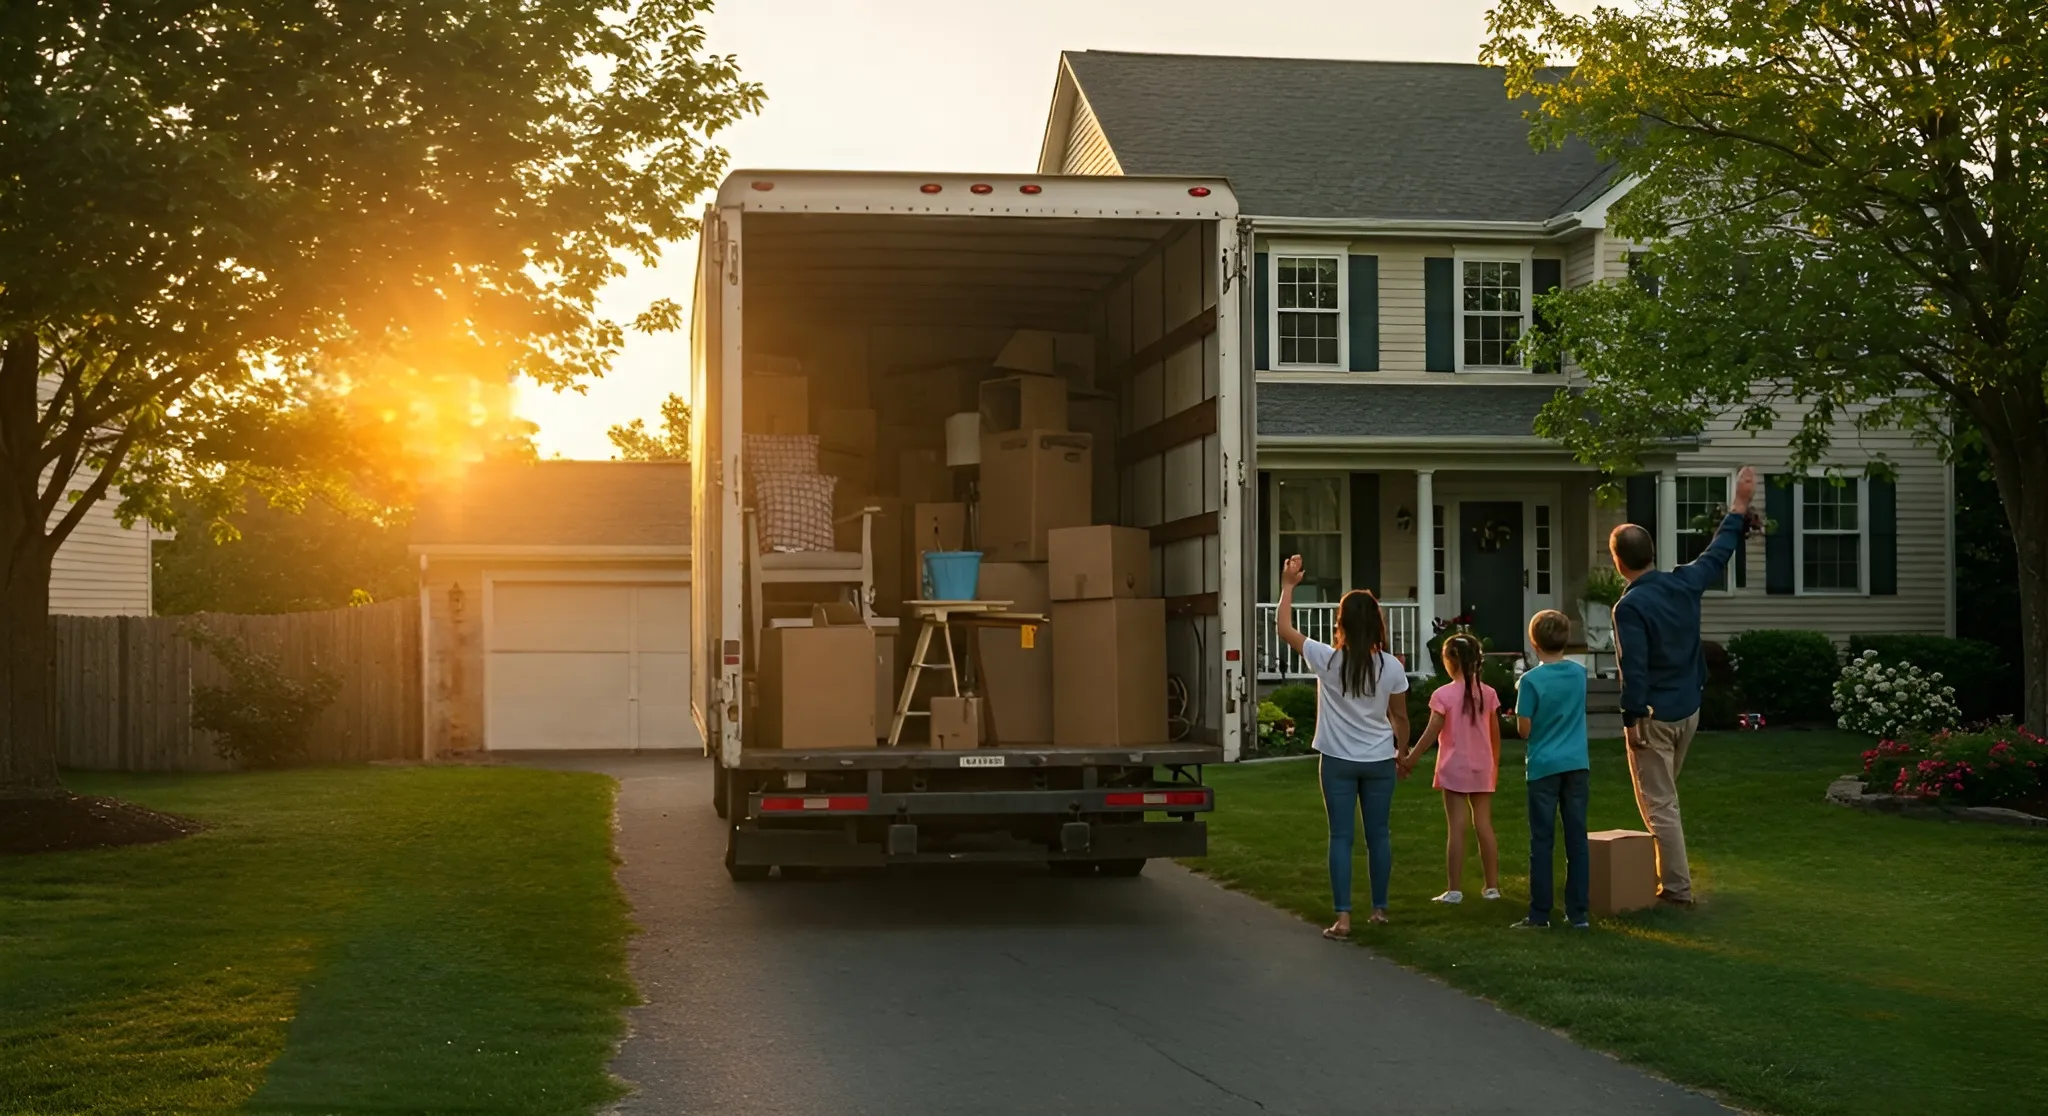
    Moving, or relocating, means transitioning from one home to another, whether it’s a short distance within the same neighborhood or a longer journey across a city or even a country. The process generally includes planning, packing, and executing the move, followed by settling into the new home.


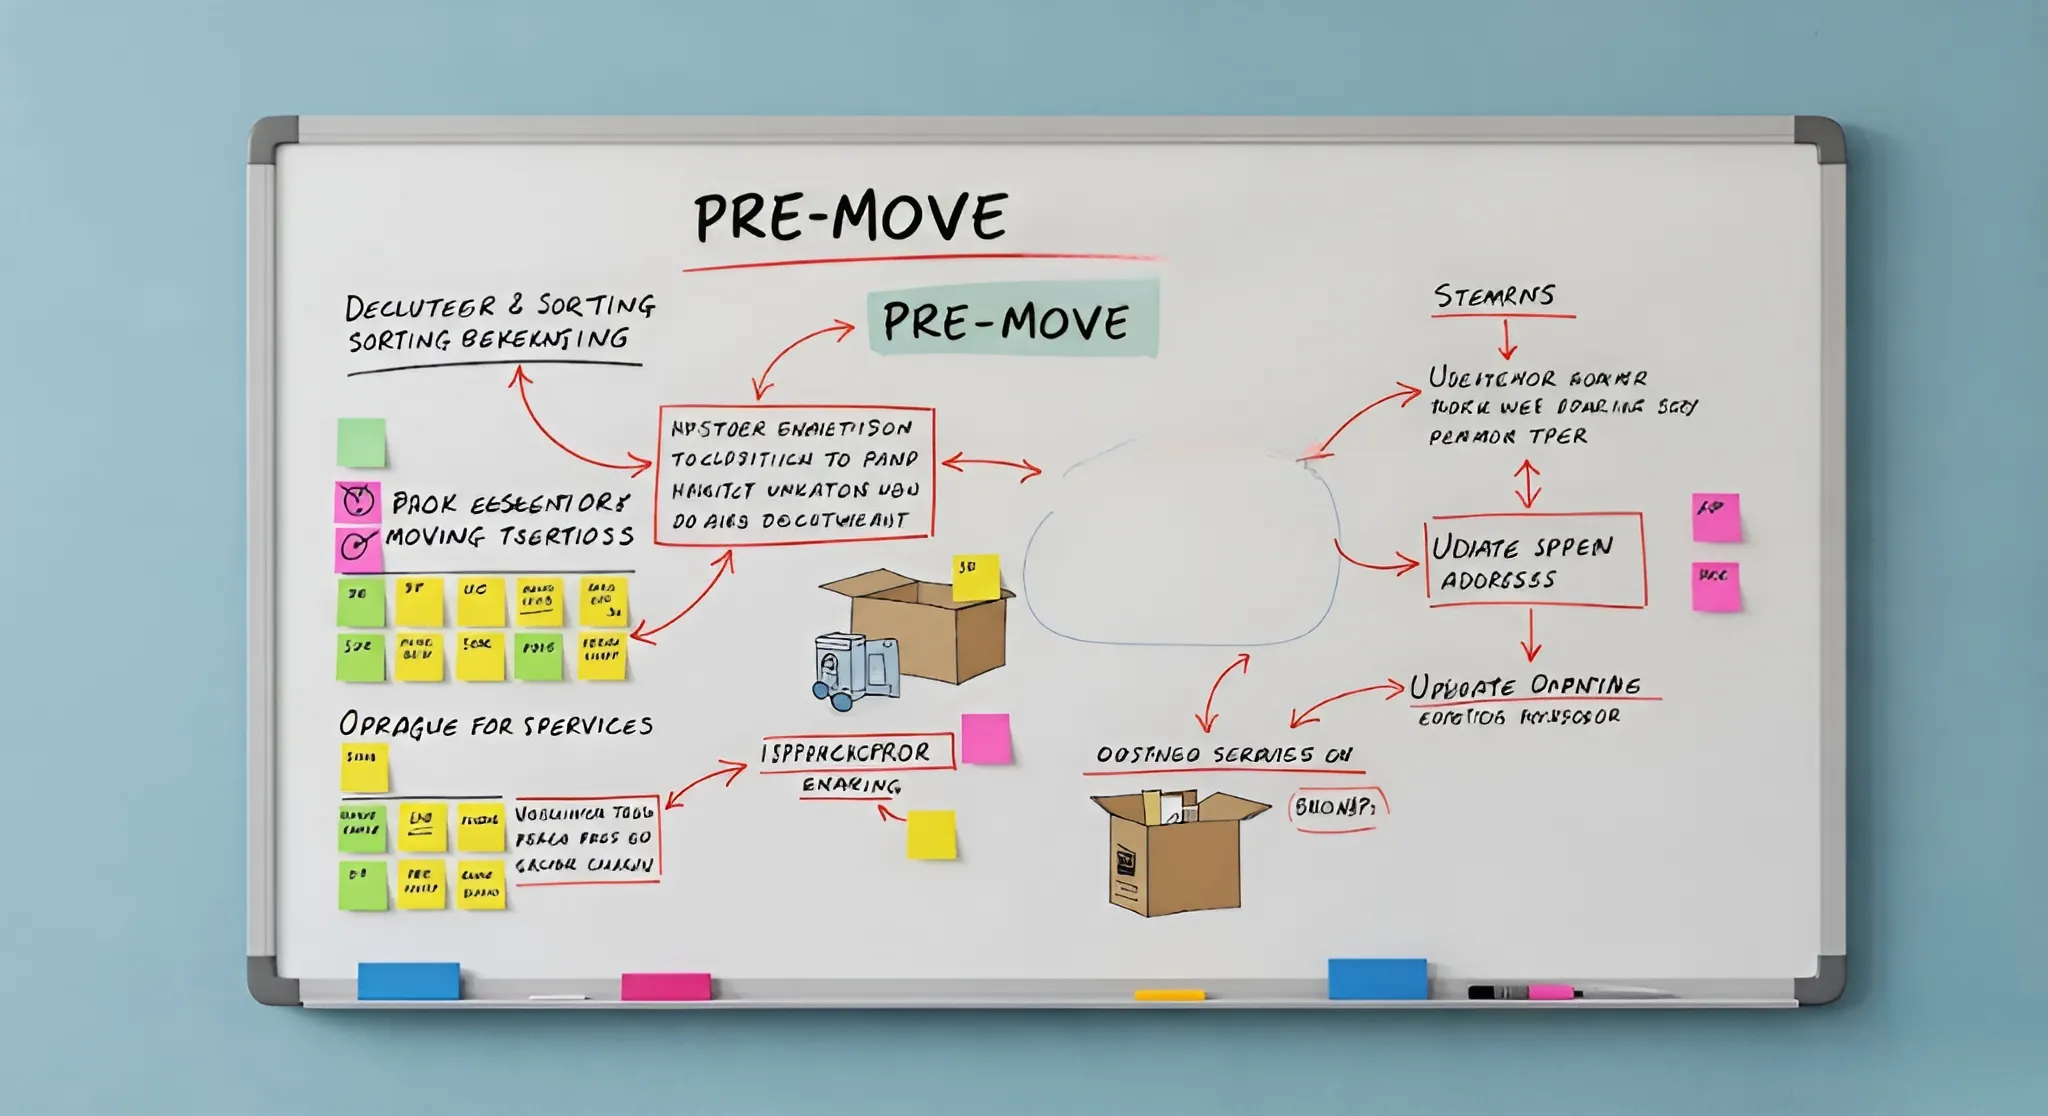
    The pre-move stage involves preparing your belongings, securing services, and organizing your new home. This includes tasks like decluttering, inventorying items, packing, notifying authorities, and arranging for utility transfers. It’s also important to plan ahead, choose a reliable moving company, and get your new home ready.

    A. Initial Planning & Decision Making (8–12 weeks before moving)

    This early stage is crucial to ensure the moving process runs smoothly and meets expectations. One of the main things to prepare is detailed budget planning.

    • Determining the Moving Budget
      Start by listing all potential expenses. Make a list of costs such as moving services, vehicle rental (if you plan to move items yourself), packing materials, repair/cleaning costs for the old/new house, utility costs, and unexpected expenses (set aside about 10–15% of the total budget).

      Don’t forget to research the average prices in your area and compare multiple offers if using professional services. To make it easier, create a simple table with columns for: “Expense Item,” “Estimate,” “Actual Cost,” and “Notes.”
    • Choosing a Moving Date
      Try to avoid peak moving times, such as during holidays or the end of the school year, as service prices are usually higher and schedules fill up quickly. Also consider the weather, weekdays or weekends (weekends are more convenient but may be more expensive). Most importantly, don’t rush and allow enough time for preparation.
    • Deciding on a Moving Method
      There are three common methods used when moving house. You can adjust them according to your situation.
    1. DIY (Do It Yourself):
      You handle everything yourself, and it can certainly save expenses. However, be prepared for the extra effort and time, and there’s a higher risk of damaged items if you’re inexperienced. If you plan to handle the move yourself, ask friends or family for help well in advance, and prepare tools like trolleys for moving items.
    2. Professional Moving Service:
      If you decide to use a moving service, look for ones that are truly recommended by reading online reviews, checking legalities, and ensuring there’s company insurance. Find at least three moving service companies and compare the quotes they offer.
      If you’re planning an interstate move, make sure the moving company is registered with the Federal Motor Carrier Safety Administration (FMCSA) and has a valid USDOT number. This ensures they comply with federal safety and insurance regulations.
      Make sure you understand the service details provided (packing, unpacking, insurance, etc.). However, be cautious with prices that are too low. Avoid movers who ask for a large cash deposit upfront or only provide phone estimates. Make sure to get everything in writing. You can also check their rating on the Better Business Bureau (BBB) and read reviews on platforms like Yelp or Angi. Also, inquire about the type of insurance they provide, such as released value protection or full value protection.
    3. Partial Move:
      You can use professional services for large/heavy items only, and transport the rest yourself. This can be a middle-ground solution between saving costs and effort. You might also consider using modern apps to simplify your move. U-Haul offers rental trucks, TaskRabbit lets you hire people for lifting and packing, Dolly helps with large-item transport, and Thumbtack connects you to local movers and services in your area.
    • Creating an Item Inventory
      Check every room and note down the key items that will be moved. This is important to ask for price estimates from moving services, and if using the DIY method, you can estimate the size of the truck needed if moving by yourself.
    • Research the New Location (if moving to a new location)
      Gather information about the new area, including schools, hospitals, markets, parks, security, transportation, and the local community. If possible, observe the area first before deciding to move.

    B. Decluttering & Sorting (6–8 weeks before moving)

    This is the step for tidying up and reducing items no longer used. The fewer items, the more cost and effort saved.

    Decluttering Strategy:

    1. The KonMari Method: This is a tidying method developed by Marie Kondo. Ask yourself, do certain items of yours spark joy?
    2. The One-Year Rule: If there are items you haven’t used in the past year (except sentimental / seasonal items), consider letting them go.
    3. Decluttering by Room: Focus on decluttering one room / corner at a time before moving on to another to avoid feeling overwhelmed.

    Create a Category for Each Item (Four-Box System):

    • SAVE: Items to move with you
    • SELL: Items in good condition that can be sold to help with moving costs
    • DONATE: Items still usable but not to be sold
    • DISCARD / RECYCLE: Items that are damaged or unusable

    Tips for Selling Items:
    Use marketplaces, social media, or hold a garage sale. Take clear photos of the items and write honest descriptions.

    Donation & Recycling Centers:
    Look for information about local charities, donation centers, or recycling facilities. Many charities even provide pick-up services for donated items. Consider the reasons you may need a self-storage unit, such as temporary downsizing, staging your home for sale, or keeping seasonal items safe.

    C. Packing (4–6 weeks before moving)

    Pack neatly to make the move safer and the unpacking process easier.

    Prepare All Packing Needs:

    • Boxes of various sizes
    • Bubble wrap & wrapping paper
    • Tape
    • Markers & labels
    • Cutter / scissors
    • Stretch wrap

    Correct Packing Techniques:

    1. Per Room: Complete packing one room before moving on to the next.
    2. Fragile Items: Wrap individually, place plates upright, and fill gaps with paper/bubble wrap.
    3. Electronics: Use the original boxes if available. Take a photo of the cables before unplugging.
    4. Books: Pack in small boxes to avoid making them too heavy.
    5. Clothing: Pack in suitcases/boxes, or use garment boxes for hanging clothes.
    6. Box Weight: Ideally no more than 30–45 pounds.
    7. Fill Gaps: Use towels, socks, or paper to fill empty spaces.
    8. Liquids: Ensure lids are tightly closed, seal with tape, then place in plastic bags before packing.

    Label Each Box:
    Write the contents of the box, the destination room, a fragile sign, and the box number. Add a “OPEN FIRST” label for essential items.

    Prepare Important Box:
    Fill it with daily necessities such as toiletries, medication, a change of clothes, chargers, basic eating utensils, coffee/tea, snacks, a flashlight, and important documents.

    D. Handling Administrative Matters & Notifications (2–4 weeks before moving)

    Don’t forget to handle administrative matters to ensure the move goes smoothly.

    • Notification of Address Change: Update your address with the USPS, your bank, insurance providers, subscriptions, school, healthcare providers, employer, and notify friends and family. You can also set up USPS Mail Forwarding online to ensure your mail reaches your new address. This service is inexpensive and easy to activate through the USPS website.
    • Utility Service Transfer / Cancellation: Contact your utility providers (electricity, water, gas, internet, and cable) to schedule service termination or transfer. Make sure to note the confirmation number and the name of the representative you speak with.
    • Gather Important Documents: Keep all important documents in one waterproof folder or container. (Also, scan them for digital backups.)
    • Childcare / Pet Care: If possible, arrange for children or pets to be taken care of by family / friends / daycare on the moving day so you can focus better.

    E. Final Preparations (1 week before moving)

    The closer it gets to the day, the more details need to be checked.

    • Reconfirm with the moving service: date, time, address, and services. If you’re moving into an apartment building or a neighborhood governed by a homeowners association (HOA), contact the building or HOA management in advance to ask about any moving regulations, such as permitted hours, elevator reservations, or required moving fees.
    • Use up food supplies: reduce shopping for fresh food, empty the fridge/freezer, and plan simple menus.
    • Pack a personal suitcase: fill it with clothes, toiletries, and medication for a few days as if traveling.
    • Prepare cleaning supplies: to clean the old and new house.
    • Withdraw cash: enough for tipping the moving service, buying food/drinks, or emergency needs.

    F. A Day Before Moving

    • Check the fridge/freezer: empty it, clean it, leave the door open to dry and prevent odor. Secure the door with tape.
    • Make sure everything is packed except for essential boxes and personal suitcases.
    • Re-check all rooms, closets, and drawers.
    • Charge all gadgets: phone, power bank, laptop, tablet.
    • Get enough rest: sleep well because tomorrow will be very busy.


    Finally, the long-awaited day has arrived! You must stay calm and focus on the to-do list you’ve prepared to help everything go smoothly.

    Home Protection

    In both old and new homes, protect frequently used areas with old cardboard, tarps, or thick fabric. Don’t forget to protect the corners of walls and door frames to prevent scratches or bumps while moving items. Some moving companies provide floor and wall protection as part of their service.

    Coordination with the Moving Team (if using a service)

    Welcome the moving team, show them where to park the truck, and give brief instructions about items needing extra attention (e.g., fragile, heavy, or items not to be moved). Also, point out where the “Essential Box” is located and request that it be loaded last so it can be the first to be unloaded.

    Supervision of Loading Process

    Supervise the loading process to ensure everything is handled with care. If the moving team has questions, answer them clearly and politely.

    Final Check at the Old House

    After all items are loaded onto the truck, do a final walkthrough. Check every room, closet, storage area, garage, attic, and hidden corner to ensure nothing is left behind. For renters, it is important to document the condition of the old home with photos or video to help with the return of your security deposit. Turn off the lights, shut off water faucets, and unplug all electrical appliances.

    Insurance

    Check your renter’s or homeowner’s insurance to see if your belongings are covered during the move.

    Handover of Old House Keys

    If everything is in order, hand over the keys to the new owner, real estate agent, or relevant party as agreed.

    Change of Address

    Remember to update your address with the USPS, banks, insurance companies, and utility providers.

    Pet Care

    If you have pets, make arrangements for their care and comfort during moving day.

    Journey to the New Home

    Make sure you know the fastest and safest route to the new home. If using a moving service, reconfirm the destination address with the driver.

    Utilities Setup

    Ensure that utilities such as electricity, water, and internet are set up and active at your new home before moving in.

    Unloading Process at the New Home

    Upon arrival at the new home, direct the moving team to place boxes and furniture in rooms according to their labels. This will greatly aid in the unpacking process later.

    Inventory Check

    If your moving service provides an inventory list (usually for long-distance or insured moves), check off each item as it arrives. If any are damaged or missing, note it immediately before signing the receipt.

    Tipping the Moving Team

    Tipping the moving team is common practice in the U.S. as a way to show appreciation for their hard work. It’s customary to tip movers, typically $20–$50 per mover depending on the complexity and length of the move. The amount can be adjusted according to the service and your satisfaction level. You can also provide drinks or snacks as a thoughtful gesture.

    Secure the “Essential Box” and Valuables

    Immediately place the “Essential Box” in an easily accessible location. Keep valuables such as important documents, jewelry, or laptops in a secure place during the unpacking process.

    First-Day Kit

    Prepare a ‘first-day kit’ with basic tools, cleaning supplies, snacks, and other essentials you’ll need immediately upon arrival.


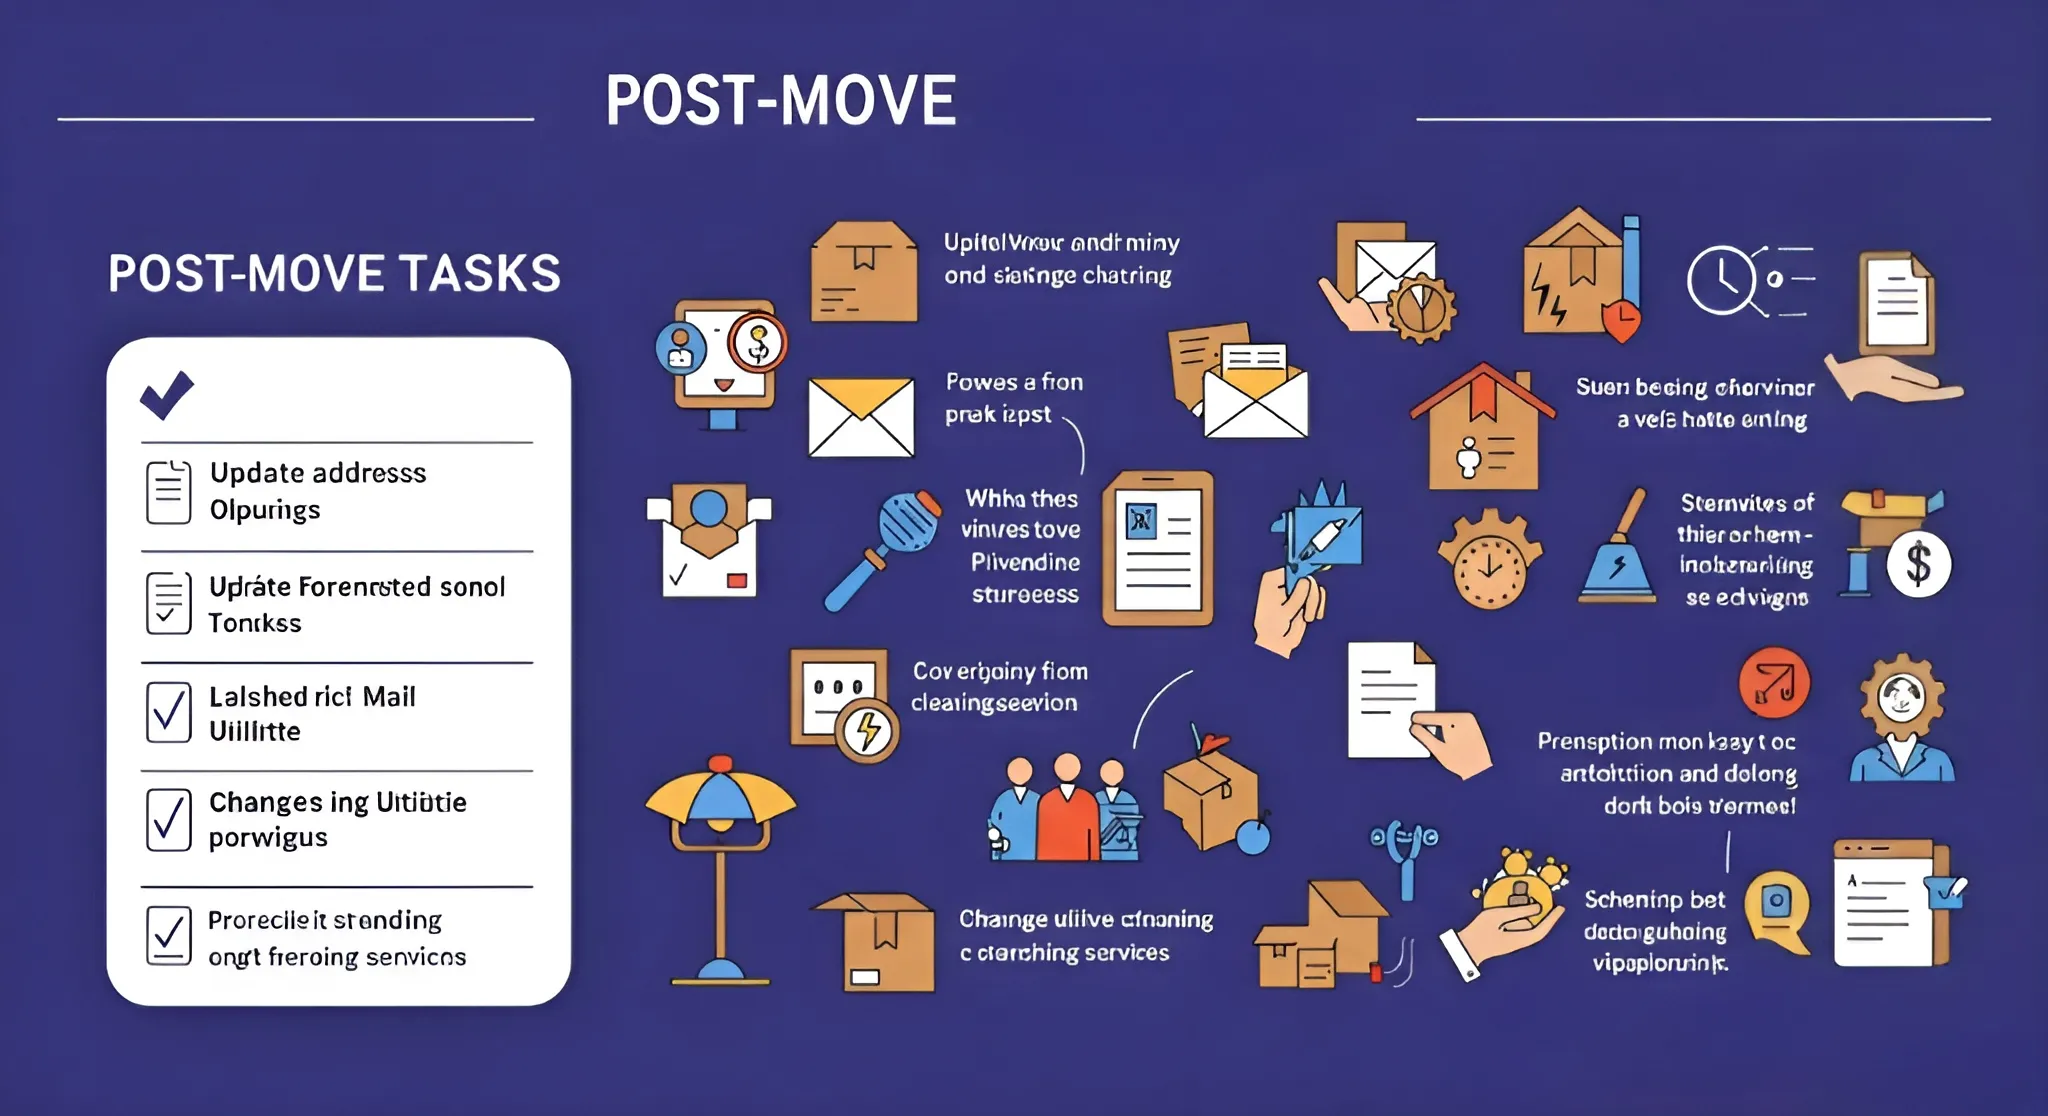
    Welcome to your new home! There’s still some work to do, but don’t worry—the hardest part is already behind you.

    A. First Day & First Week

    Focus on the essentials first to make your home feel comfortable and functional right away.

    • Basic Cleaning (if not done yet): Before unpacking, clean key areas such as the bedrooms, bathrooms, and kitchen.
    • Unpack the “Essentials Box”: Start with important items you’ll need immediately for daily living.
    • Set Up the Bed and Sleep Essentials: Prioritize assembling the bed and putting on sheets, pillows, and blankets. A good night’s sleep is essential after a tiring move.
    • Organize the Main Bathroom: Stock it with basic supplies like towels, soap, shampoo, toothbrushes, and toilet paper so it’s ready to use.
    • Prepare the Kitchen for Immediate Use: Unpack basic utensils, a coffee maker or kettle, and a few groceries.
    • Check Utilities: Make sure water, electricity, gas, and internet are working. If there’s an issue, contact the utility providers immediately.
    • Change the Locks (strongly recommended): For safety reasons, replace all exterior door locks—you never know who might still have a copy of the old keys.
    • Explore Your New Neighborhood: Take a short walk around your area. Locate nearby grocery stores, pharmacies, ATMs, public transit stops, and other essential services.
    • Report Damaged or Missing Items (if you used insured movers): Check your belongings carefully. If anything is damaged or missing, take photos and file a claim within the allowed time frame.

    B. Advanced Unpacking & Organization

    The unpacking process is manageable if you stay organized. No need to rush—just follow these steps.

    Unpacking Strategy:

    • Tackle one room at a time, starting with the most frequently used spaces (like the kitchen, bedroom, and living room).
    • Prioritize unpacking items you use daily.
    • Take your time. Aim to unpack one or two boxes per day rather than trying to do everything at once.

    Dispose or Recycle Packing Materials:

    • Break down empty boxes to keep your space clutter-free.
    • Check your local recycling schedule or drop them off at a recycling center.
    • Consider offering used boxes for free through local online community groups (e.g., Facebook Marketplace or Buy Nothing groups).

    Delegating sorting and storing tasks to family members or professionals can speed up the process and reduce stress.

    C. Administrative Tasks

    Some administrative steps should be completed soon after moving.

    Confirm Address Change:

    • Double-check your list of organizations, companies, and individuals to notify about your new address—make sure you don’t miss anyone important (e.g., USPS, banks, insurance providers, employer, subscription services).

    Update Personal Documents:

    • Update your address on your driver’s license or state ID as soon as possible through your state’s DMV.

    Register to Vote (if you moved to a new voting district):

    • Make sure you’re registered to vote at your new address so you’re eligible for upcoming elections. You can update your registration at vote.gov.


    Moving with Children

    • Involve your children according to their age—let them help by packing their own toys or choosing decorations for their new room.
    • Maintain regular routines as much as possible to help children feel secure and reduce anxiety.
    • Prepare a special moving-day bag with their favorite toys, books, snacks, and other comfort items.
    • Give them a tour of the new home, show them their new room, and let them help organize it.
    • Quickly research the new school district and begin the enrollment process as early as possible.

    Moving with Pets

    • Keep pets calm during the packing and moving process. If necessary, consider boarding them temporarily in a safe and familiar environment.
    • Update your pet’s microchip and ID tags with your new address and contact information.
    • Set up a dedicated, comfortable space in the new home with their bed, food, and toys.
    • Introduce your pet to the new environment gradually. For the first few days, avoid letting them roam outside unsupervised.
    • Locate a nearby veterinarian in your new area in case of emergencies or routine care needs.

    Long-Distance Move (Interstate)

    • Plan well in advance, as interstate moves are more complex and require more logistics.
    • Compare quotes and services from multiple moving companies that specialize in long-distance moves.
    • Consider your family’s transportation—whether you’ll drive, fly, or take a train.
    • If driving, map out your route, stops, and lodging options ahead of time.
    • Check interstate regulations, especially if you’re transporting pets, firearms, plants, or large quantities of household goods.

    Moving To or From an Apartment

    • Check the building’s moving policies, including designated moving hours, elevator reservations, and truck parking rules.
    • Measure doors, hallways, and elevator dimensions to ensure large furniture will fit.
    • Coordinate with building management ahead of time to avoid surprises on moving day.

    Moving for Students

    • Pack only the essentials, as dorm rooms and student housing typically have limited space.
    • Use vertical storage solutions and multifunctional furniture to maximize space.
    • If you have a roommate, coordinate who will bring shared items like a mini-fridge or microwave to avoid duplicates.

    International Move

    Moving overseas is more involved and typically requires an international moving company.

    Key things to prepare include:

    • Visa and immigration documents
    • Customs regulations (what’s allowed or restricted)
    • Shipping options (air or sea freight)
    • Adapting to a new culture and language
    • Understanding local banking, insurance, and healthcare systems

    With this complete moving checklist, no matter your situation, your move can be smoother, safer, and far less stressful.



  • A Complete Guide to Pre-Listing Home Improvements

    Selling your home is more than just sticking a “for sale” sign out front and hoping for the best. Most people wonder if they should redo the kitchen, fix up the bathrooms, or just make the front of the house look nicer before listing. Knowing which projects actually get you the most bang for your buck can save you from wasting time and money on stuff buyers don’t really care about or won’t pay more for. Lately, some renovations have been shown to pay off way better than others when it’s time to sell. Here are the upgrades that’ll really help your place stand out and bring in serious buyers—and hopefully, top dollar.

    1. Paint Your Home’s Exterior

    The first thing buyers notice is how your house looks from the outside, so exterior house painting can make a huge difference. It really makes your place look clean and well taken care of. Same goes for the inside—painting the walls can totally change the vibe and help buyers picture themselves living there. You don’t have to spend a ton either; just picking the right colors can make your home way more appealing without breaking the bank.

    2. Clean Up and Check Your Roof

    Before you put your house up for sale, make sure to check your roof for any issues—like missing shingles, moss, or dark spots. If buyers see stuff like that, they’ll probably worry about having to fix the roof soon. Taking care of roof repairs now saves you trouble later and keeps home inspectors from flagging anything. Even just getting the roof professionally cleaned can make it look way newer. Buyers will feel a lot better knowing they won’t have to deal with roof problems right after they move in.

    3. Make Sure Your Basement Is Dry

    If your basement smells musty or feels damp, most buyers will walk away fast. Stuff like water stains, mold, or weird spots on the walls are big red flags. With professional basement waterproofing, you are protecting the foundation and preventing future issues like mildew or rot. Plus, a dry basement means more space that actually feels usable, and it shows buyers you’ve taken good care of the place. It also makes the air in your house a lot healthier.

    4. Fixing Foundation Issues

    Foundation issues are a huge red flag for buyers—they’ll run if they see cracks in the walls, doors that won’t close right, or floors that feel uneven. Fixing the foundation is super important, and you might need to waterproof the basement too. It’s a good idea to get a pro to check it out so you know exactly what needs fixing. Taking care of these problems up front can save you from having to drop your price later and makes your home way more attractive to buyers.

    5. Get Rid of Pests

    Nobody wants to buy a house that has bugs or mice. Even if you don’t see any during a showing, things like droppings or bug traps can freak people out. It’s smart to get your place treated for pests and block off any spots where they might get in. Having a pro come out before you list your home gives buyers peace of mind and keeps everything clean for showings. People are way more likely to make a good offer if they know the house is pest-free.

    6. Put In New Floors

    Old, stained, or worn-out floors can make your whole house feel dated. Putting in new flooring is an easy way to instantly update your place and make it look a lot more inviting. Hardwood is usually the top pick for most buyers since it looks great and lasts forever. Other options like marble, granite, or tile all have their own style and care needs, too. The right flooring can even make rooms look bigger and brighter, and really catch buyers’ eyes. Upgrading your floors is one of those fixes that can pay off big when you sell.

    7. Take Care of the Plumbing

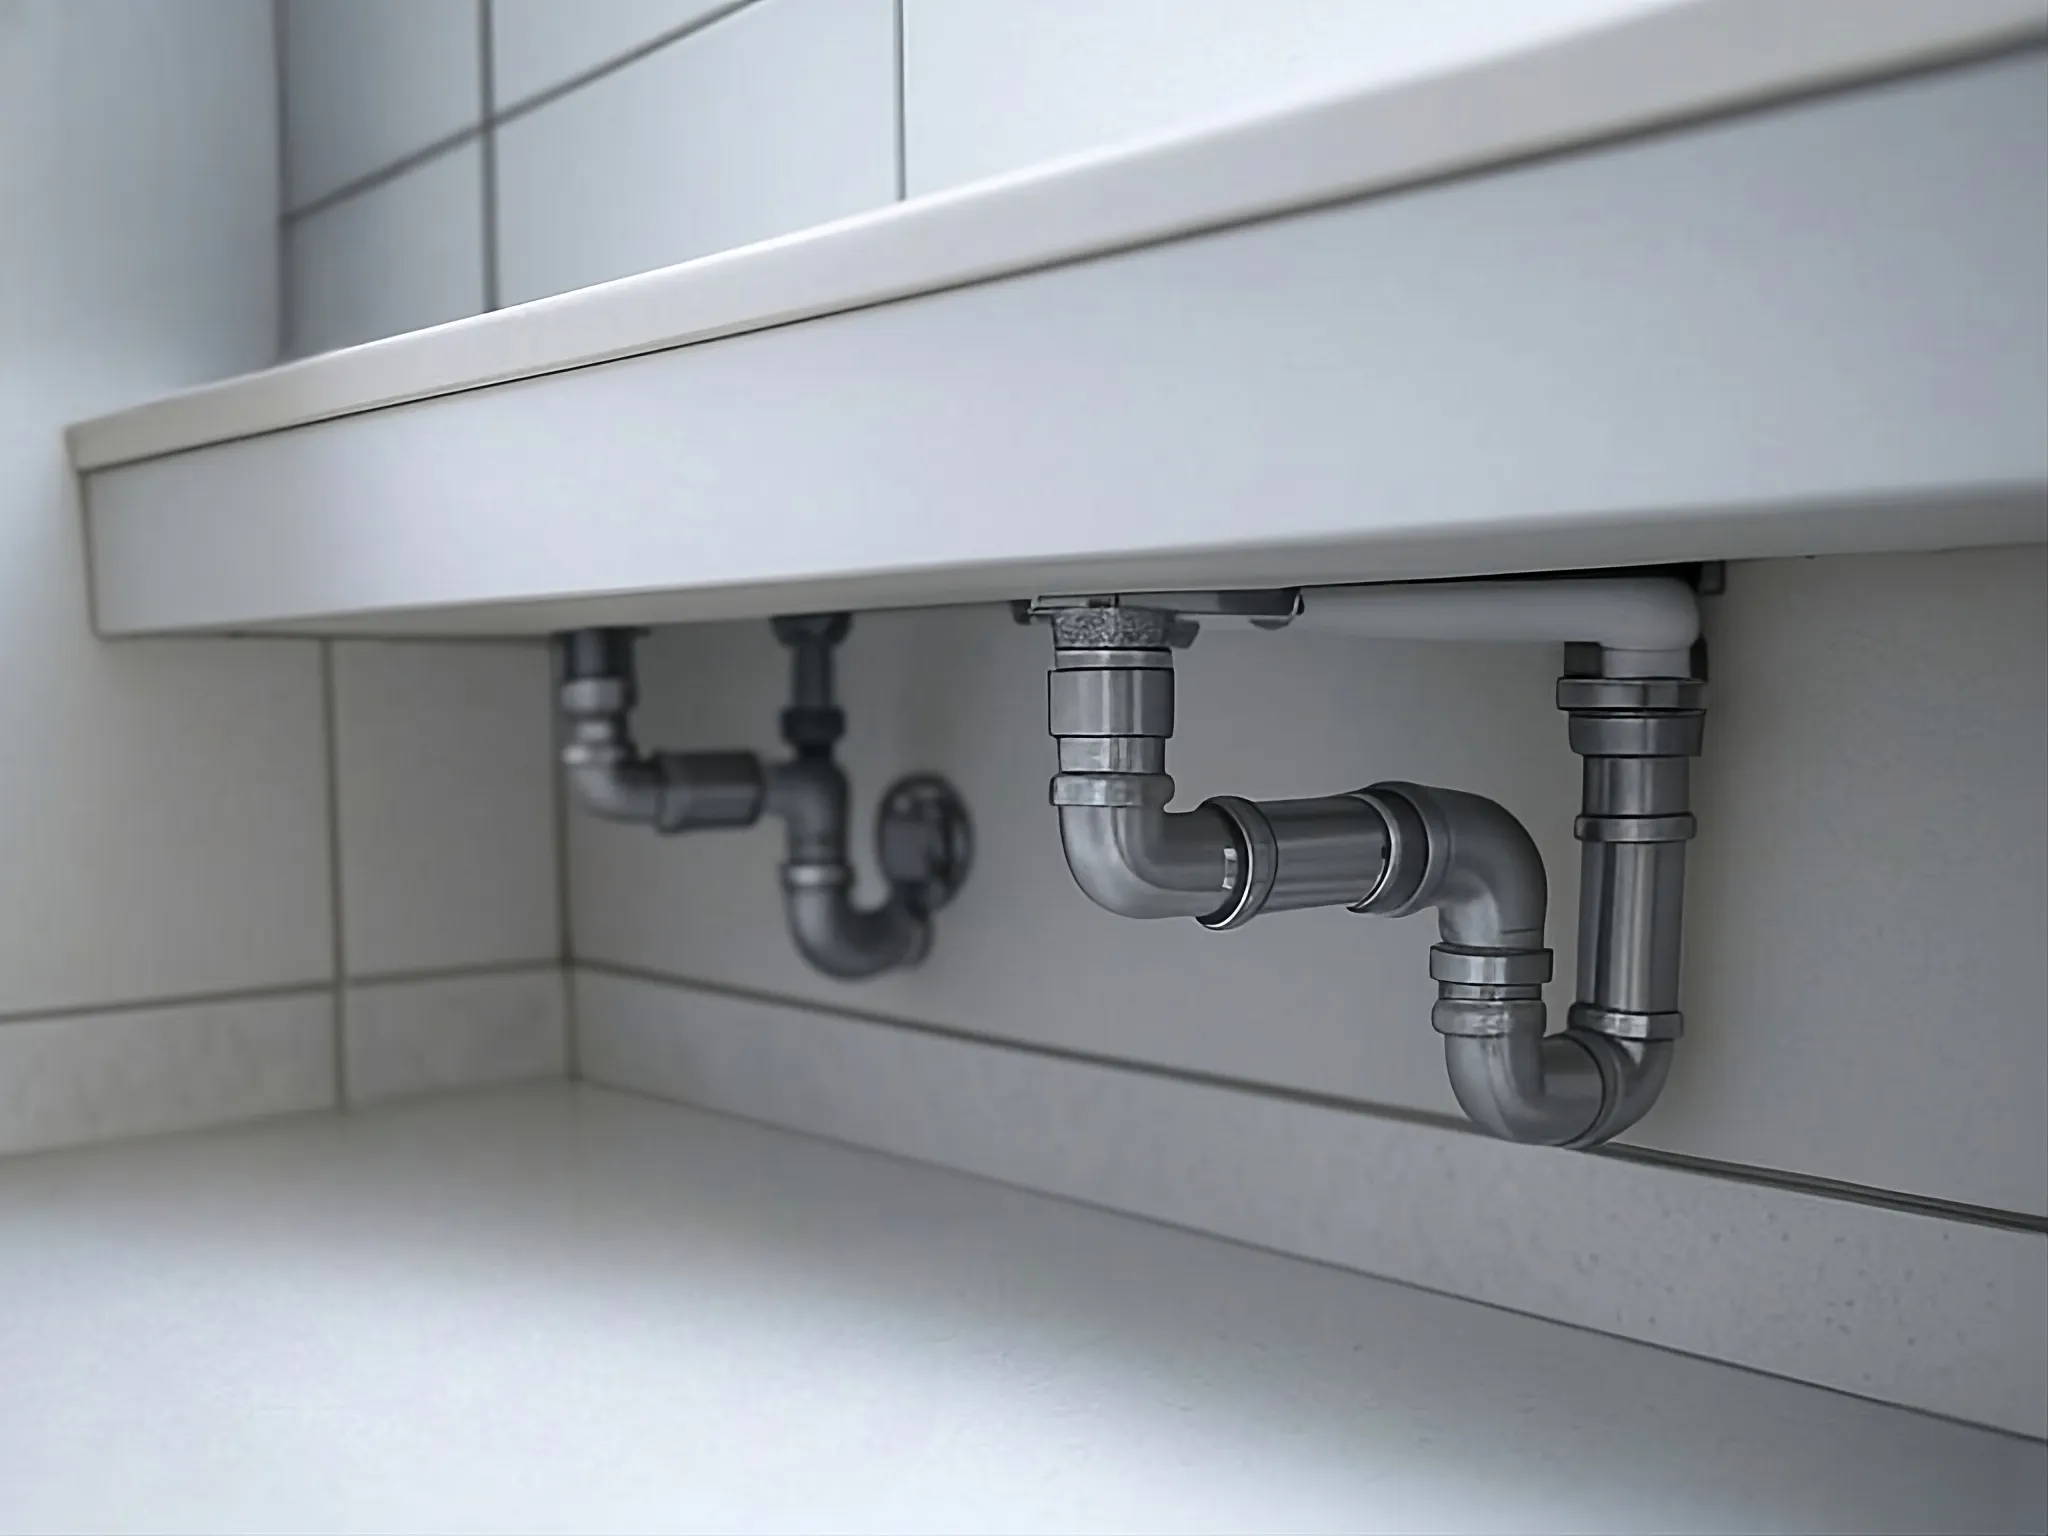
    Buyers love to test the water pressure and peek under sinks during a showing. If they see things like low pressure, slow drains, or leaks, they’ll start to worry there are bigger problems hiding. Fixing any obvious plumbing issues and updating old faucets or fixtures can make your home feel newer and more solid. Plus, good plumbing helps you ace the home inspection. It’s one of those small details that really shows buyers you’ve taken care of the place.

    8. Update the Electrical

    Electrical stuff is something buyers really care about—they want to know the house is safe and everything works like it should. Little things, like a flickering light or a dead outlet, are easy to fix and show buyers you’ve kept up with maintenance.

    If your place is older, you might need to update the wiring so everything’s safe and up to code. It sounds like a big job, but it can really boost buyer confidence. Little upgrades—like adding more outlets or swapping in new light fixtures—also make your home look way more modern and help you breeze through the inspection.

    9. Replacing Windows

    Swapping out old windows for energy-efficient has several advantages, especially for buyers who care about saving money on bills. Getting them professionally installed means you don’t have to worry about drafts or leaks. Plus, new windows help keep your home comfy all year and can actually lower your energy costs. If you pick styles that match the look of your house, it’ll all come together and make your place look even better.

    10. Remodel Your Kitchen

    Kitchen makeovers almost always pay off, since the kitchen is really the heart of the home. Even simple updates—like new countertops, fresh cabinets, or better lighting—can totally change how your kitchen feels and make it way more appealing to buyers. These days, people want kitchens that are great for cooking and hanging out, with open layouts and plenty of counter space. A pro can help you get the most out of whatever space you have. Even small changes in the kitchen can make a huge difference in how buyers see your home—and how much they’re willing to pay for it.

    11. Upgrade the Bathroom

    A nice bathroom can really help buyers fall in love with your home. Swapping out old fixtures, adding some stylish finishes, or putting in better storage can turn a boring bathroom into a relaxing spot. Even little upgrades—like a rain showerhead or good lighting—can make the space feel much more comfortable and a bit fancy. And if your bathroom’s on the small side, smart changes can help it feel bigger and way more inviting.

    12. Proper Landscaping

    First impressions really matter, and your yard is the first thing buyers see. Keeping the lawn mowed, bushes trimmed, and walkways clear goes a long way in making your place look inviting. If you bring in a pro, they can design a great-looking yard that’s also easy to take care of. Regular yard work keeps your home looking its best for every showing. Remember, buyers decide how they feel about your place in just a few seconds—so great curb appeal can make all the difference.

    13. Maintain Proper Drainage

    If you notice water pooling near your house, it usually means the drainage isn’t great—and that can be bad news for your foundation. Make sure your gutters and downspouts are clear and actually direct water away from the house. Sometimes you might need to regrade the yard so water naturally flows away. Things like grading, French drains, or a sump pump all help keep water from collecting around your foundation. When buyers see good drainage, it tells them the home’s been well cared for over the years.

    14. Decluttering and Cleaning

    Remove extra furniture, storage boxes, and personal items so your home feels more open and makes it easier for buyers to picture themselves living there. When everything’s clean—including baseboards, vents, and light switches—the whole place feels fresh and new. Keeping rooms neutral and free of personal touches gives buyers a blank slate to work with. Plus, a tidy, clutter-free home always looks better in listing photos.

    15. Lighting Upgrades

    Swap out old light fixtures for something more modern to freshen up your rooms. Check that all the bulbs work and sort out any little electrical issues—these small fixes really show you’ve looked after the place. Natural light is always a win, but don’t forget how much good lighting helps. Daylight bulbs (5000K–5500K) can really brighten things up and set a nice mood. Mix up your lighting—overhead, lamps, and accent lights—for a balanced look. Smart lights are a nice touch, and make sure the outside is well-lit too. Great exterior lighting makes your home look inviting right from the curb.

    The Better You Prep, the Better You Sell

    After getting your home ready, it’s time to find an agent you trust. A good agent makes selling much easier, gives you straight advice about what’s worth fixing, and takes care of everything—from marketing to showings and handling offers. Choose someone who understands your goals and knows your area well.

    The better you prepare, the better your home will sell. A little effort goes a long way—smart upgrades and a well-kept space make your place stand out, attract serious buyers, and can even boost your sale price. Good prep means less time on the market and a smoother selling process overall.

  • Top Benefits of Buying Bulk Mulch in Cleveland

    Why Your Garden Needs Mulch (Assuming You Do It Right) - The New York Times

    Any landscaping or gardening project isn’t complete without mulch. The right mulch doesn’t just make your property look polished—it keeps your plants healthy and helps your landscape thrive, whether you’re sprucing up a rental, upgrading your own backyard, or managing a larger property.

    Most people just grab a few bags from the garden center, but buying in bulk really steps things up. For bigger projects or those spring and fall refreshes, bulk mulch saves you money, cuts down on waste, and makes delivery and spreading a whole lot easier.

    Significant Cost Savings Compared to Bagged Mulch

    Buying mulch in bulk is almost always a lot cheaper than picking it up by the bag. With bagged mulch, you’re paying extra for packaging, shipping, and what the store puts on top. Bulk mulch, on the other hand, usually costs a lot less per yard, so you’re really just paying for the mulch itself.

    That’s why bulk buying is such a great option for homeowners with big gardens or landscapers managing multiple properties. And in places like Cleveland, choosing to buy mulch in Cleveland straight from suppliers who deliver is an even bigger advantage.

    Reduces Environmental Impact

    Choosing bulk mulch instead of bagged mulch provides a variety of advantages, such as reducing plastic waste and pollution, encouraging sustainable practices, boosting plant health by retaining moisture and providing nutrients, and making disposal easier. This decision demonstrates a commitment to environmental stewardship while enhancing outdoor areas.

    Bulk Mulch Makes Big Projects Easier

    Purchasing mulch in bulk makes large landscaping projects easier by reducing the time and effort needed—one delivery means you don’t have to make multiple trips to the garden center.

    Having everything on hand right away streamlines the mulching process, so you can get landscaping tasks done faster, especially for big gardens, commercial properties, or community projects.

    Get a Uniform Look Across Your Landscape

    Buying mulch in bulk keeps your landscape looking consistent, without the color or texture differences you sometimes get from bagged mulch or mixing suppliers.

    When you stick with one vendor, everything looks more pulled together, giving your outdoor space a polished, inviting vibe.

    Fresher, Higher-Quality Mulch

    Bulk mulch often has less processing and can be of higher quality compared to certain bagged varieties, which might include artificial dyes or fillers.

    When buying mulch in Cleveland, verify the origin to ensure it’s natural and of premium quality, supporting your soil and plants without toxic chemicals, and resulting in improved landscaping results.

    Helping Local Businesses and Cut Down on Emissions

    Purchasing mulch in bulk supports local businesses and provides economic benefits. It helps reduce vehicle emissions and greenhouse gas emissions since fewer deliveries are needed, making it an environmentally friendly option. Moreover, it offers savings, convenience for large projects, and a wider variety of mulch options, which benefits both homeowners and landscapers while supporting environmental sustainability.


  • Knoxville Real Estate Market Insights and Tips for Buyers and Sellers

    In Knoxville Tennessee real estate, understanding market conditions is very important. Buyers should consider data such as the ratio of available homes to prospective buyers and take enough time to make a decision that fits their needs and budget. While negotiating, buyers can offer 10–20% below the asking price and support it with logical reasoning to open negotiation.

    Sellers need proactive strategies like appealing advertisements, use of high-quality photos, and effective property promotions to entice buyers. Sellers must also learn to counter low bids appropriately with realistic counter-offers to help preserve the property’s value. With the proper strategy and according to market trends, the chances of successful property transactions in Knoxville will be much higher.

    What Makes Knoxville an Attractive Real Estate Market?

    Knoxville attracts buyers and investors with its affordable living costs compared to most major U.S. cities. Specifically, housing is often 20-25% less expensive than the national average. Surrounded by beautiful landscapes and offering convenient access to hiking trails and national parks, the city has become a favorite for those who enjoy the outdoors.

    In addition, Knoxville’s friendly environment and full range of amenities encourage many people to settle there. Due to the high demand, the trend of home prices has skyrocketed significantly, with the average listing price increasing by about 83% in the past five years has made Knoxville one of the fastest-growing cities in America.

    Moreover, steady economic growth and increasing job opportunities across industries such as technology and education are driving demand for housing from both consumers and investors.

    With its affordable cost of living, potential for real estate value growth, and high quality of life, Knoxville is an incredibly promising real estate market.

    Tips for Homebuyers in Knoxville

    1. Get Pre-Approved Before You Start Searching

    Make mortgage pre-approval your priority before looking into homes or joining open houses. As a result, it reveals your exact buying power and lets sellers know you are sincerely interested. Getting pre-approved is essential to stay competitive in a market with many buyers.

    2. Explore Different Neighborhoods

    Every neighborhood in Knoxville has its particular features. People who value urban living with easy access to dining and entertainment should look at Downtown Knoxville, but for families after good schools and calm streets, Hardin Valley or West Hills are better choices. Take the time to look at several neighborhoods before deciding where to settle.

    3. Partner with a Local Real Estate Agent

    A local real estate professional can explain market quirks in Knoxville, show you hidden listings or off-market properties, and negotiate on your behalf. Having an agent who understands the market allows you to better manage competitive offers and make informed choices about a home’s value.

    Tips for Sellers in Knoxville

    1. Price It Right from the Start

    Overpricing your home can result in your property not selling, but underpricing it can cost you money in the long run. Consult with your agent to ensure your home’s asking price is accurate, using data from similar home sales.

    2. Boost Curb Appeal and Stage Your Home

    First impressions matter. Enhance your home’s look with simple landscaping improvements, touch up your front door with new paint, and make sure the entryway is clean and inviting. Make sure that clutter is gone inside your home, and think about staging to help buyers see themselves living there. Upgrades as simple as new lighting or a coat of paint might result in a higher return on your investment.

    3. Time Your Sale Strategically

    Even though homes are sold all year long, the spring and early summer months experience the highest demand in Knoxville. If you put your home on the market when demand is strongest, you are more likely to close a deal rapidly and at a higher price. Your agent’s expertise in local trends will help you optimize the timing for selling your house.

    Knoxville Real Estate Market Trends

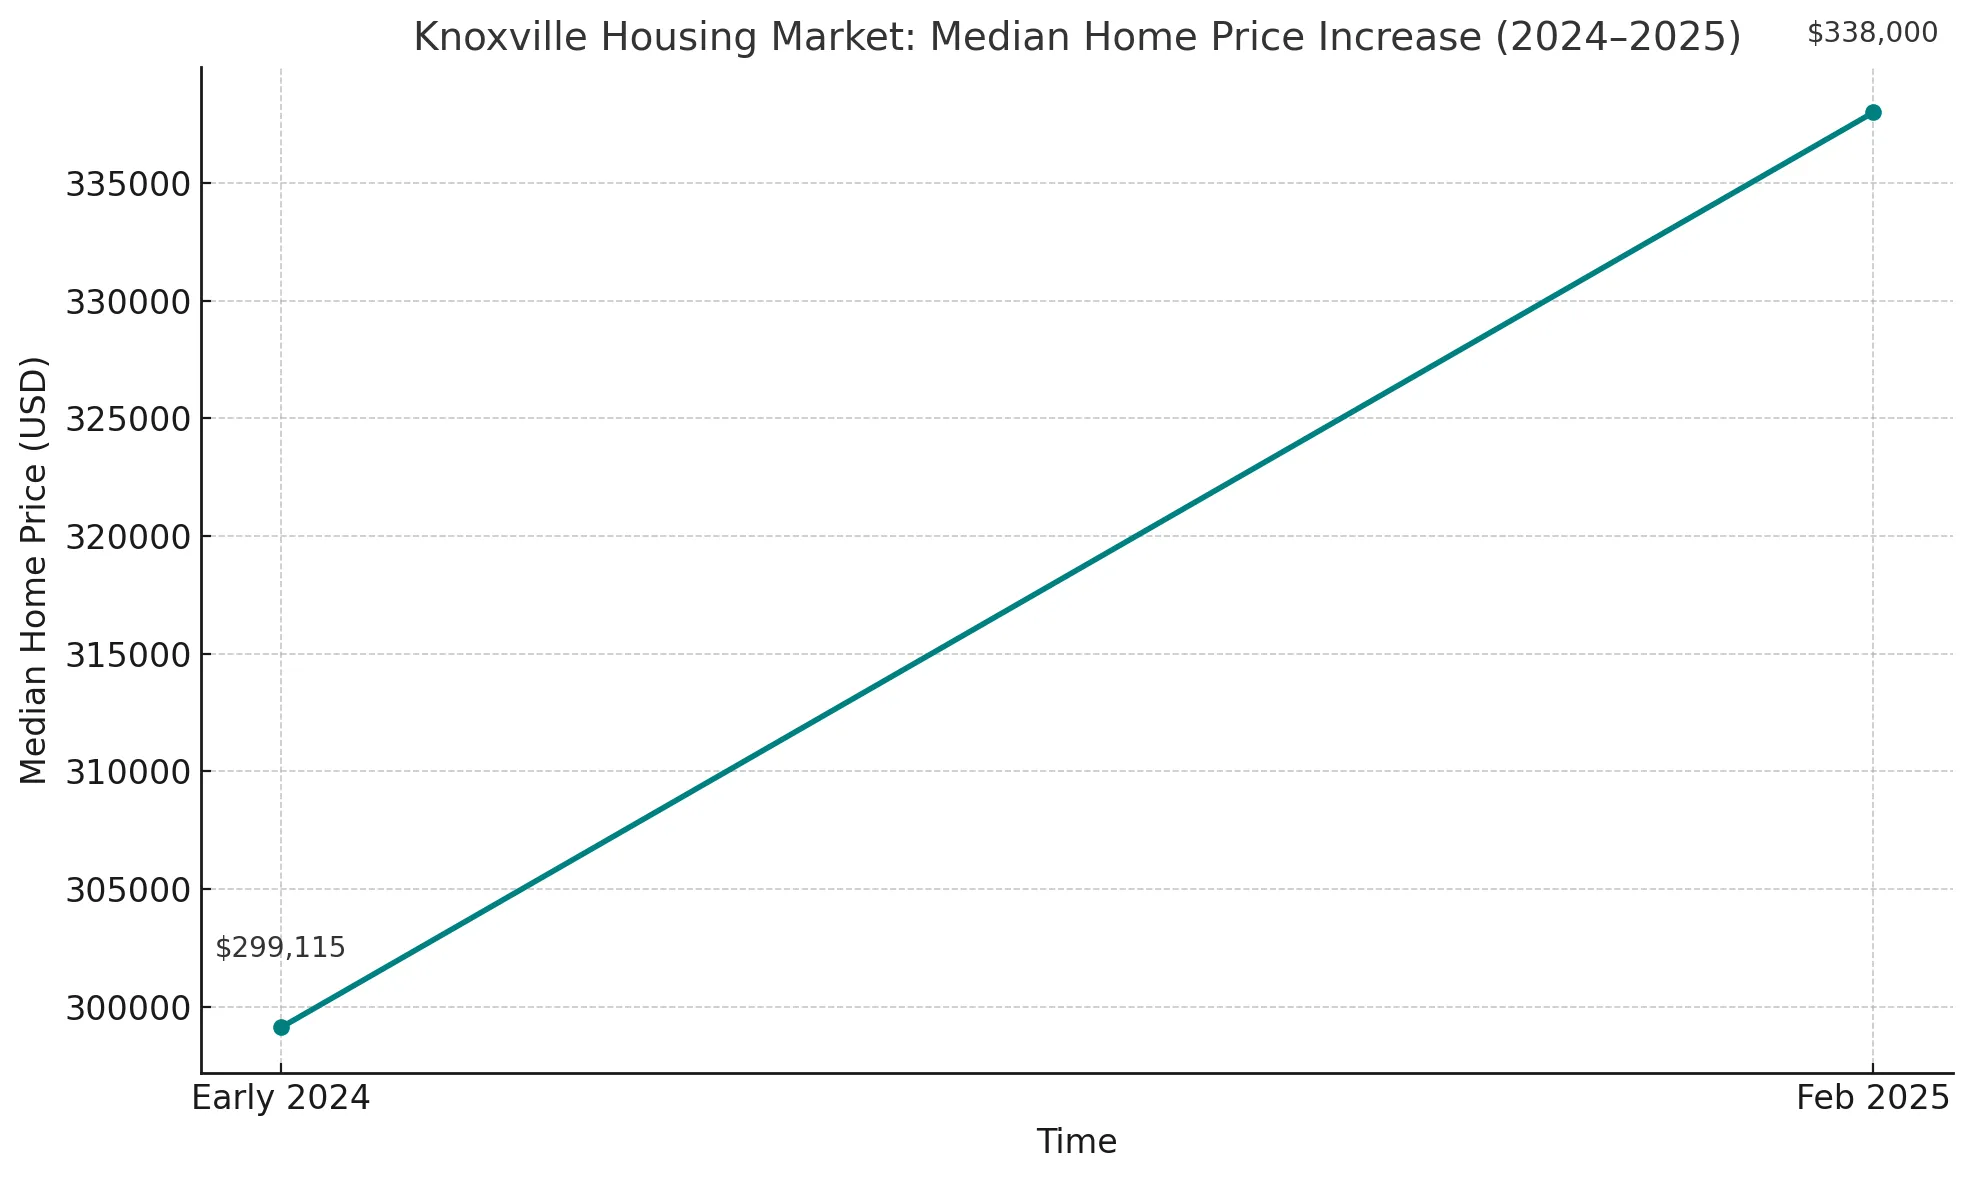
    In 2025, Knoxville’s housing market is seeing a strong surge in prices. Between early 2024 and February 2025, home prices jumped about 13%, bringing the median price up to $338,000. On average, homes spend 69 days on the market. Demand remains high, fueled by low interest rates and the growing popularity of remote work, which is attracting buyers from both inside and outside the city. Healthy job growth and an improved quality of life are also driving up property values. New developments are underway to help ease the shortage.

    Common Mistakes to Correct

    Both sellers and buyers must be wary of the following common pitfalls:

    • Skipping a home inspection: Even in a hot market, always opt for a thorough inspection. It can save you thousands down the road.
    • Being too emotional:  Selling a home you love or buying your dream property can lead to emotional decisions. Try to stay objective and lean on your agent for advice.
    • Overlooking closing costs: Buyers and sellers often forget about closing fees, which can be substantial. Factor these into your budget from the start.

    Working with the Right Professionals

    Having an agent is essential, but your real estate experience involves others, too. Pick professionals for your team who offer the following services:

    • A knowledgeable mortgage broker
    • A trustworthy home inspector
    • An experienced title company or a trusted real estate attorney for your transaction.

    They work together to help protect your interests and guaranteeing an easier transaction process.

    Conclusion

    There are many advantages to investing in Knoxville’s real estate market, but those advantages are realized only through careful and strategic decision-making. If you want a positive experience, whether you are purchasing or selling, researching market trends, selecting the correct advisors, and organizing your efforts are essential.

    You should consider Knoxville a top choice as you explore Tennessee real estate, thanks to its economy, community atmosphere, and growth potential. When you are guided correctly and put in the effort to prepare, you’ll be set up for a successful and rewarding experience in this rapidly developing city.