After a home improvement, the step most homeowners skip is cleaning after renovation. That’s because the makeover’s results, like new paint, new floors, or new equipment, often overshadow the mess left behind. When that final step is skipped, the whole effort can become counterproductive.
Spaces that once looked fresh can quickly feel stuffy or dusty, and health issues such as allergies can arise. Every homeowner eventually learns that post-renovation cleaning isn’t optional—it needs to be thorough, from top to bottom.

Tackling the Hidden Mess
Even if your contractor says the crew cleaned up, post-renovation dust often spreads beyond the immediate job site. Fine dust particles can sneak into air vents, cling to walls, or hide inside drawers and in corners. Start by identifying dust-prone spots before you pull out the vacuum or mop.
Commonly Missed Areas:
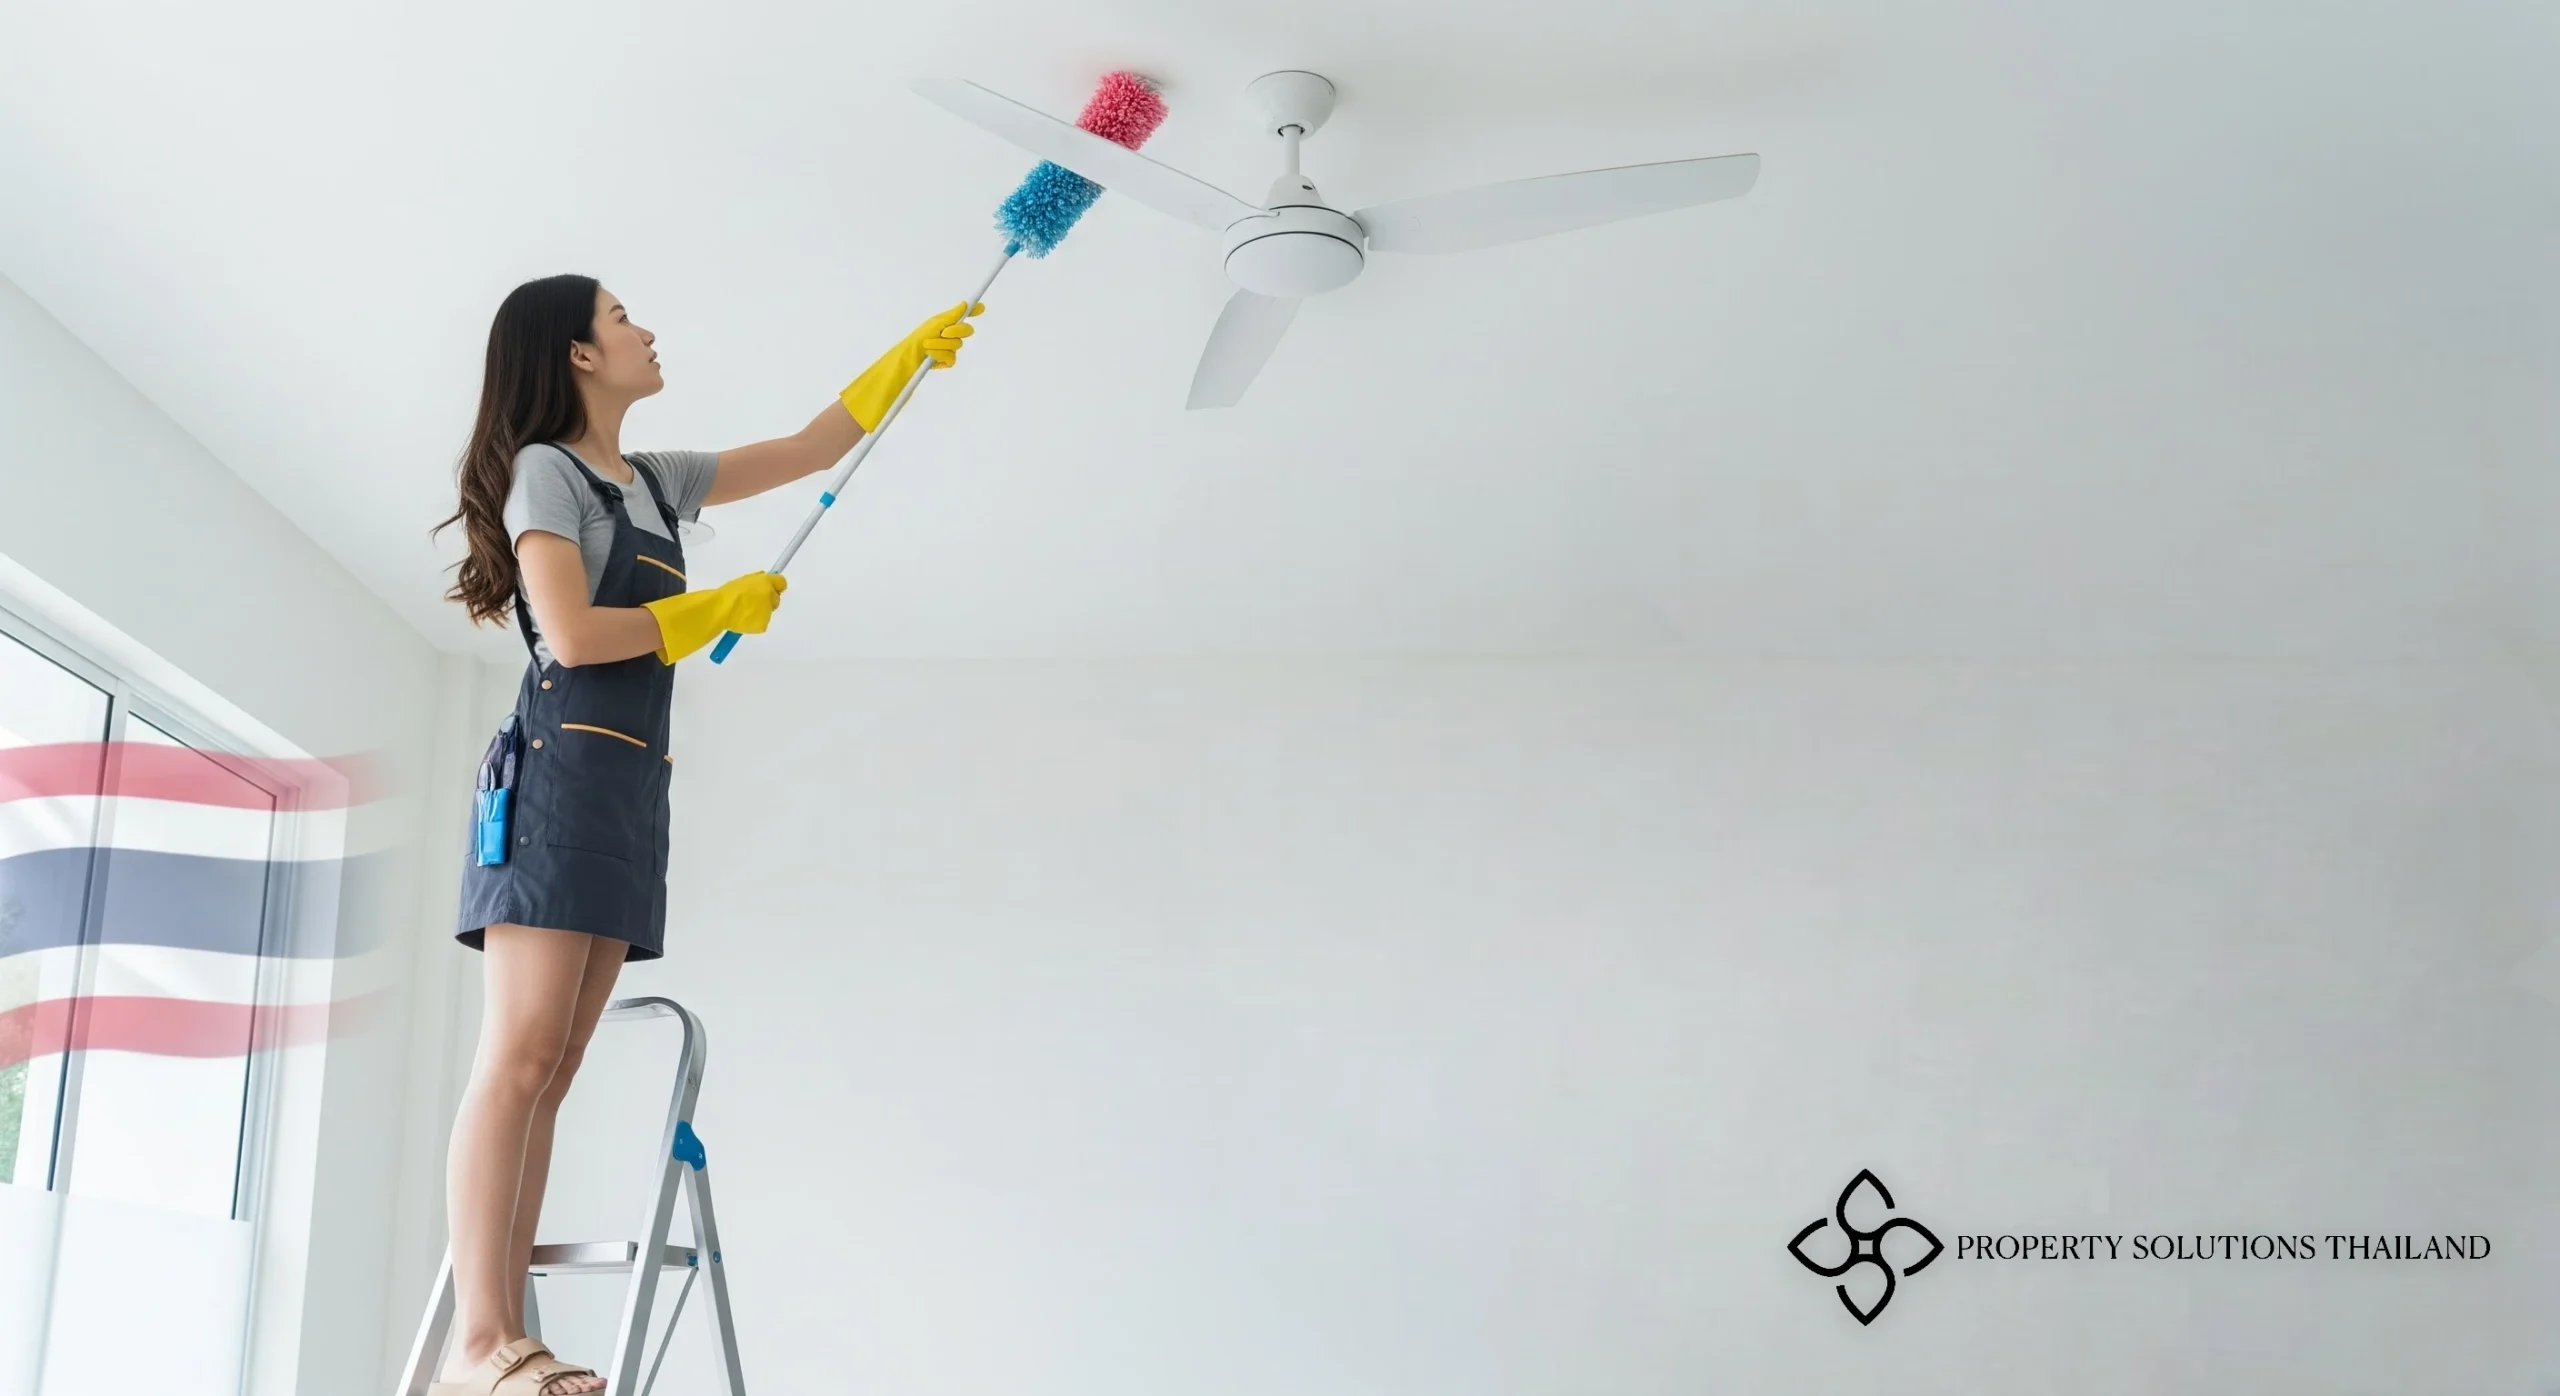
- Light fixtures and ceiling fans: These collect more dust than you’d expect. Use a microfiber cloth or an extendable duster to clean them with care.
- Window frames and sills: Fine plaster dust often sticks here. Wipe with a damp cloth, then dry.
- Cabinet interiors: Even closed cabinets can collect airborne particles. Empty the shelves and vacuum before restocking.
- Behind large furniture or appliances: Move items temporarily to vacuum behind them.
Go room by room so you don’t spread dust from one area to another, and you’ll save time in the long run.
Clean from Top to Bottom
The golden rule for any renovation cleanup is to start high and finish low; that way any falling debris lands on surfaces you haven’t cleaned yet.
- Wipe ceilings, beams, and moldings with a dry microfiber mop or cloth.
- Gently wash walls with a damp sponge to remove the remaining fine construction residue.
- Dust doors, handles, and baseboards.
- Disinfect countertops, shelves, and fixtures, particularly in kitchens and bathrooms.
- Don’t forget air vents and grilles: use a vacuum brush attachment to remove dust and replace filters if needed.
- For carpet, vacuum twice, changing direction on the second pass, to lift dust from deep within the fibers.
Clean methodically and you’ll minimize repeat work while ensuring no area is overlooked.
Focus on Indoor Air Quality
Renovation activity stirs up airborne particles and lingering fumes that can hang in the air well after the project wraps. Such odors can be noticeable even in an otherwise clean, air-conditioned room.
Improve Air Circulation:
- Keep windows open for several hours during the day so fresh air can circulate inside.
- Run exhaust fans to pull moisture and odors out of the kitchen and bathroom.
Filter and Purify:
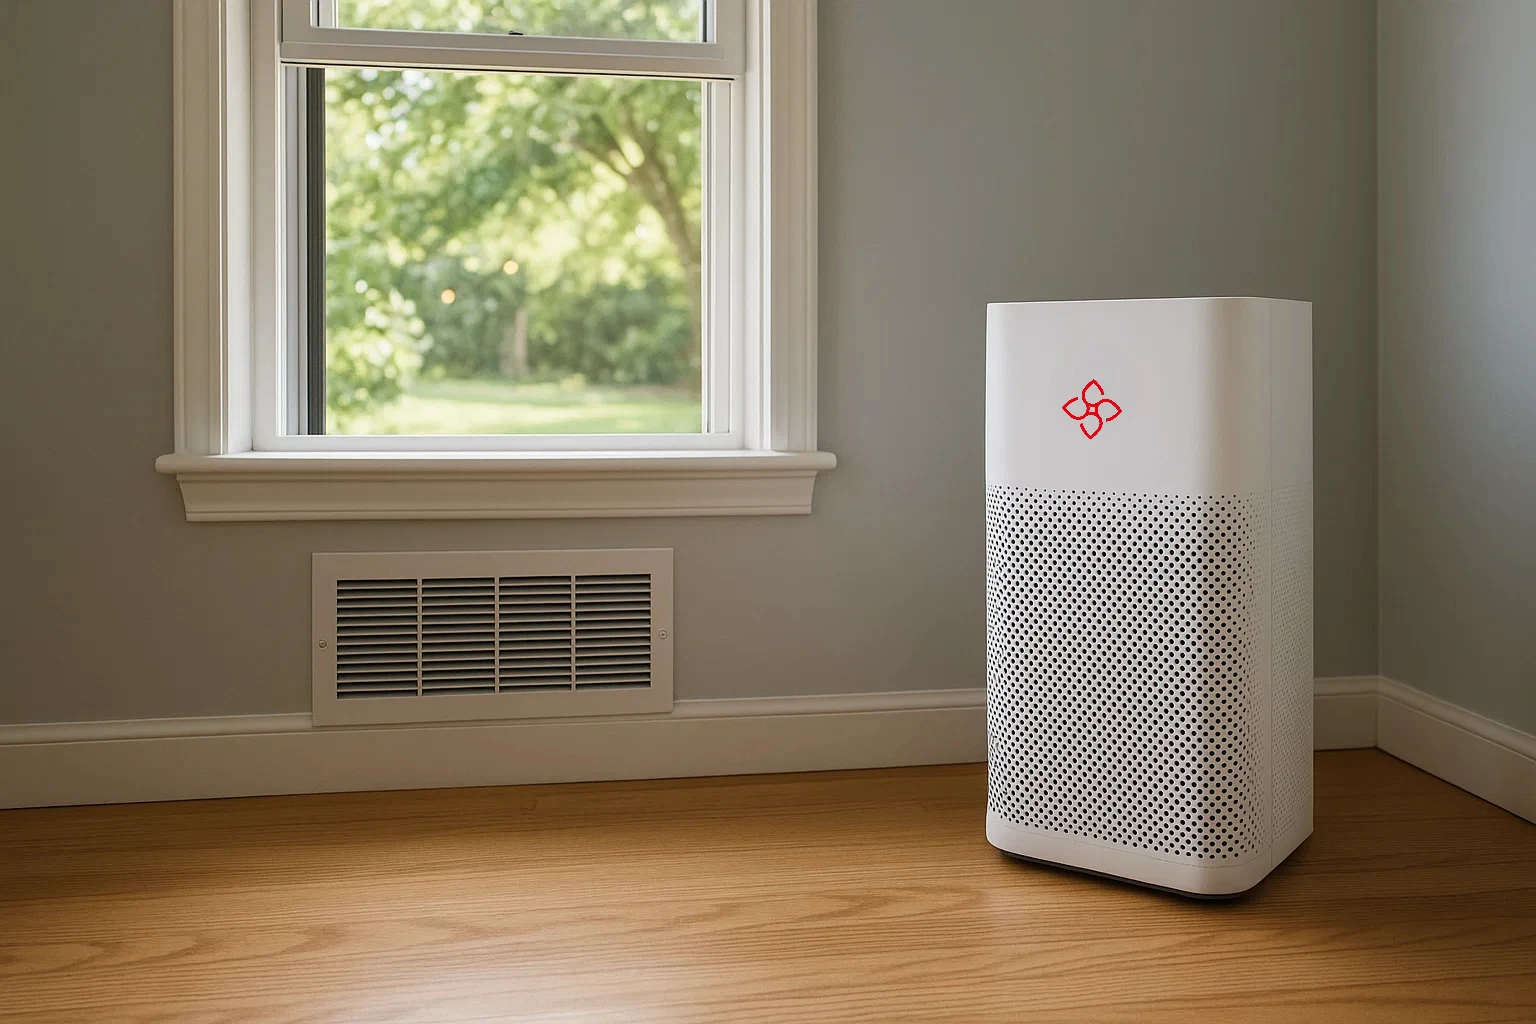
- Clean or replace HVAC filters within a week after the project.
- Run an air purifier with a HEPA filter for at least a couple of days to draw in ultrafine dust and allergens.
- Set out baking soda or activated charcoal in bowls around the house to help absorb leftover smells from paints or adhesives.
Disinfection and Sanitization of Key Areas
Once all visible dirt is gone, the job is still not over: the home needs to be safe and sanitary. Construction work may leave bacteria, mold spores, or residues from adhesives and paints.
Choose gentle cleaners to protect your fresh finishes. Diluted vinegar, a little dish soap, or non-abrasive cleaners usually do the trick for most surfaces. Avoid harsh chemicals that could hurt fresh paint or new flooring.
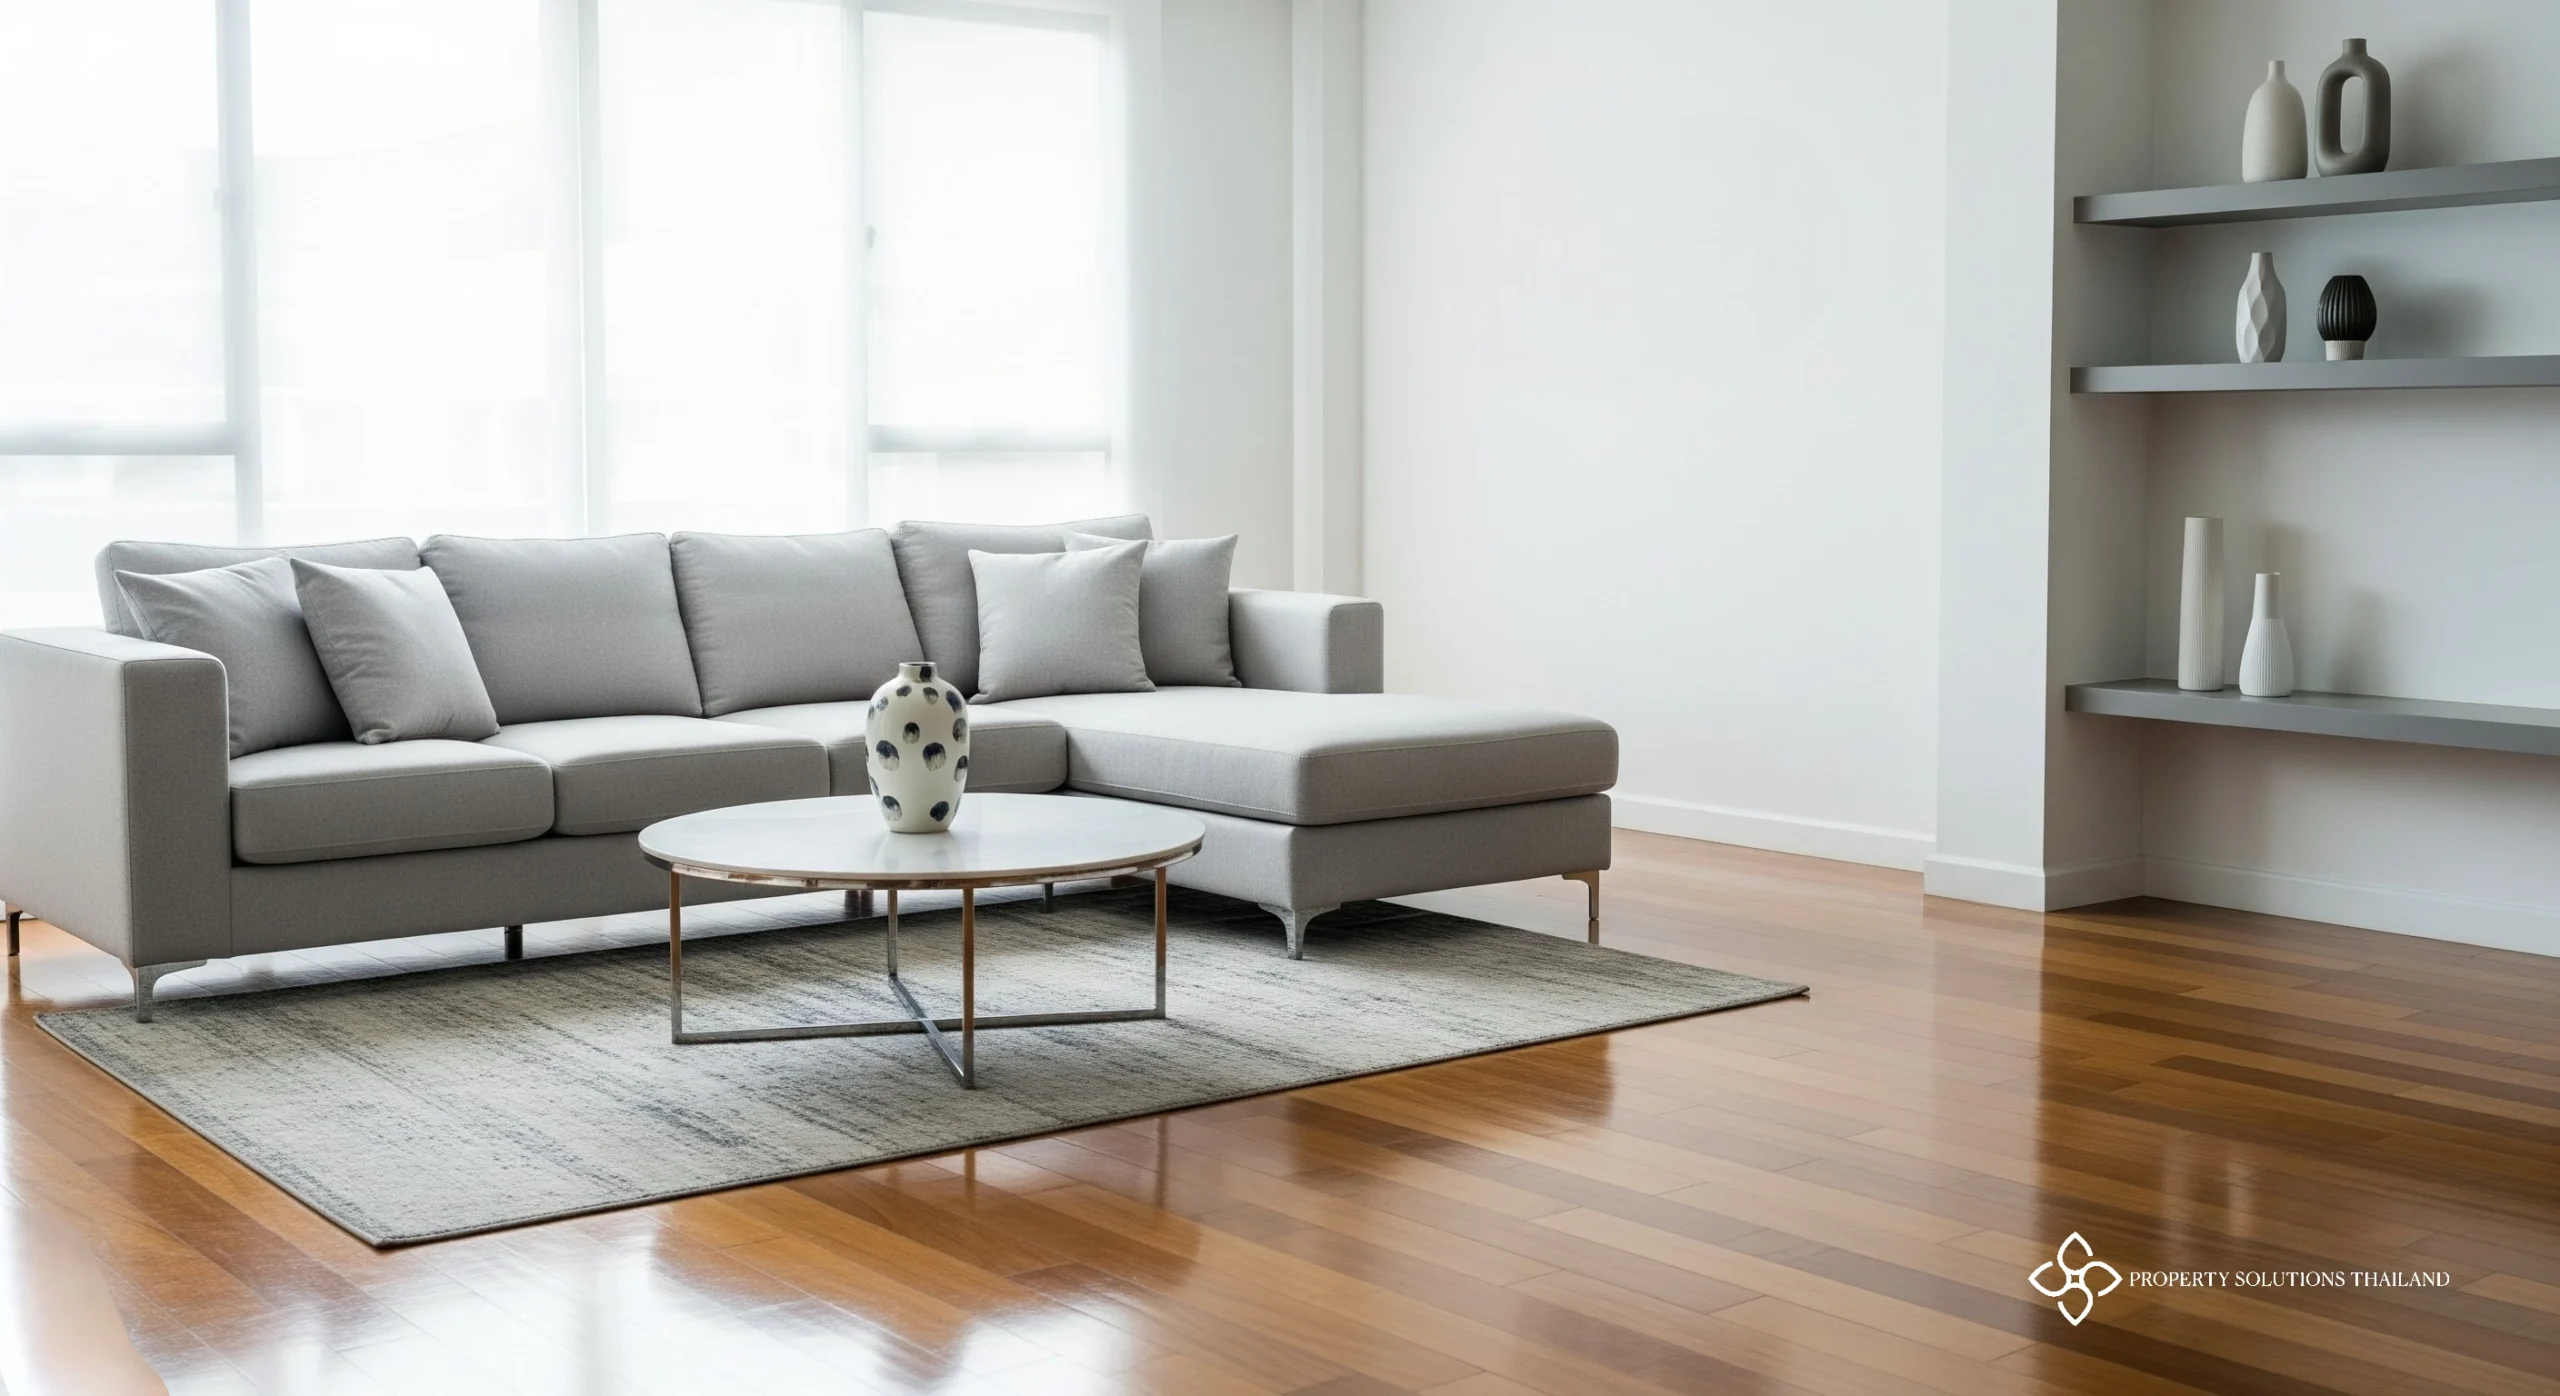
Bring Your Home’s Glow Back
After renovations, a space deserves more than just a superficial upgrade. It needs a deep, thorough cleaning. Taking the time to work from ceiling to floor, filter the air, and dispose of debris properly ensures your house doesn’t just look new; it feels new.
If it sounds intimidating, hire a cleaning company that specializes in post-construction cleanups. You’ve already invested in turning the home around. Don’t let this be the one step you miss. Own your space and enjoy the makeover as intended.